Browse Author: tore@grenasberg.no

3D printed light knob

After a long time of nothing, here is a new post on my blog.

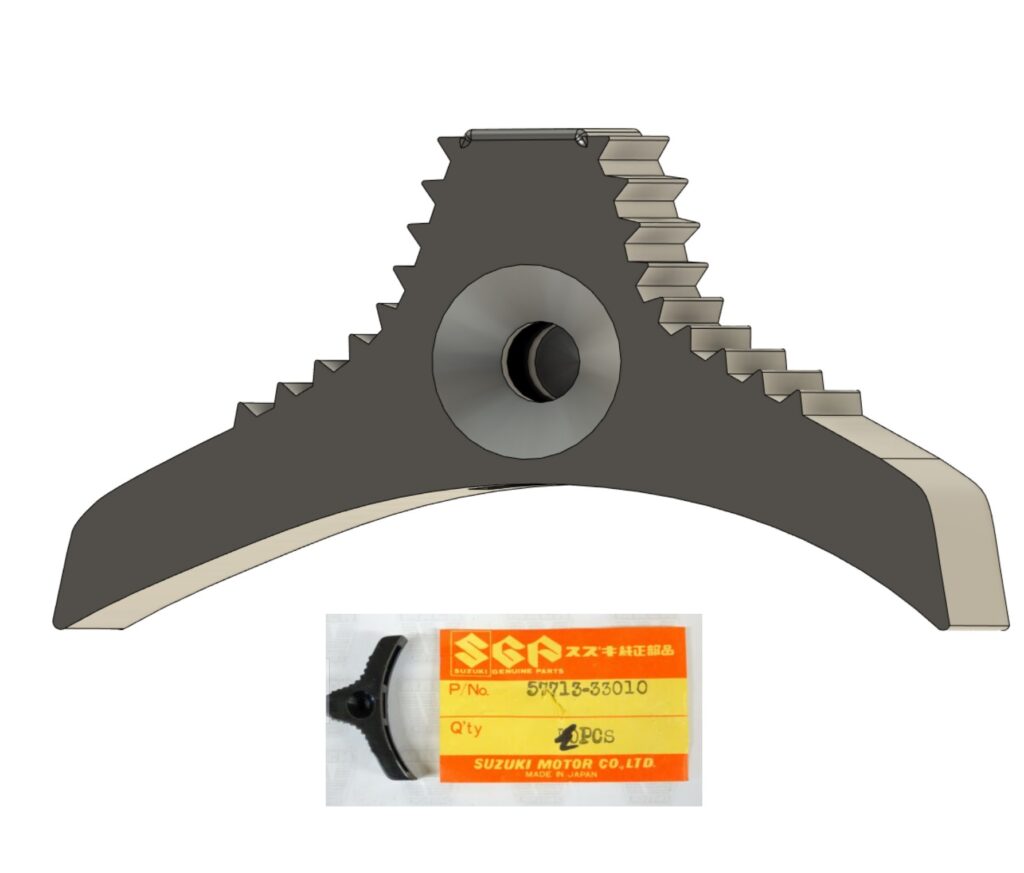
The image above is from my CAD model done in Fusion 360. I used the lightswitch knob from my GT750 as a template. Started by drawing a sketch around the knob, took a photo of it and imported into Fusion 360. Compleated the CAD model in Fusion360 and made the printer file.
The knop was printed on a Prusa Mini printer in PETG filament.

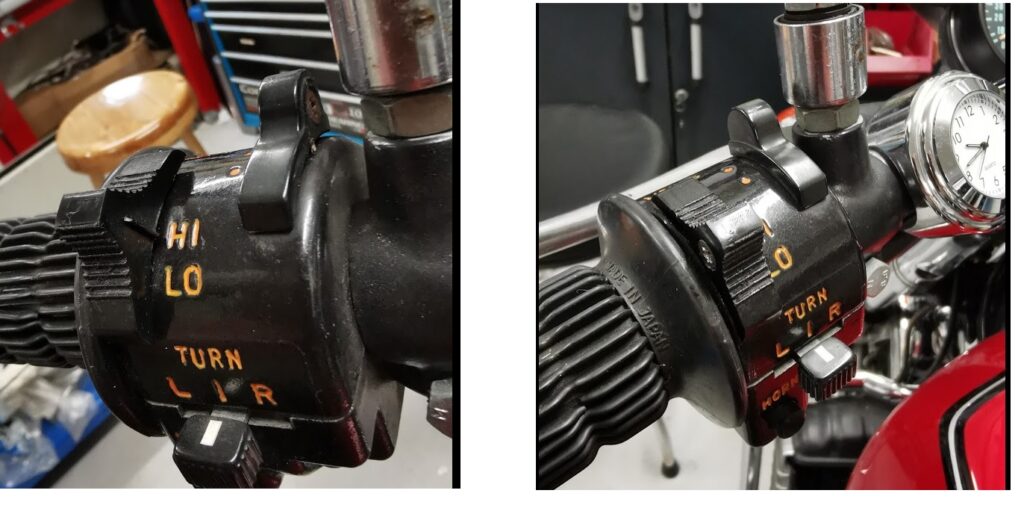
Here is the result, mounted back on my GT750. Not a perfect finish and I tried to polish the surface a bit. Not easy to do, because the heat from the pad can easily melt the part, as it did on the top. On the other hand, if you ruin the prat, just press reprint button and make another try 🙂

This was only a sample to test the technology. The knob will be needed for my GT380 and I will also make a new print using a resin printer, able to print in a better resolution and a smoother finish. The new printer is on it’s way from China and will hopfully arrive at the end of February.

Please feel free to download the light knob if you want to make you own print.

Anti-surge jets

I bought a new carburetor kit last summer and mounted it for a couple of weeks ago. Interesting to compare with the old one I had. The first test run was promising. After a longer ride I got more and more annoyed about the surging at low rpm. Pretty sure it’s more surging compare to the old one. The fuel consumption is better and the color on the spark plugs looks also better while using this kit. If I can get rid of the surging I will keep them on the bike.
The new carb kit has no anti-surge jets mounted. The previous owner said they are all tapped and ready to be fitted with jets.
I don’t have a new jet-kit, but I have a lathe and milling machine. Let’s make a set of three 0,8mm jets.

Bulletins no 36 explain how it’s mounted :http://www.ozebook.com/compendium/techbuls/index.htm

Jet fitted:

Please read the application note no 36 and follow the procedure how use the 4mm tap.

Test ride:

Very pleased with the test run. The annoying surging issue was gone. 🙂

Service Bulletin GT-36

GT750 startup 2020

As usual, instant start on the GT. First ride this season. The spring has been horrible cold so far. Was snowing for a couple of days ago. Will enjoy the short MC season on the GT750 this year and hopefully the GT380 will be on the road the next year.

Tank

My GT750 A tank is back from repair and has got a new paint. My nephew Thomas has once again done a fabulous work on this. I’m so pleased with his work.

On my ride to the classic Suzuki rally in Denmark last summer i had an accident and got an annoying dent in the tank. Now it’s all gone 🙂

🙂 🙂

Tachometer face

Making new tachometer face. This is learning by doing. Very much experiential engineering. Just have to give it a try and see how it works.

Not difficult to cut the 1 mm aluminum plate using bandsaw. To make the circle using the scroll saw went even more easy then expected. Made the disk a bit wider than the printed tachometer face. Since the faces are printed as sticker lables it’s easy to mount on the alu disk. Holes were drilled and the edge grinded.

Not 100% happy with the result. The alu disk is much thicker compare to the original, giving pros and cons. Stiffer and more solid, and more easy to drill. But look at the lenses, they don’t match the thicker plate. I can mill on ther rear side using a 12mm end mill (don’t have that) or make new lenses on my lathe, if I can get hold of proper acryle material. Time will show what I do.

3D printed gauge house

My very first 3D print ever….

Still a sample print. The final one will be printed in white filament.

Spot on target, not bad for the first 3D print ever done by me 🙂

The material seems to be more solid compare to the 48 years old fragile plastic.

Fork top bolt

What to do with the top bolt of the fork leg ?

Step 1: Sand blasting as shown on the picuture above.

Step 2: Grind and get rid of all remains from the old chrome.

Step 3: Use fine grit size on the sandpaper to obtain a shiny surface.

Step 4: Start electro nickel plating. As shown previous on my blog I use the same old bath with the same solvent I made 7-8 years ago. The nickel anode is the only part that needs to be replaced after some time.

After few hours (4-8 hours total electrolyze time) the bolt will be covered with nickel. The gray surface needs to be polished to get shiny.

Done :

Clutch and timing cover

Polishing the engine cover on the right side:

Phuu, a lot of work, dirty work as well. Dust all over my face.

I have three engine covers to choose from. Two of them have some very bad scratches, too bad to ever look good again. Got hold of an unused one, the new type with 1500cc oil level label.

The bad ones:

Parts for the timing will be removed and reused in the new cover. One of them has a very good nylon gear for the timing assembly.

Timing cover:

Before and after one hour of grinding and polishing. Had to grind off a lot of material to remove some deep dents and scratches. Still some scratches left but the cover will be replaced later on with a J cover with engraved Suzuki logo. This is a later model with a sticker in the middle.