Spokes adjustments
Got some help today showing me how to adjust the spokes. Jan Hansen and Thor Haugland came all the way from Kristiansand help me on this.
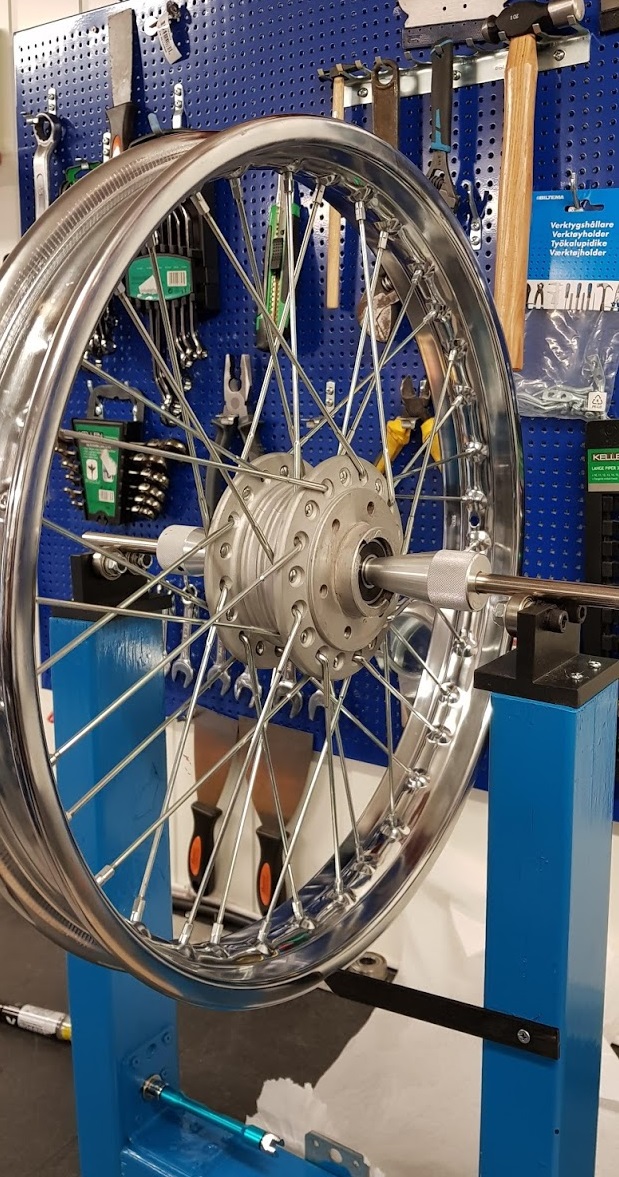
A simple homemade wheel jig
Step 1
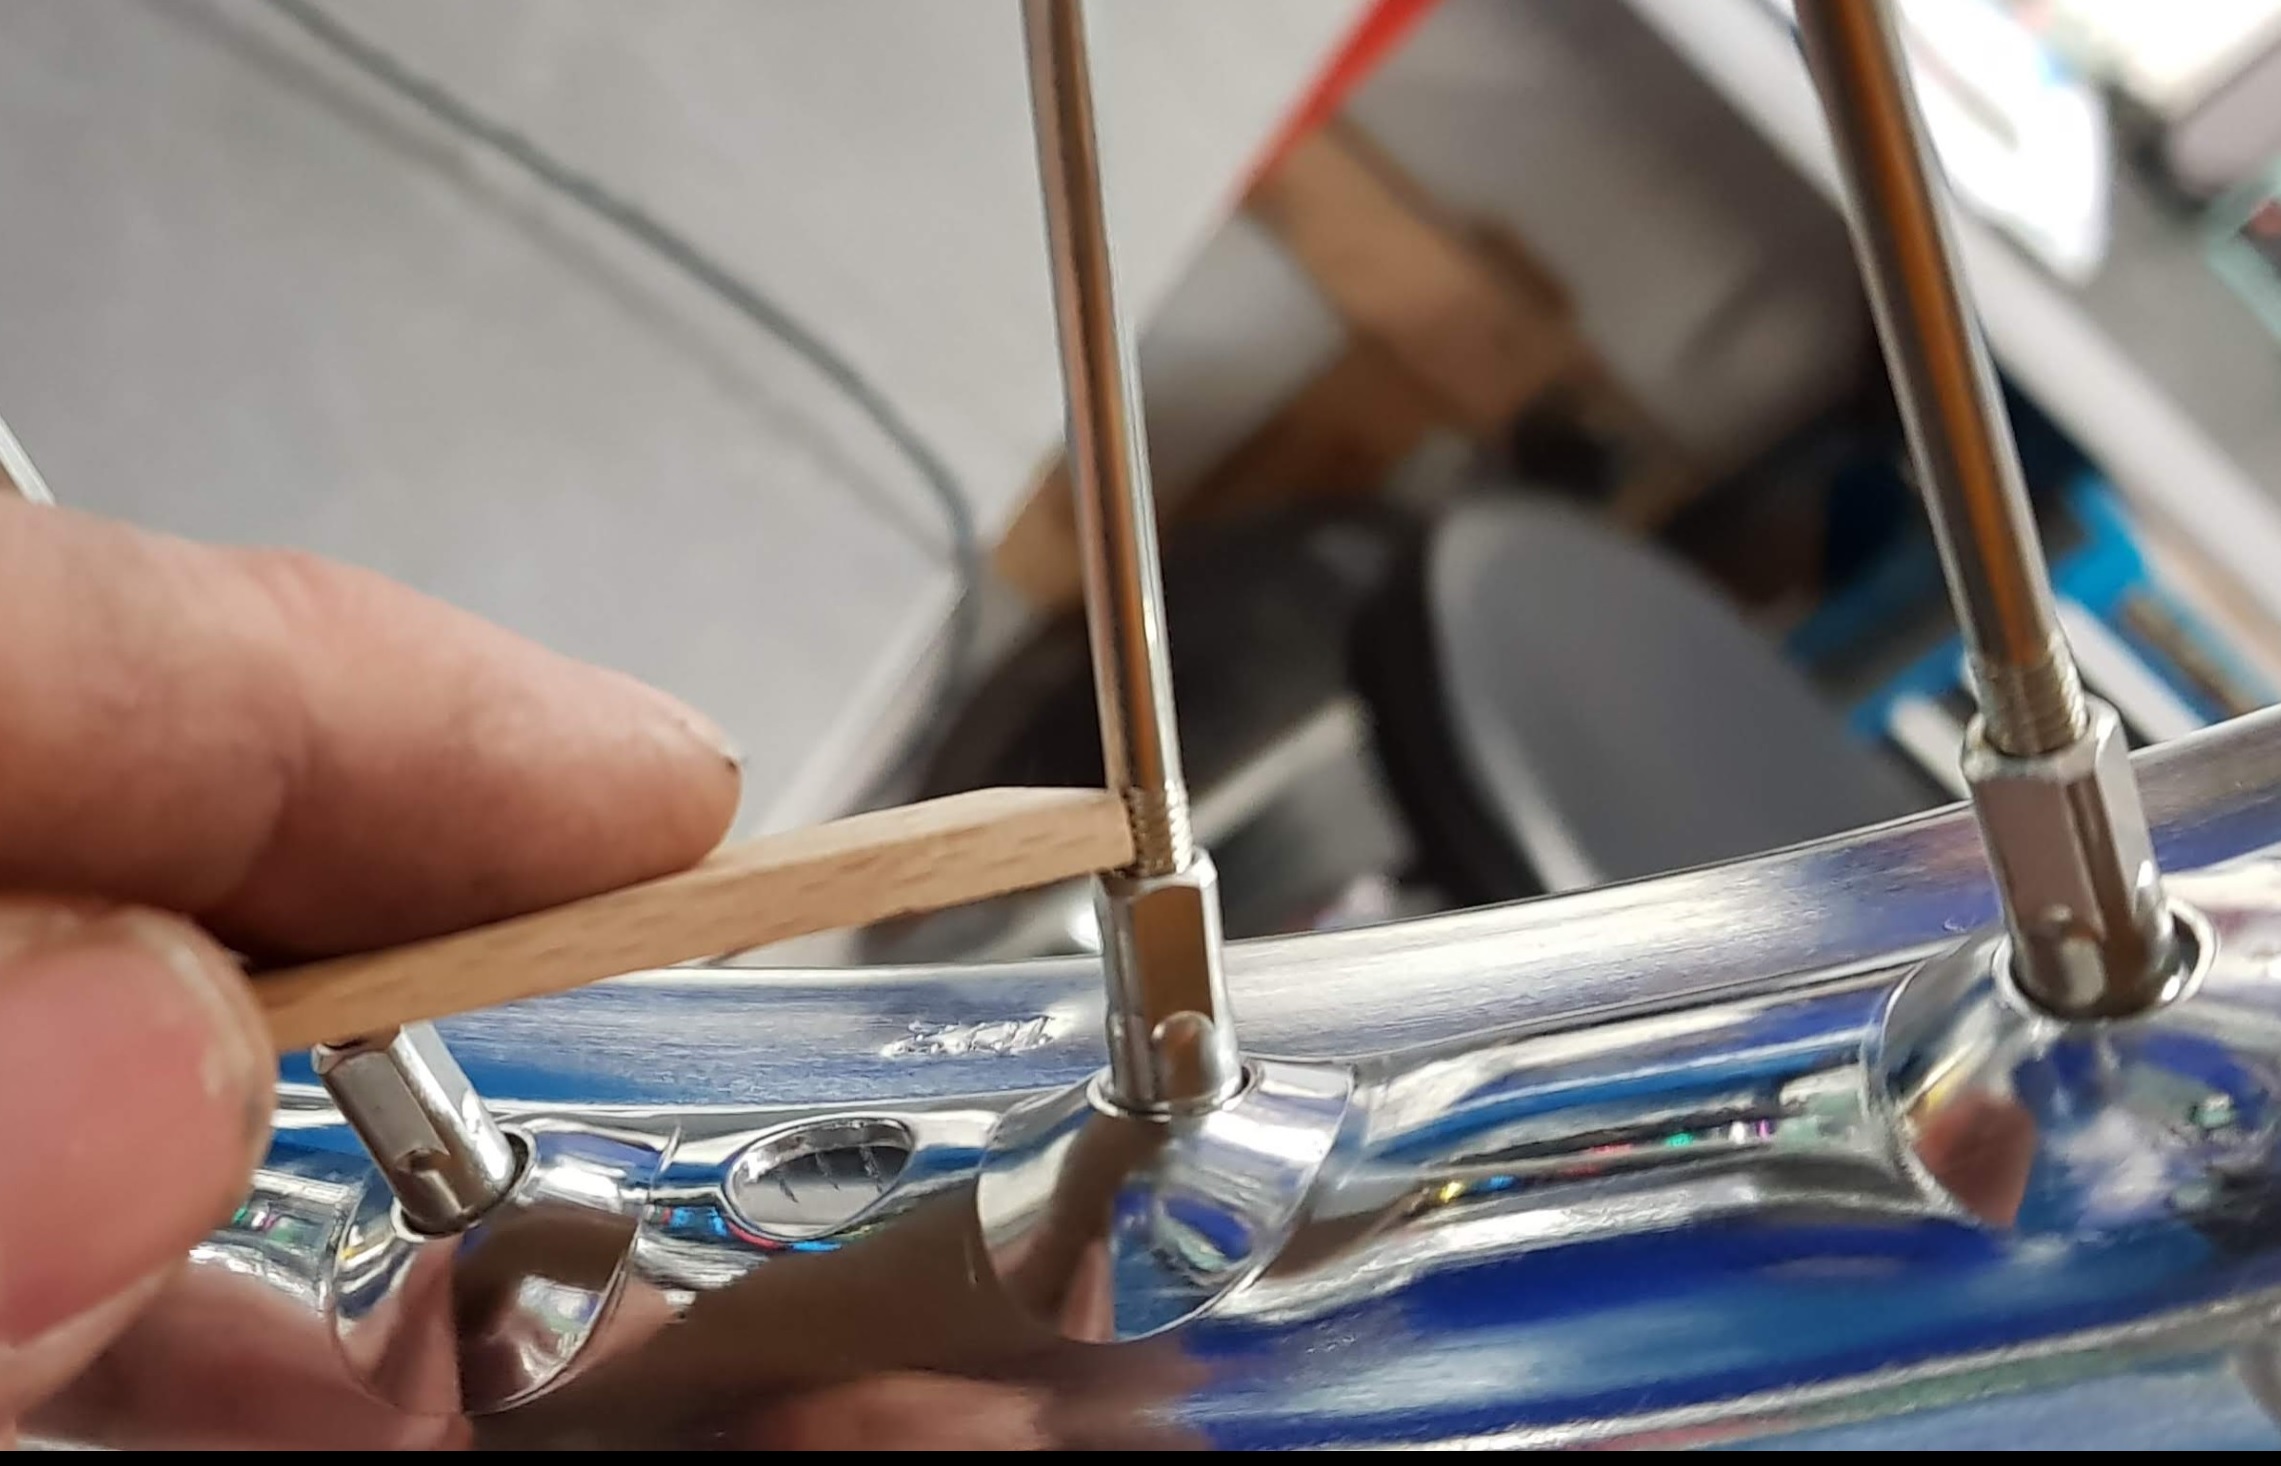
Adjust all the spokes to the same length, see the picture. I used a piece of stick as a template to get the same distance all over. Adjust the nipples by hand at this point. Make sure you have the same number of threads by comparing the thickness of the stick
Spin the wheel and watch the height. There should be not much play in the height of the rim if all the spokes are evenly adjusted.
Step 2
Tighten the spokes:
Turn the nipple 1/4 of a turn on all of the spokes. Continue until you start to feel some resistance. Not much torque should be applied at this point. Remember to spin the wheel and only 1/4 of a turn on each spoke.
Step 3
Time to check the play at the side:
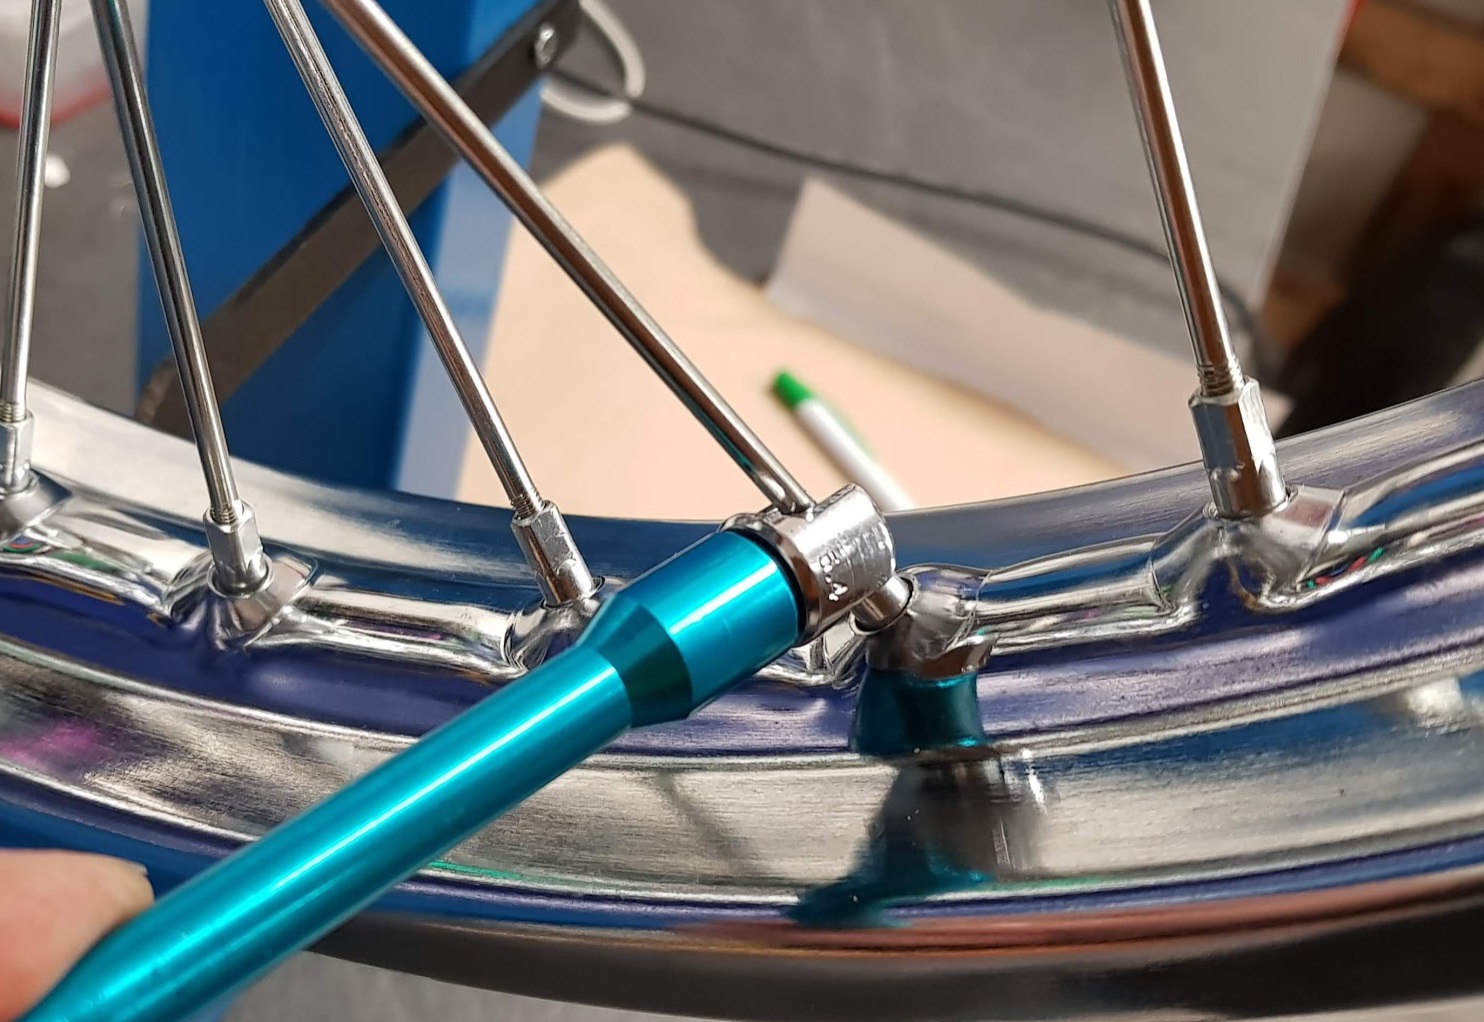
Spin the wheel and use a whiteboard marker to define the area where you see the largest clearance to the reference stick. Make two lines, the start and stop of the area.
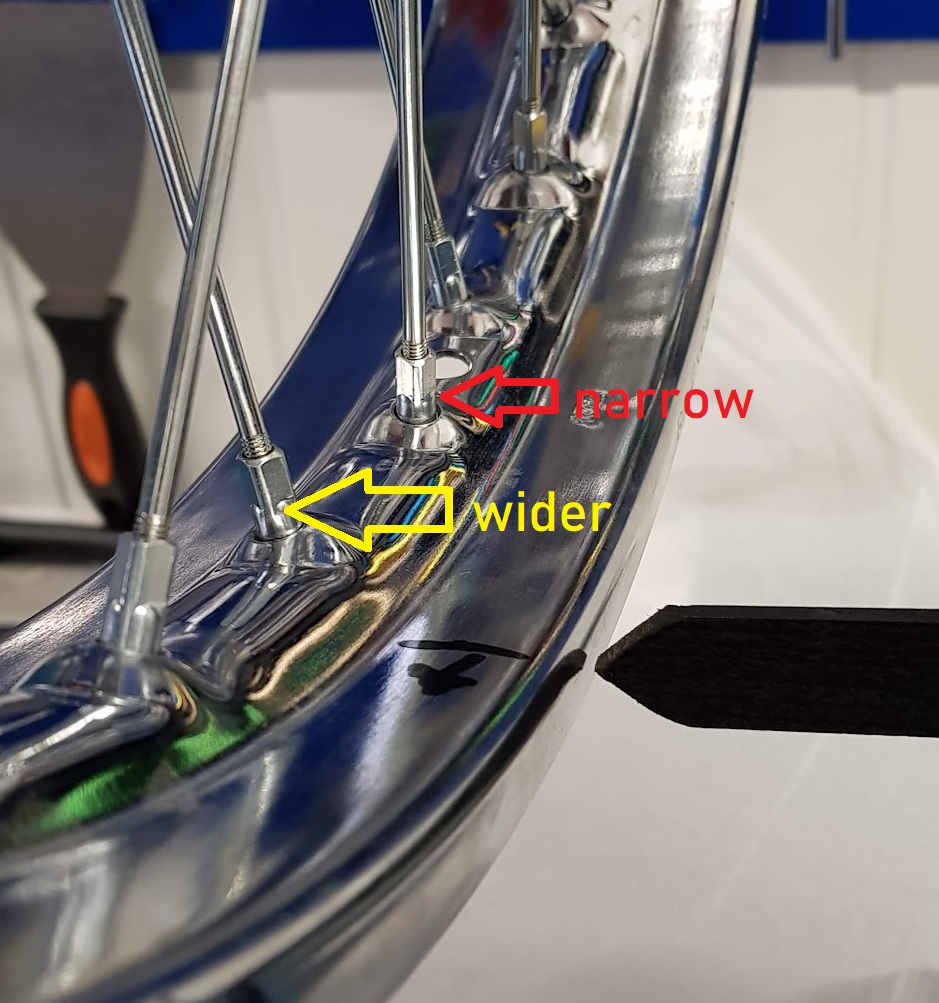
Adjust all spokes in the area to adjust the proper way. As the yellow arrow shows, the outer one to widen the gap and the inner one ( red arrow) to narrow the gap.
Repeat this procedure until you are down to 1-2mm play. Suzuki allows up to 3mm offset.
Step 4
Final adjustments
Continue with step 3 until you have to apply some torque to turn the nipples around.
This is the time when you have to trust your basic instinct. Do not overtighten the nipples !
If the nipple feels tight go further to the next one. Make sure you have about the same tension on all spokes. You can knock on the spokes and if one of them are to loose you will hear a different sound.
This is how I did it with help from Jan giving me advice all the time.
Am I lucky or something ? Looks like the wheel came out pretty well 🙂