Indicator Relay
The original indicator relay was missing on my GT380J model. A ugly replacement relay had been fitted, but was not properly fastened in the rubberband due to its square shape. I had to go on Ebay to search and found a round type of relay, a bit smaller compare to the real thing but looks nice.

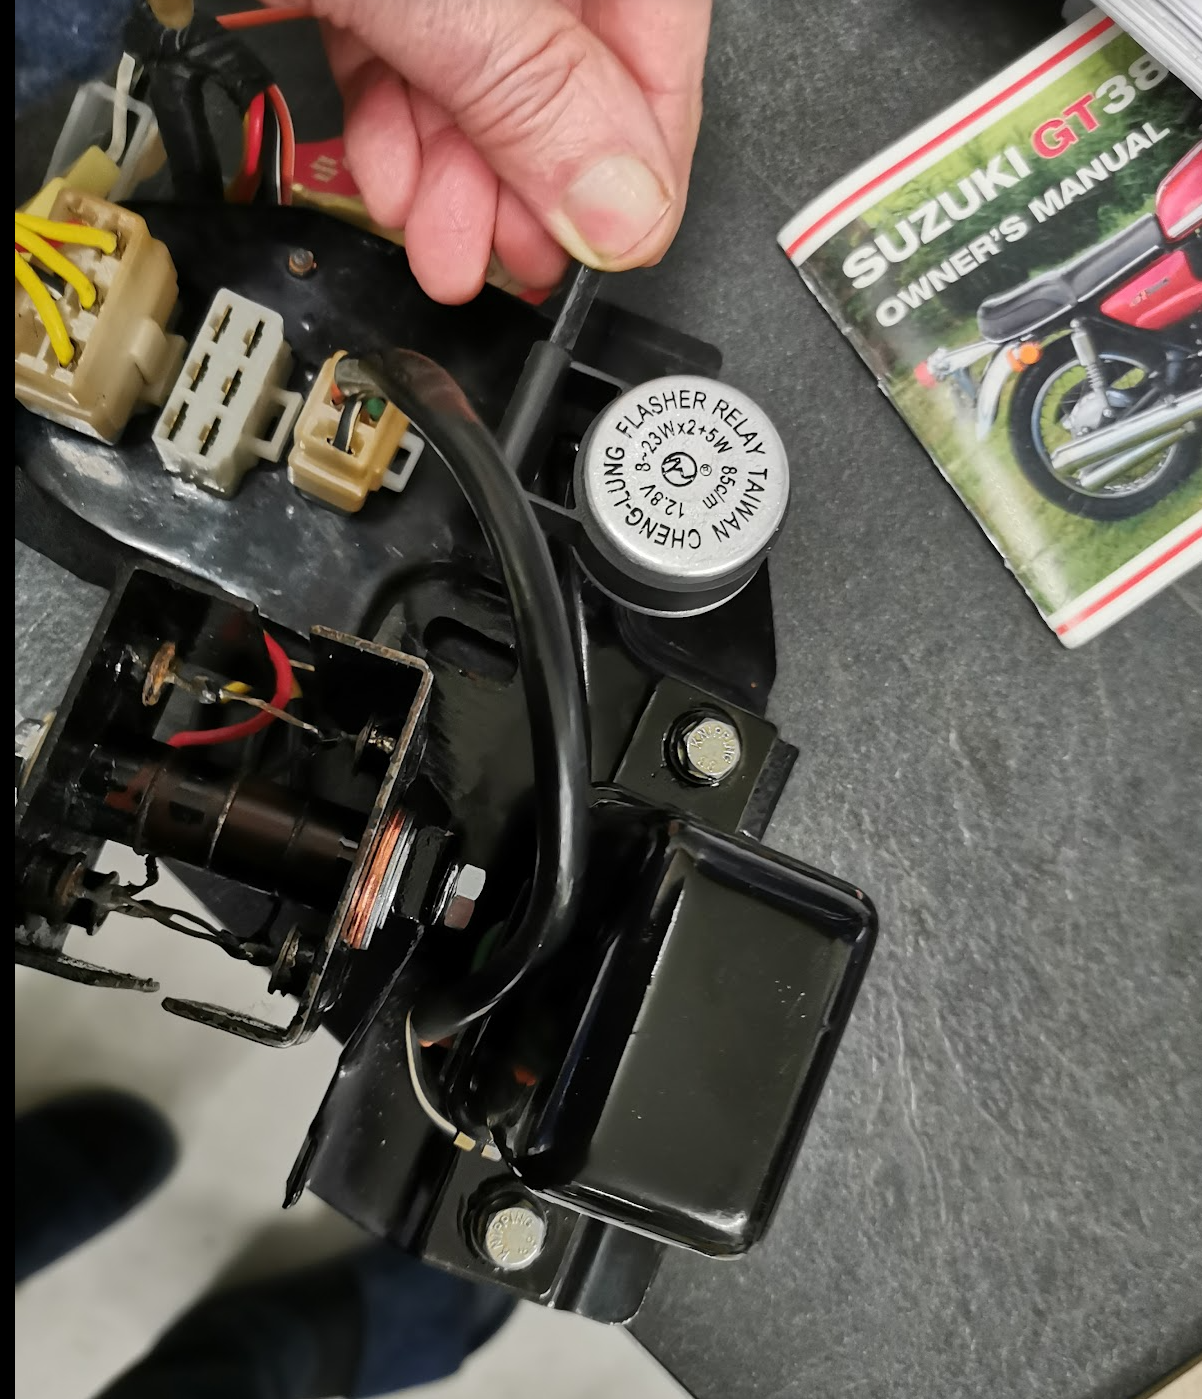
Because it’s smaller I can’t use the old bracket with the rubber mount. I made a resin 3D printed bracket so I could use the rubber mount that came with the new relay. Like this:


Resin printed and cured with UV light.
The STL file of the bracket can be downloaded from the link below.

New terminals to the wire so it will fit into the original wiring loom from Suzuki. I also did a test of the relay to verify the function.

Important to use the correct color coding. Orange to the + wire (orange wire is the + battery voltage after the ignition switch) and blue to the indicator lamp. ( the casing of the indicator must be grounded. Note! the blue wire to the indicators will not be blue all the way to the lamps, please see the wiring diagram for details. The 2-wire relay is connected in series from the battery (after the ignition switch) to the indicator lamps. Controlled by the switches, left and right lamps will then get the voltage applied from the blue wire on the relay.
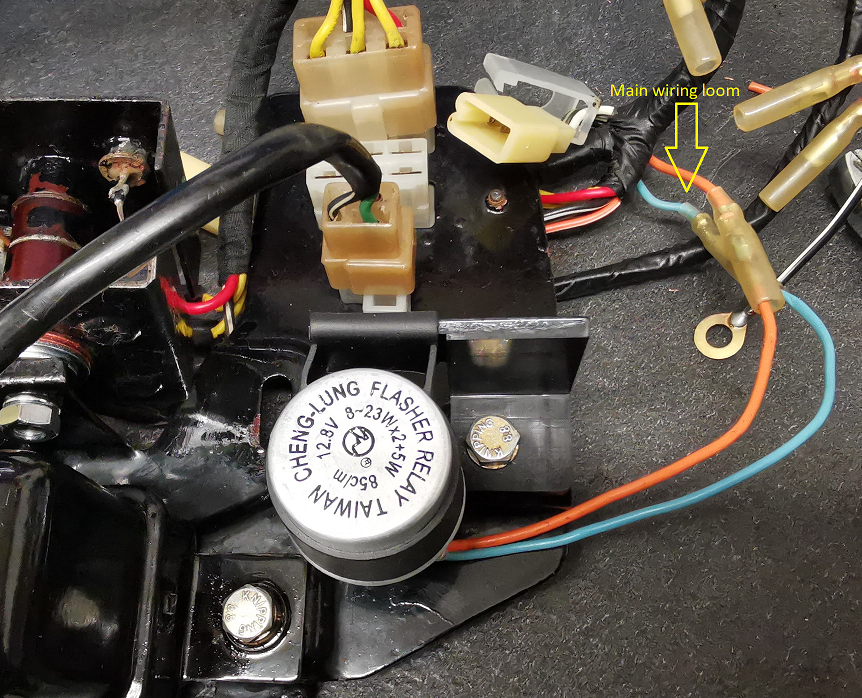
Mounted together with the rectifier and the regulator relay.
Note! The rectifire in the picture above is mounted different compare to how it came with the bike. I turned the recifire upside down and made a proper ground to the negative part of the diode casing to achive a better ground down to the frame. The + part with the insulator is therfore at left side of the picture. Please see my previous post about the rectifier: