Case closed
Phuu, the crankcase is finally sealed and closed.
Please see the summary of how I did it: ( And this is not the time to say I did it wrong, not in a mood to undo, please let me stay happy )
Step1:
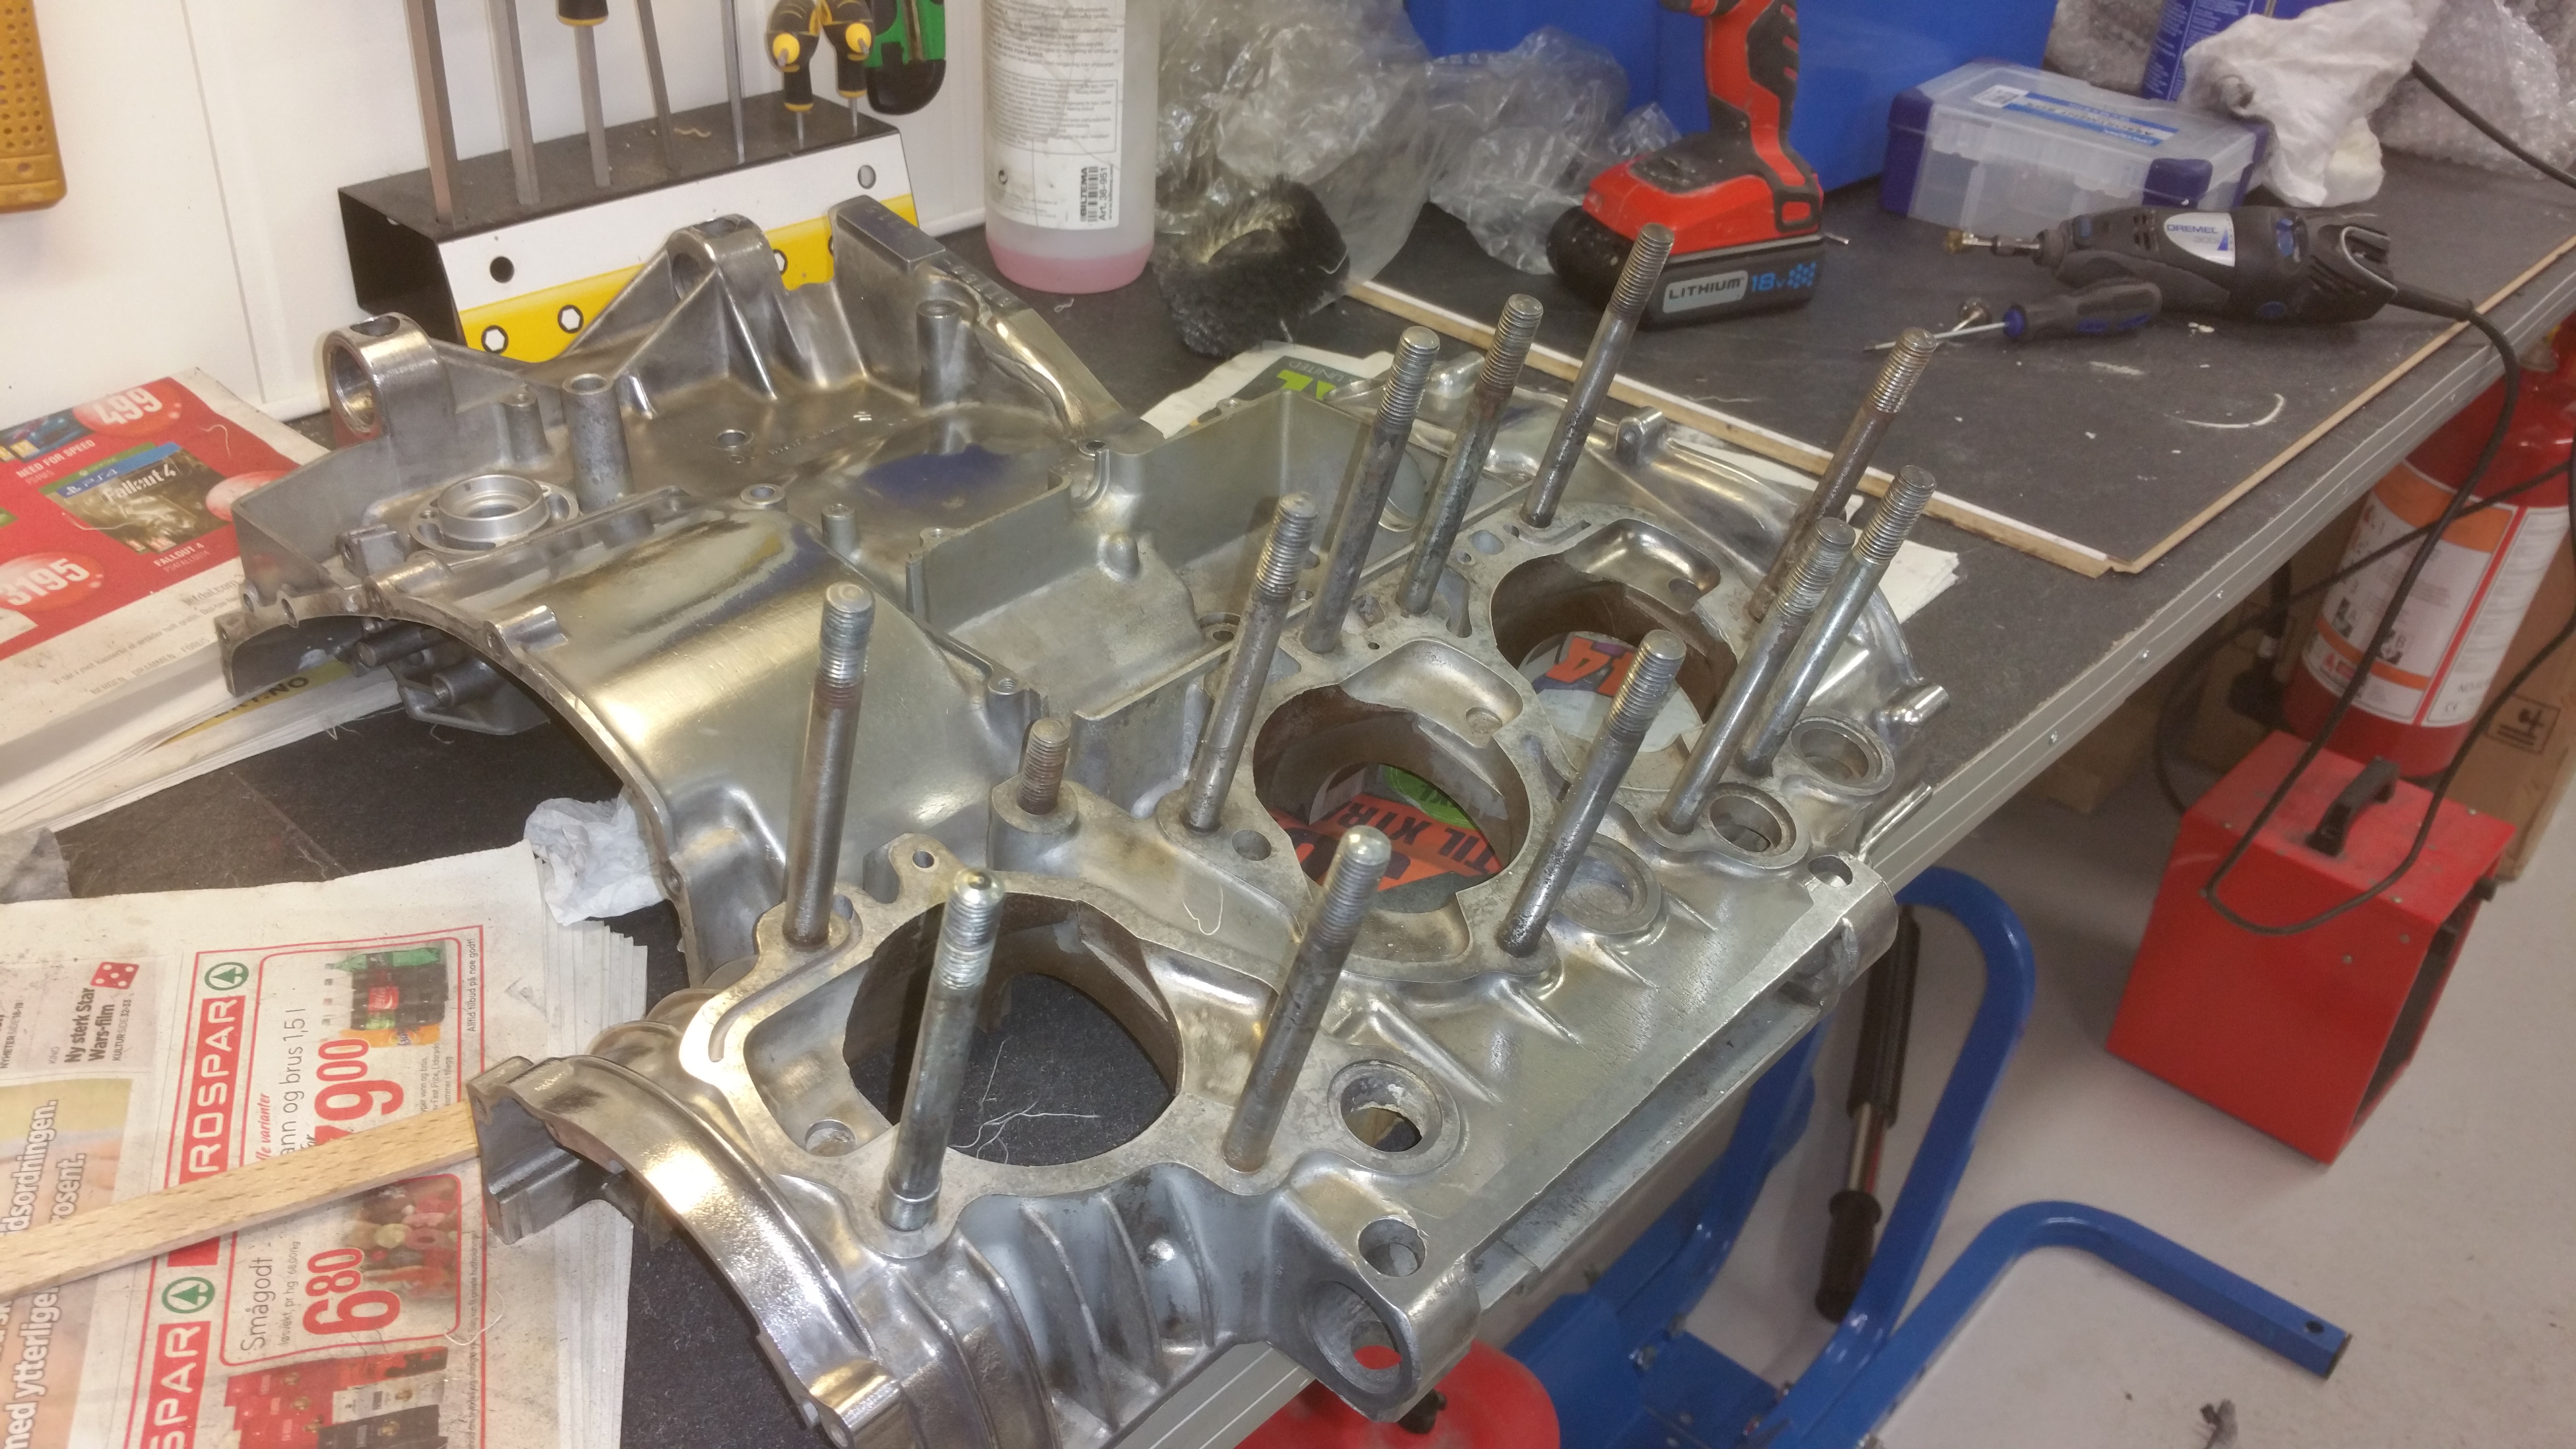
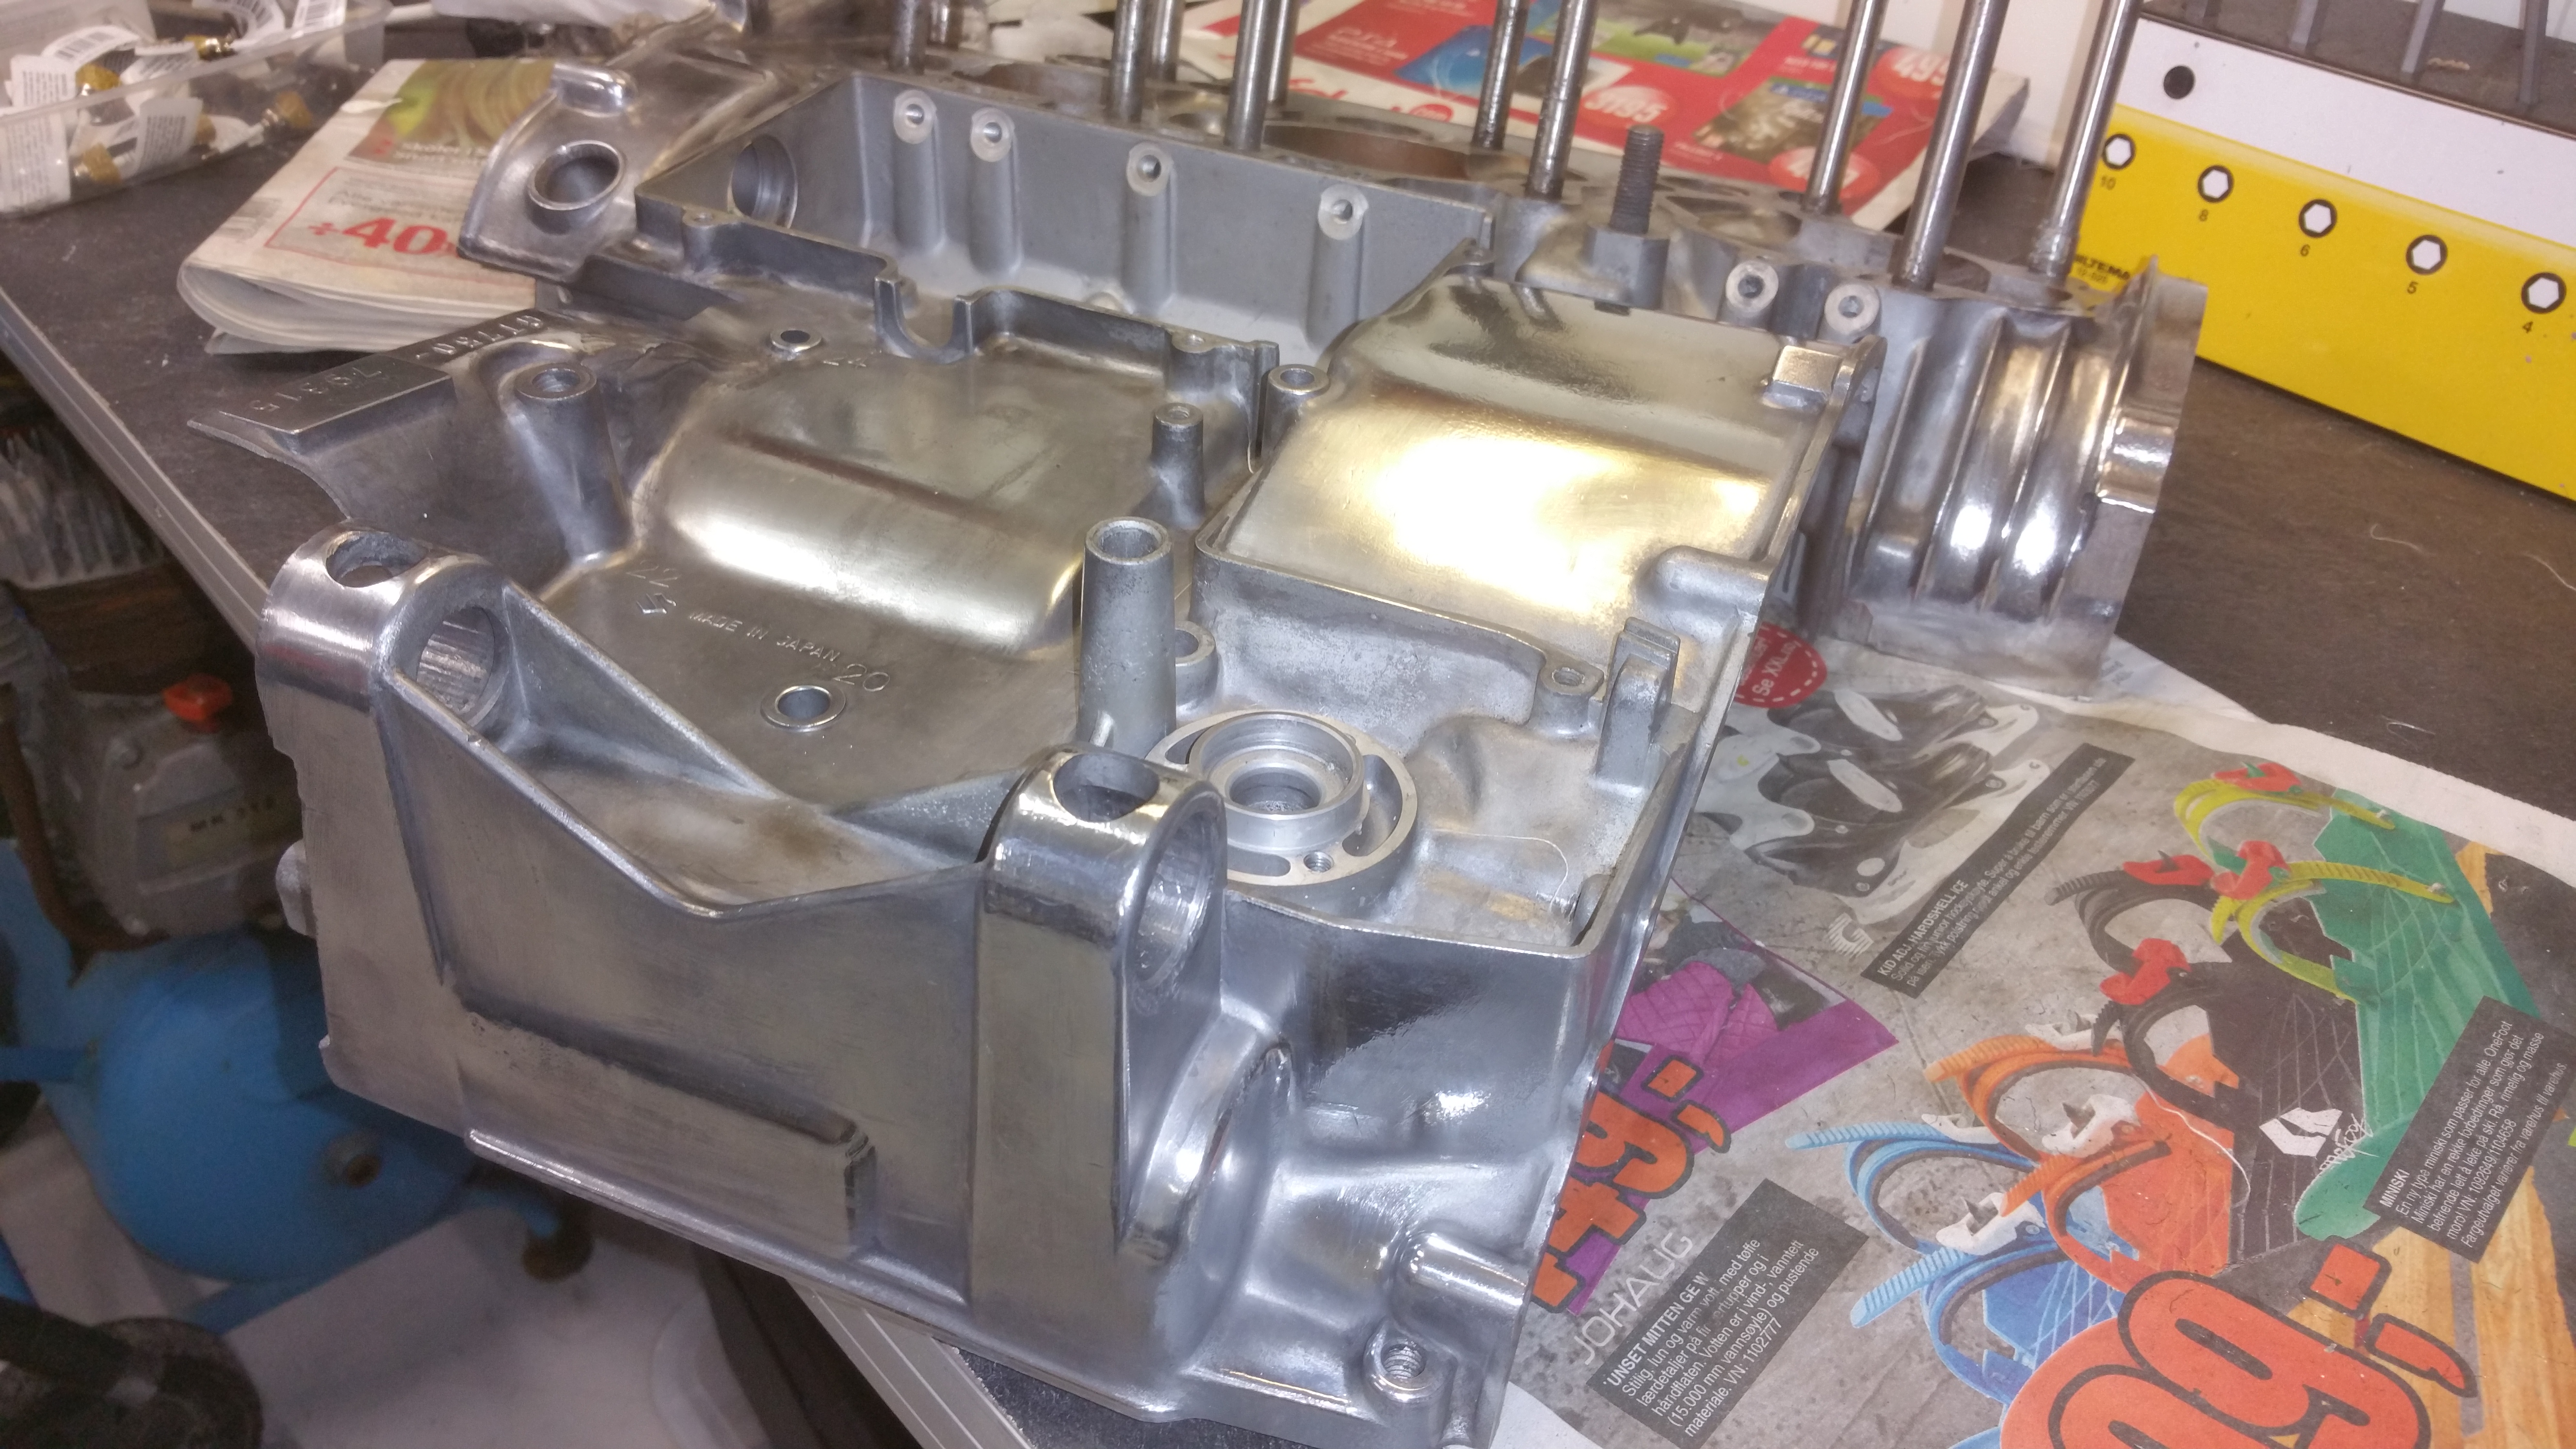
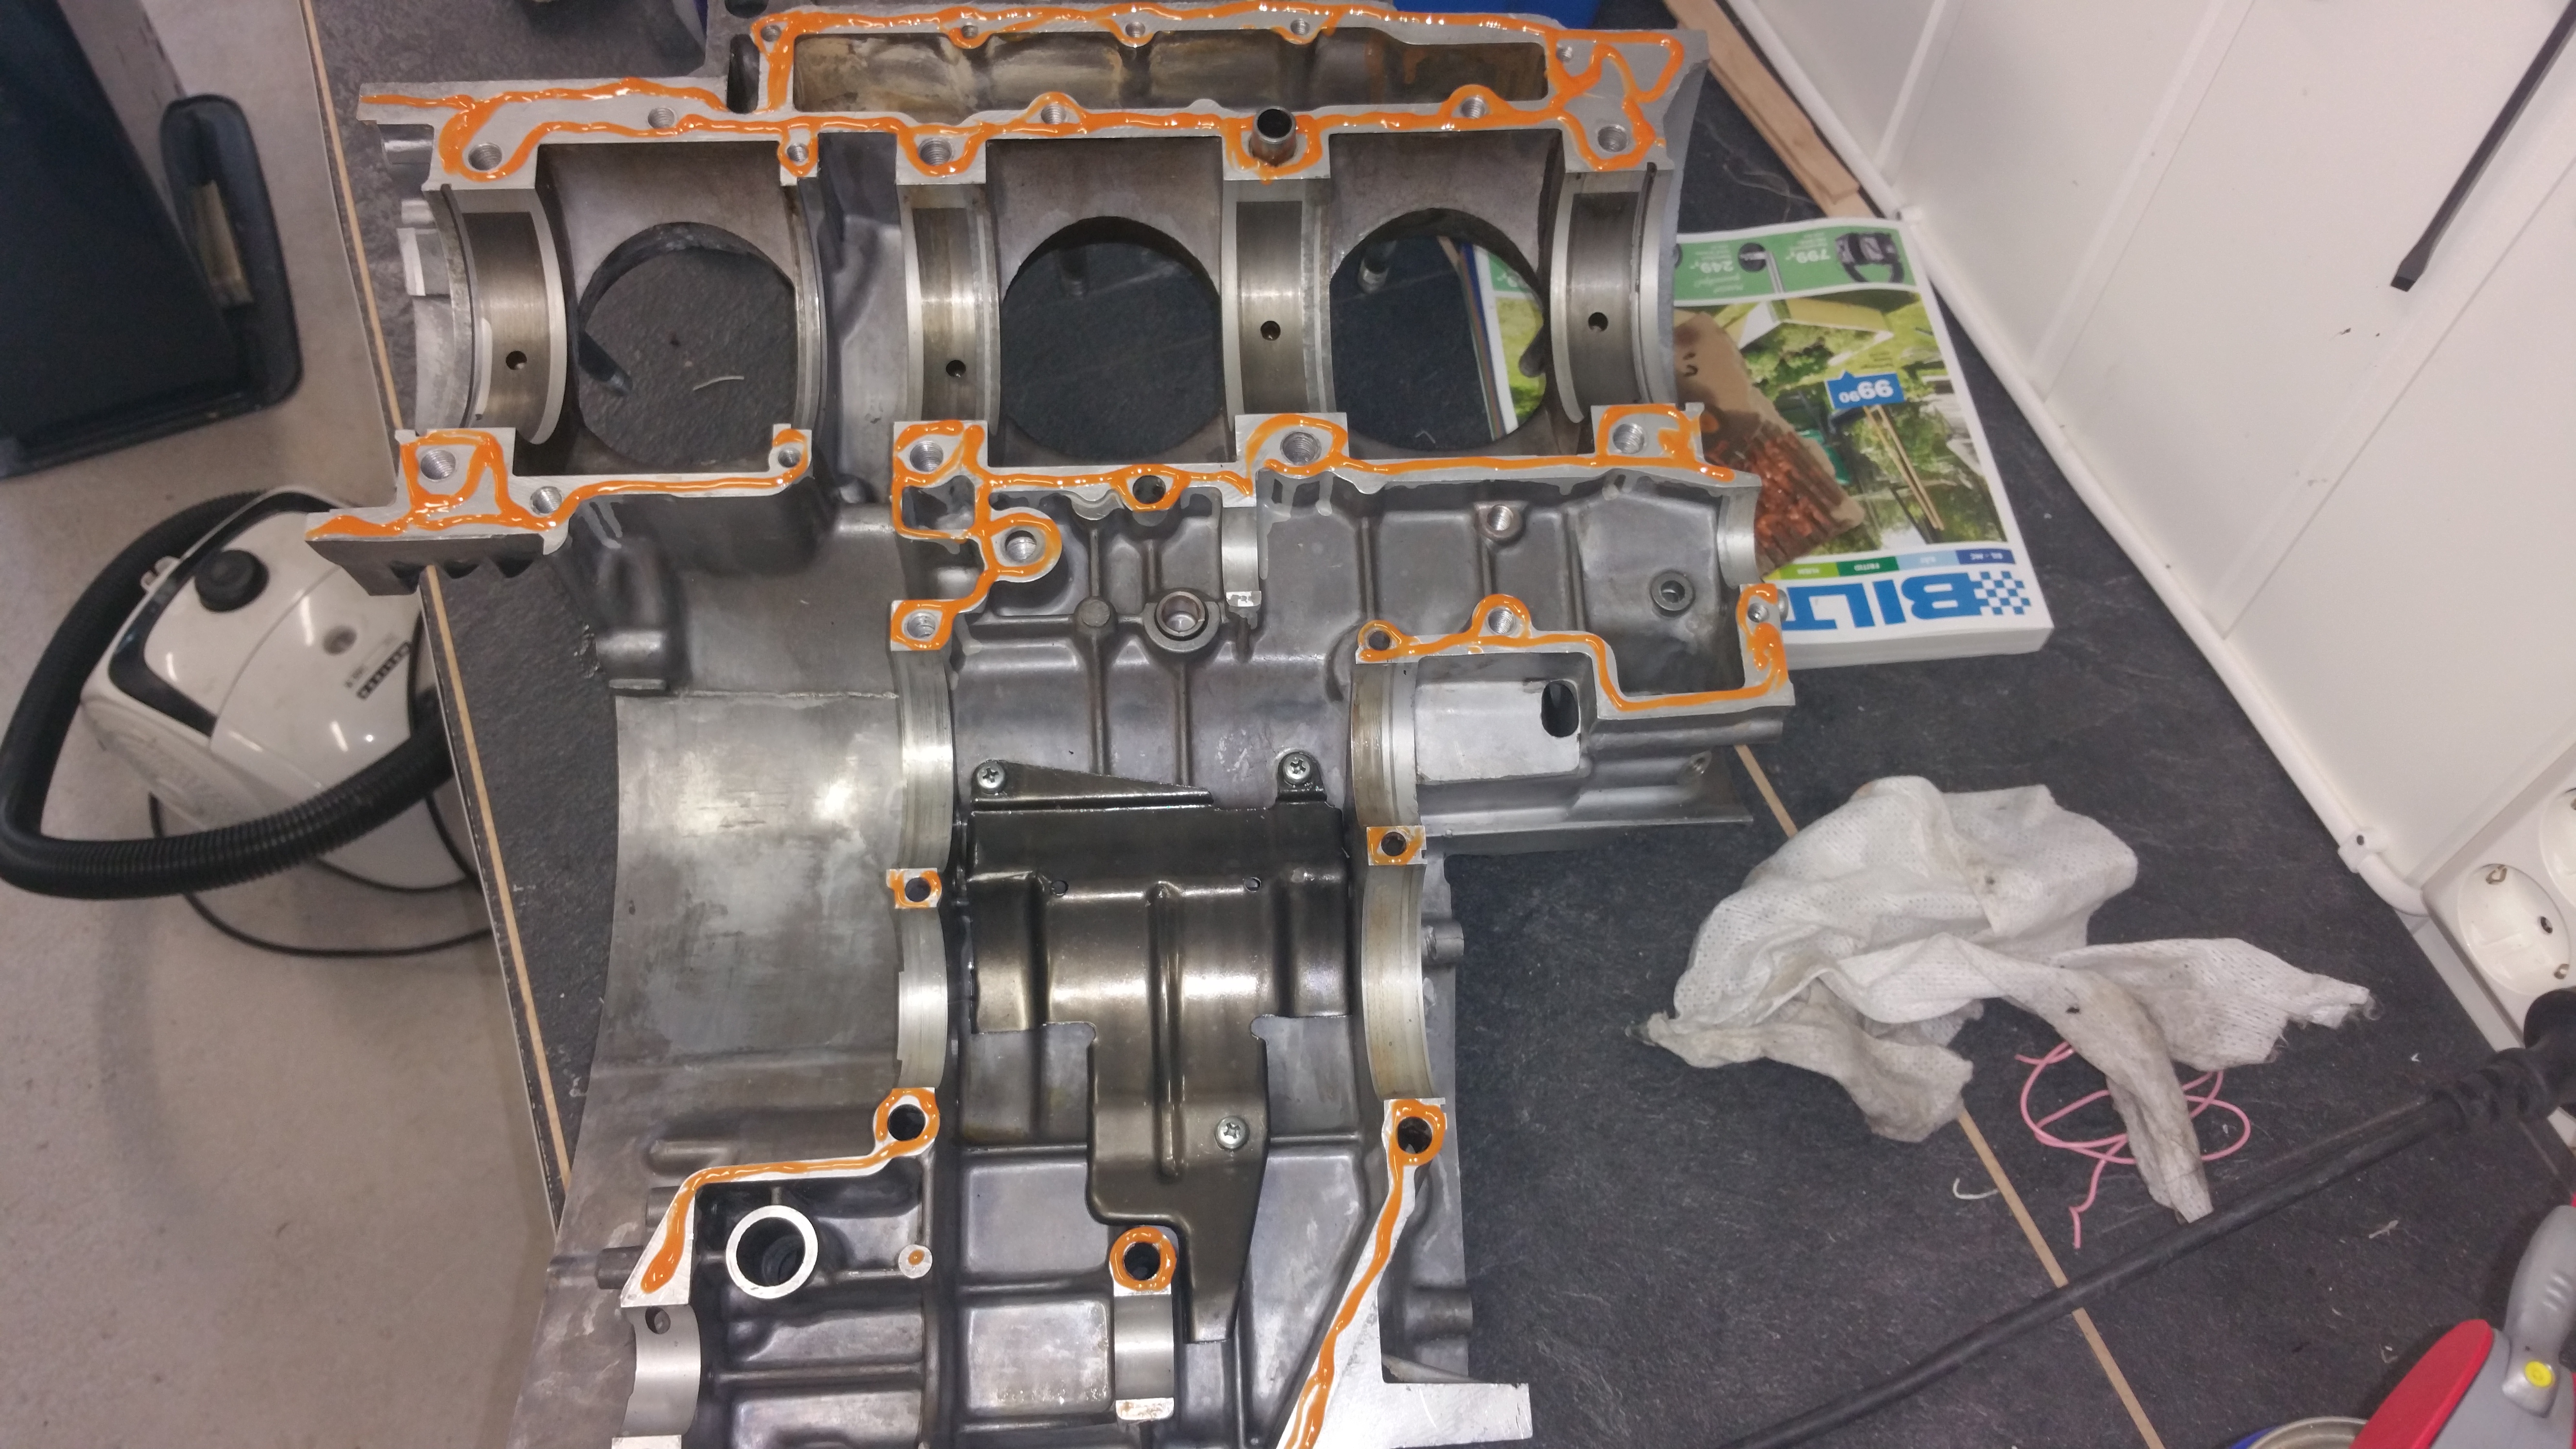
Cleaning the surface and do a test assembly to verify it’s all good.
I had a tube of the genuine Suzuki seal but I was afraid to use it. The first impression was a thin soup, looking more like an old oil leakage from 1976 🙂 Therefore I bought something more modern from Loctite.
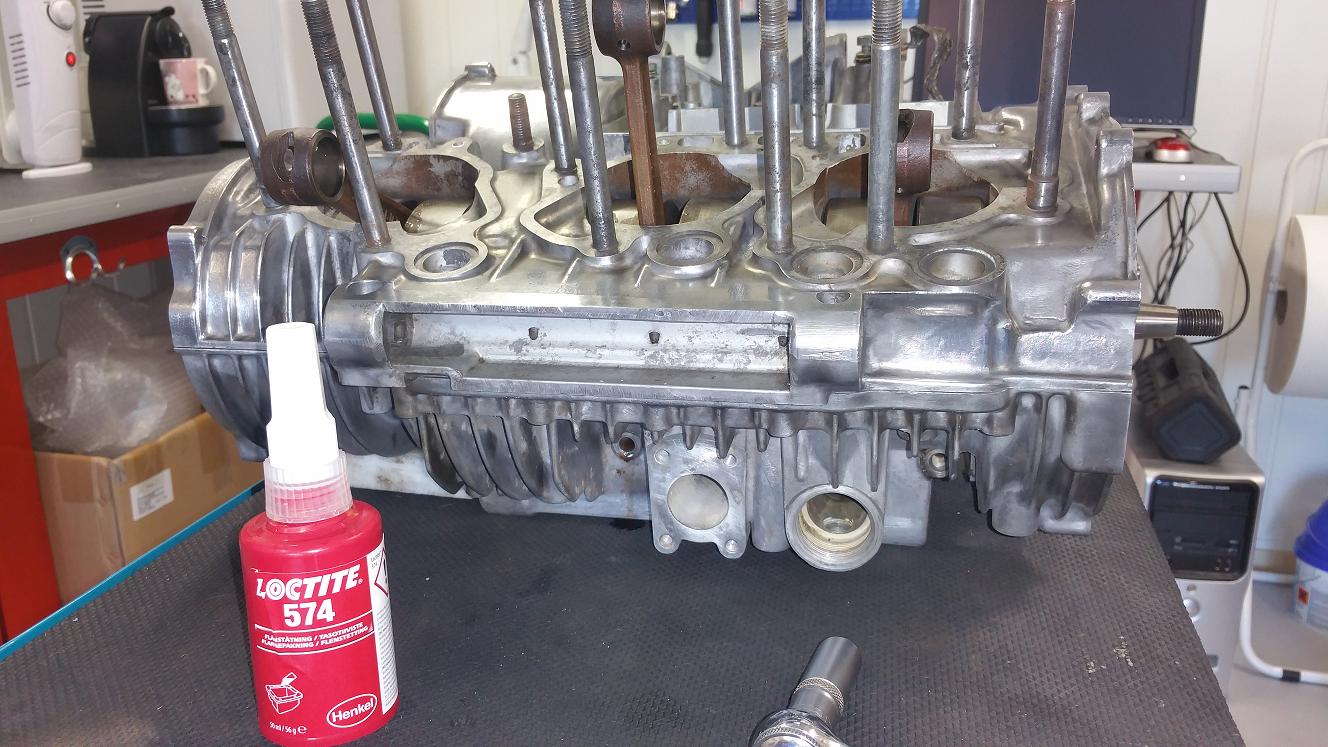
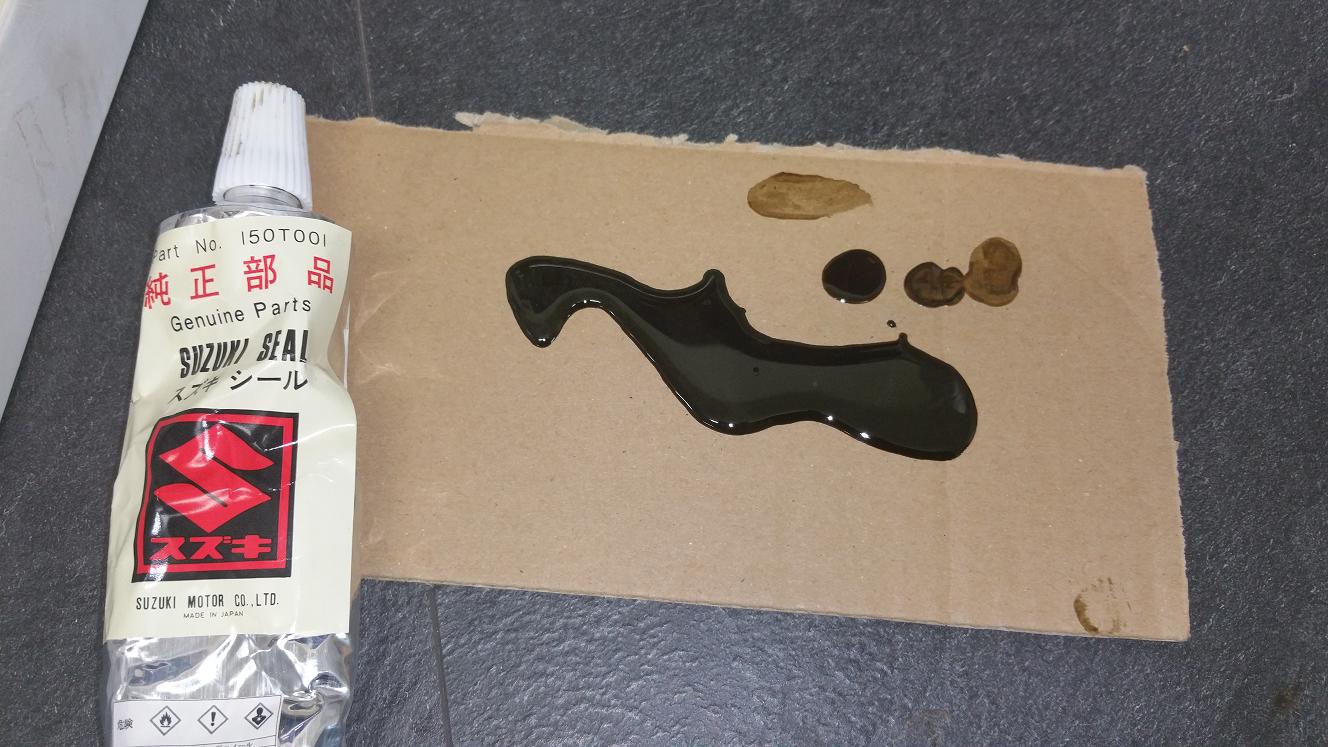
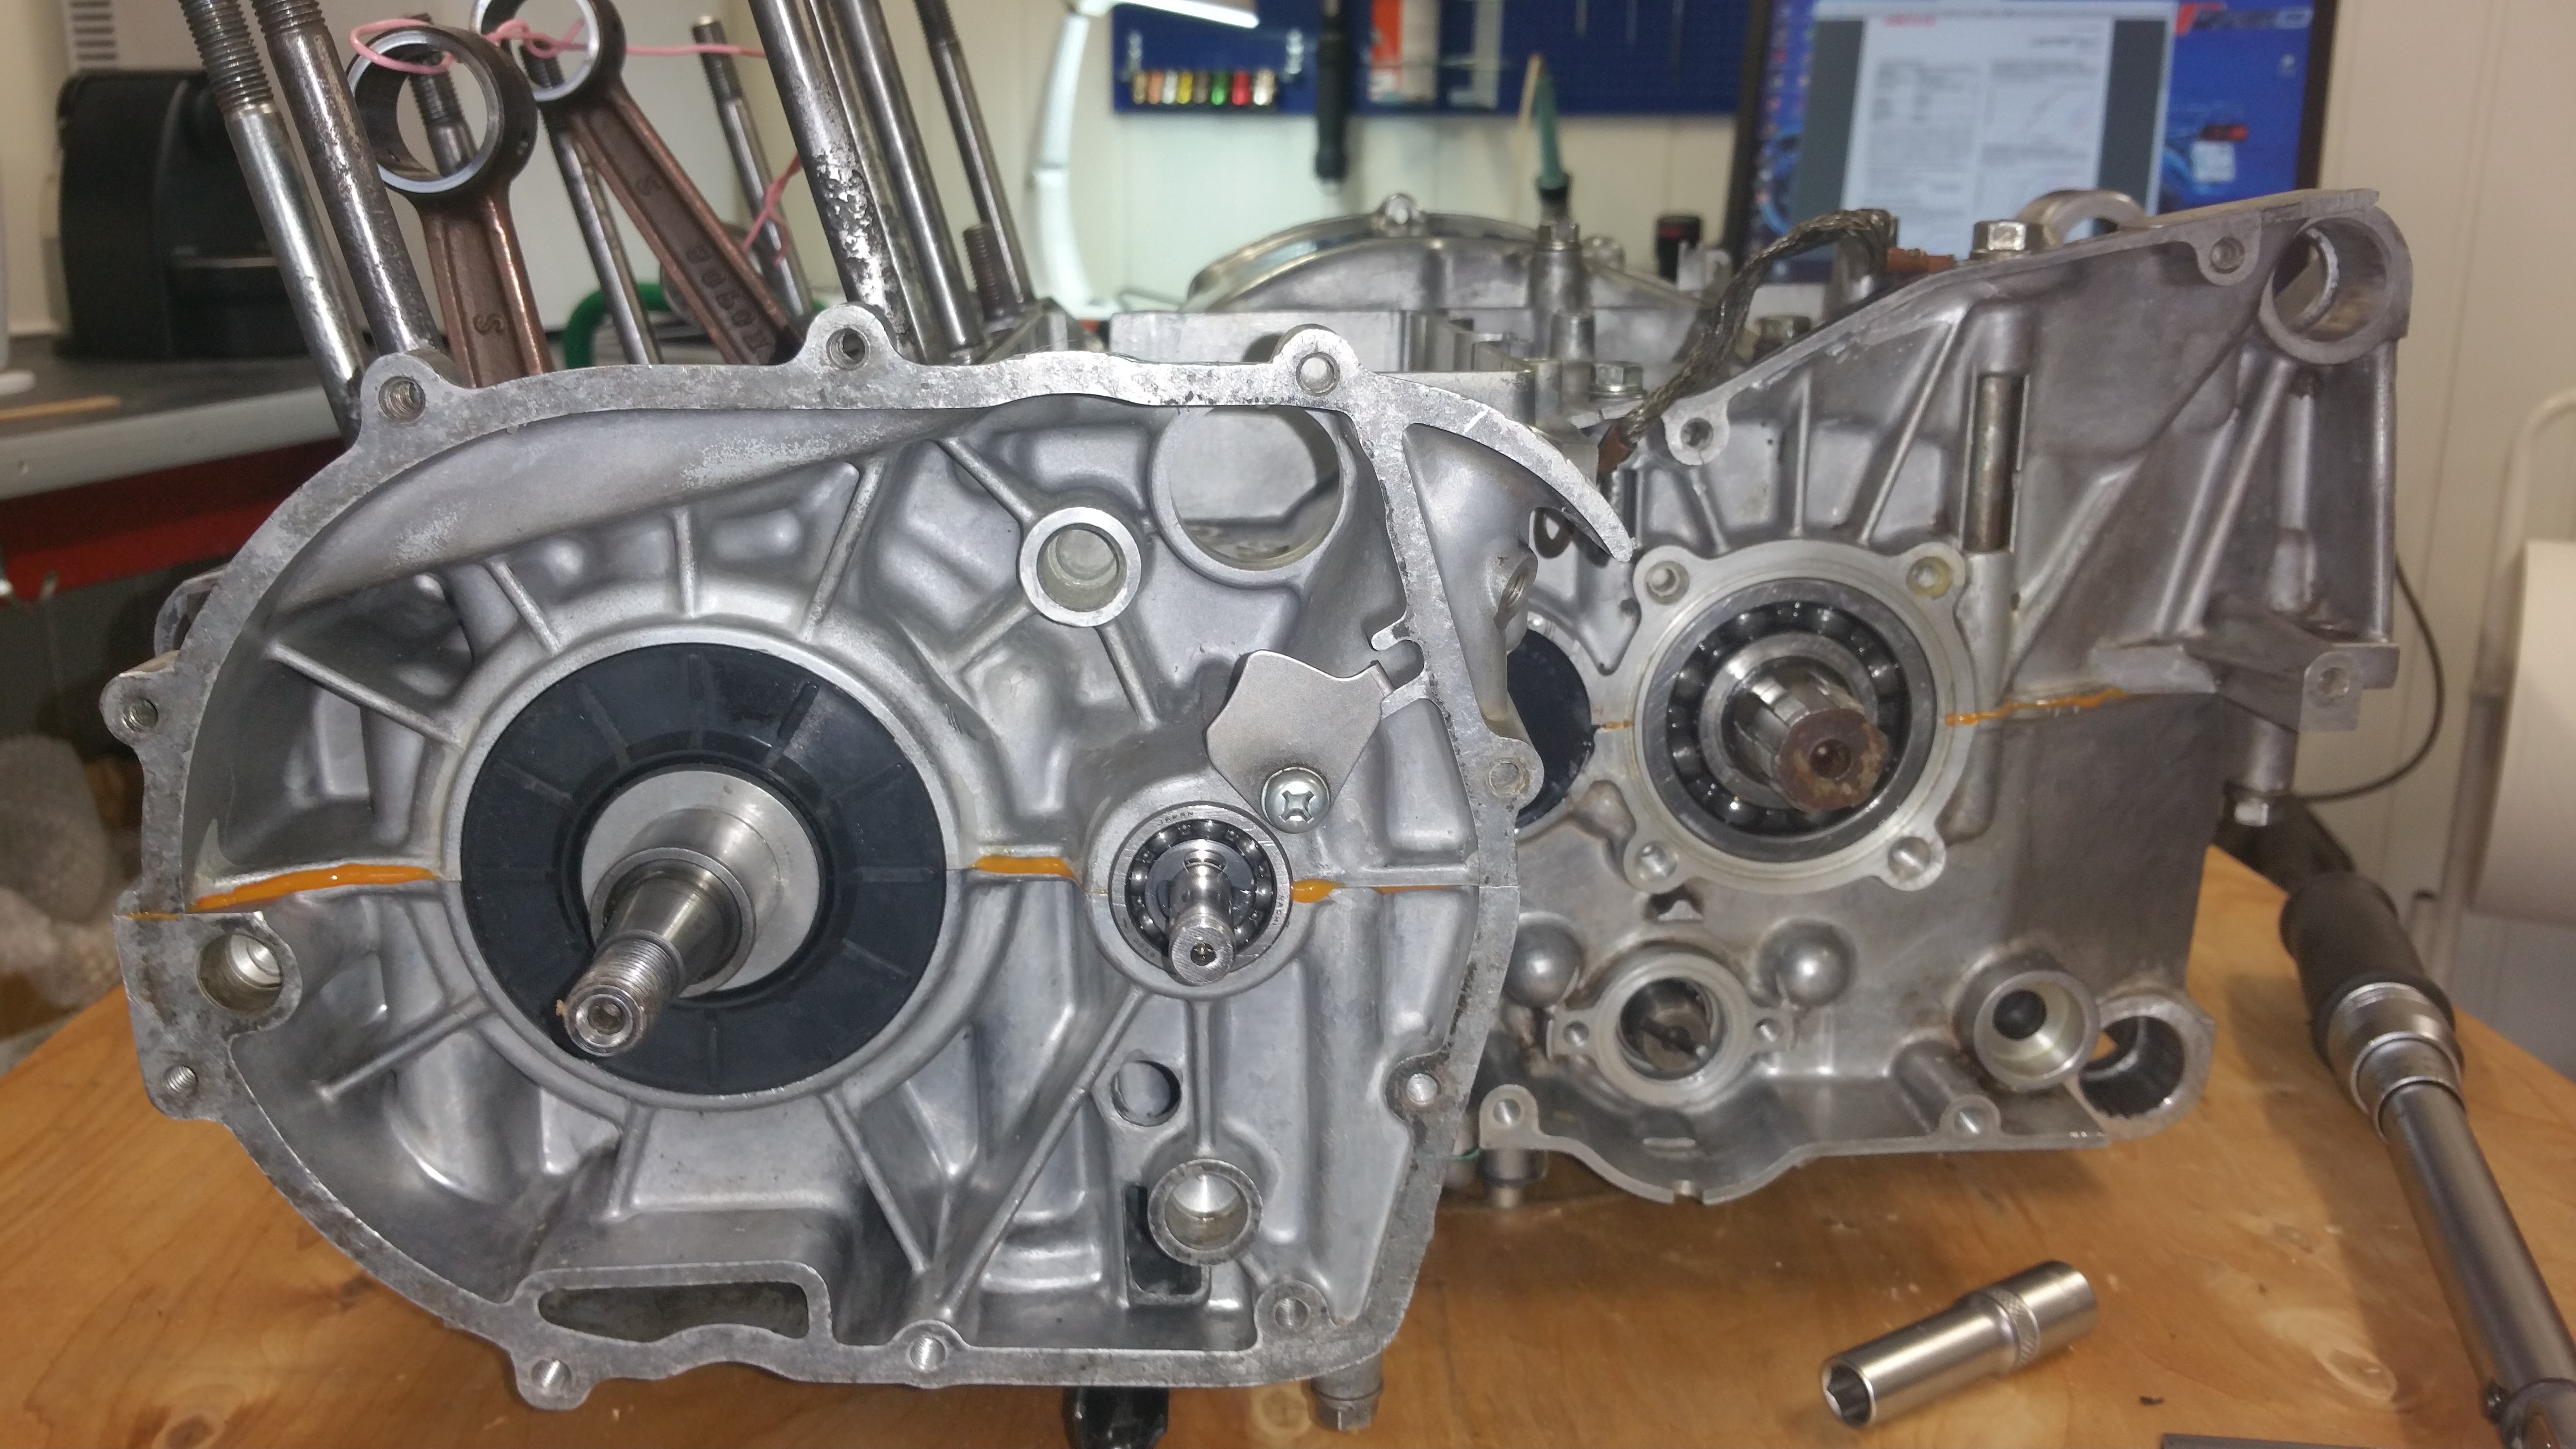
After some evaluation and testing of the Suzuki seal I think it’s might be good after all. After few minutes in air it changes to a more sticky paste. Totally different from the Loctite 574. The Loctite is curing after it is pressed against the alu surfaces, not in air. Then, what to use ? Since I had bought the modern stuff from Loctite and it’s made for this purpose I took the Loctite and applied the glue according to the instructions in the data sheet. It’s recommended to apply in one string and on only one surface. On the bottom case I only took some glue around the o-ring connecting the water pump. Remember to add some silicone seal around the black plastic cover at the end of the gear shaft.
Step 2
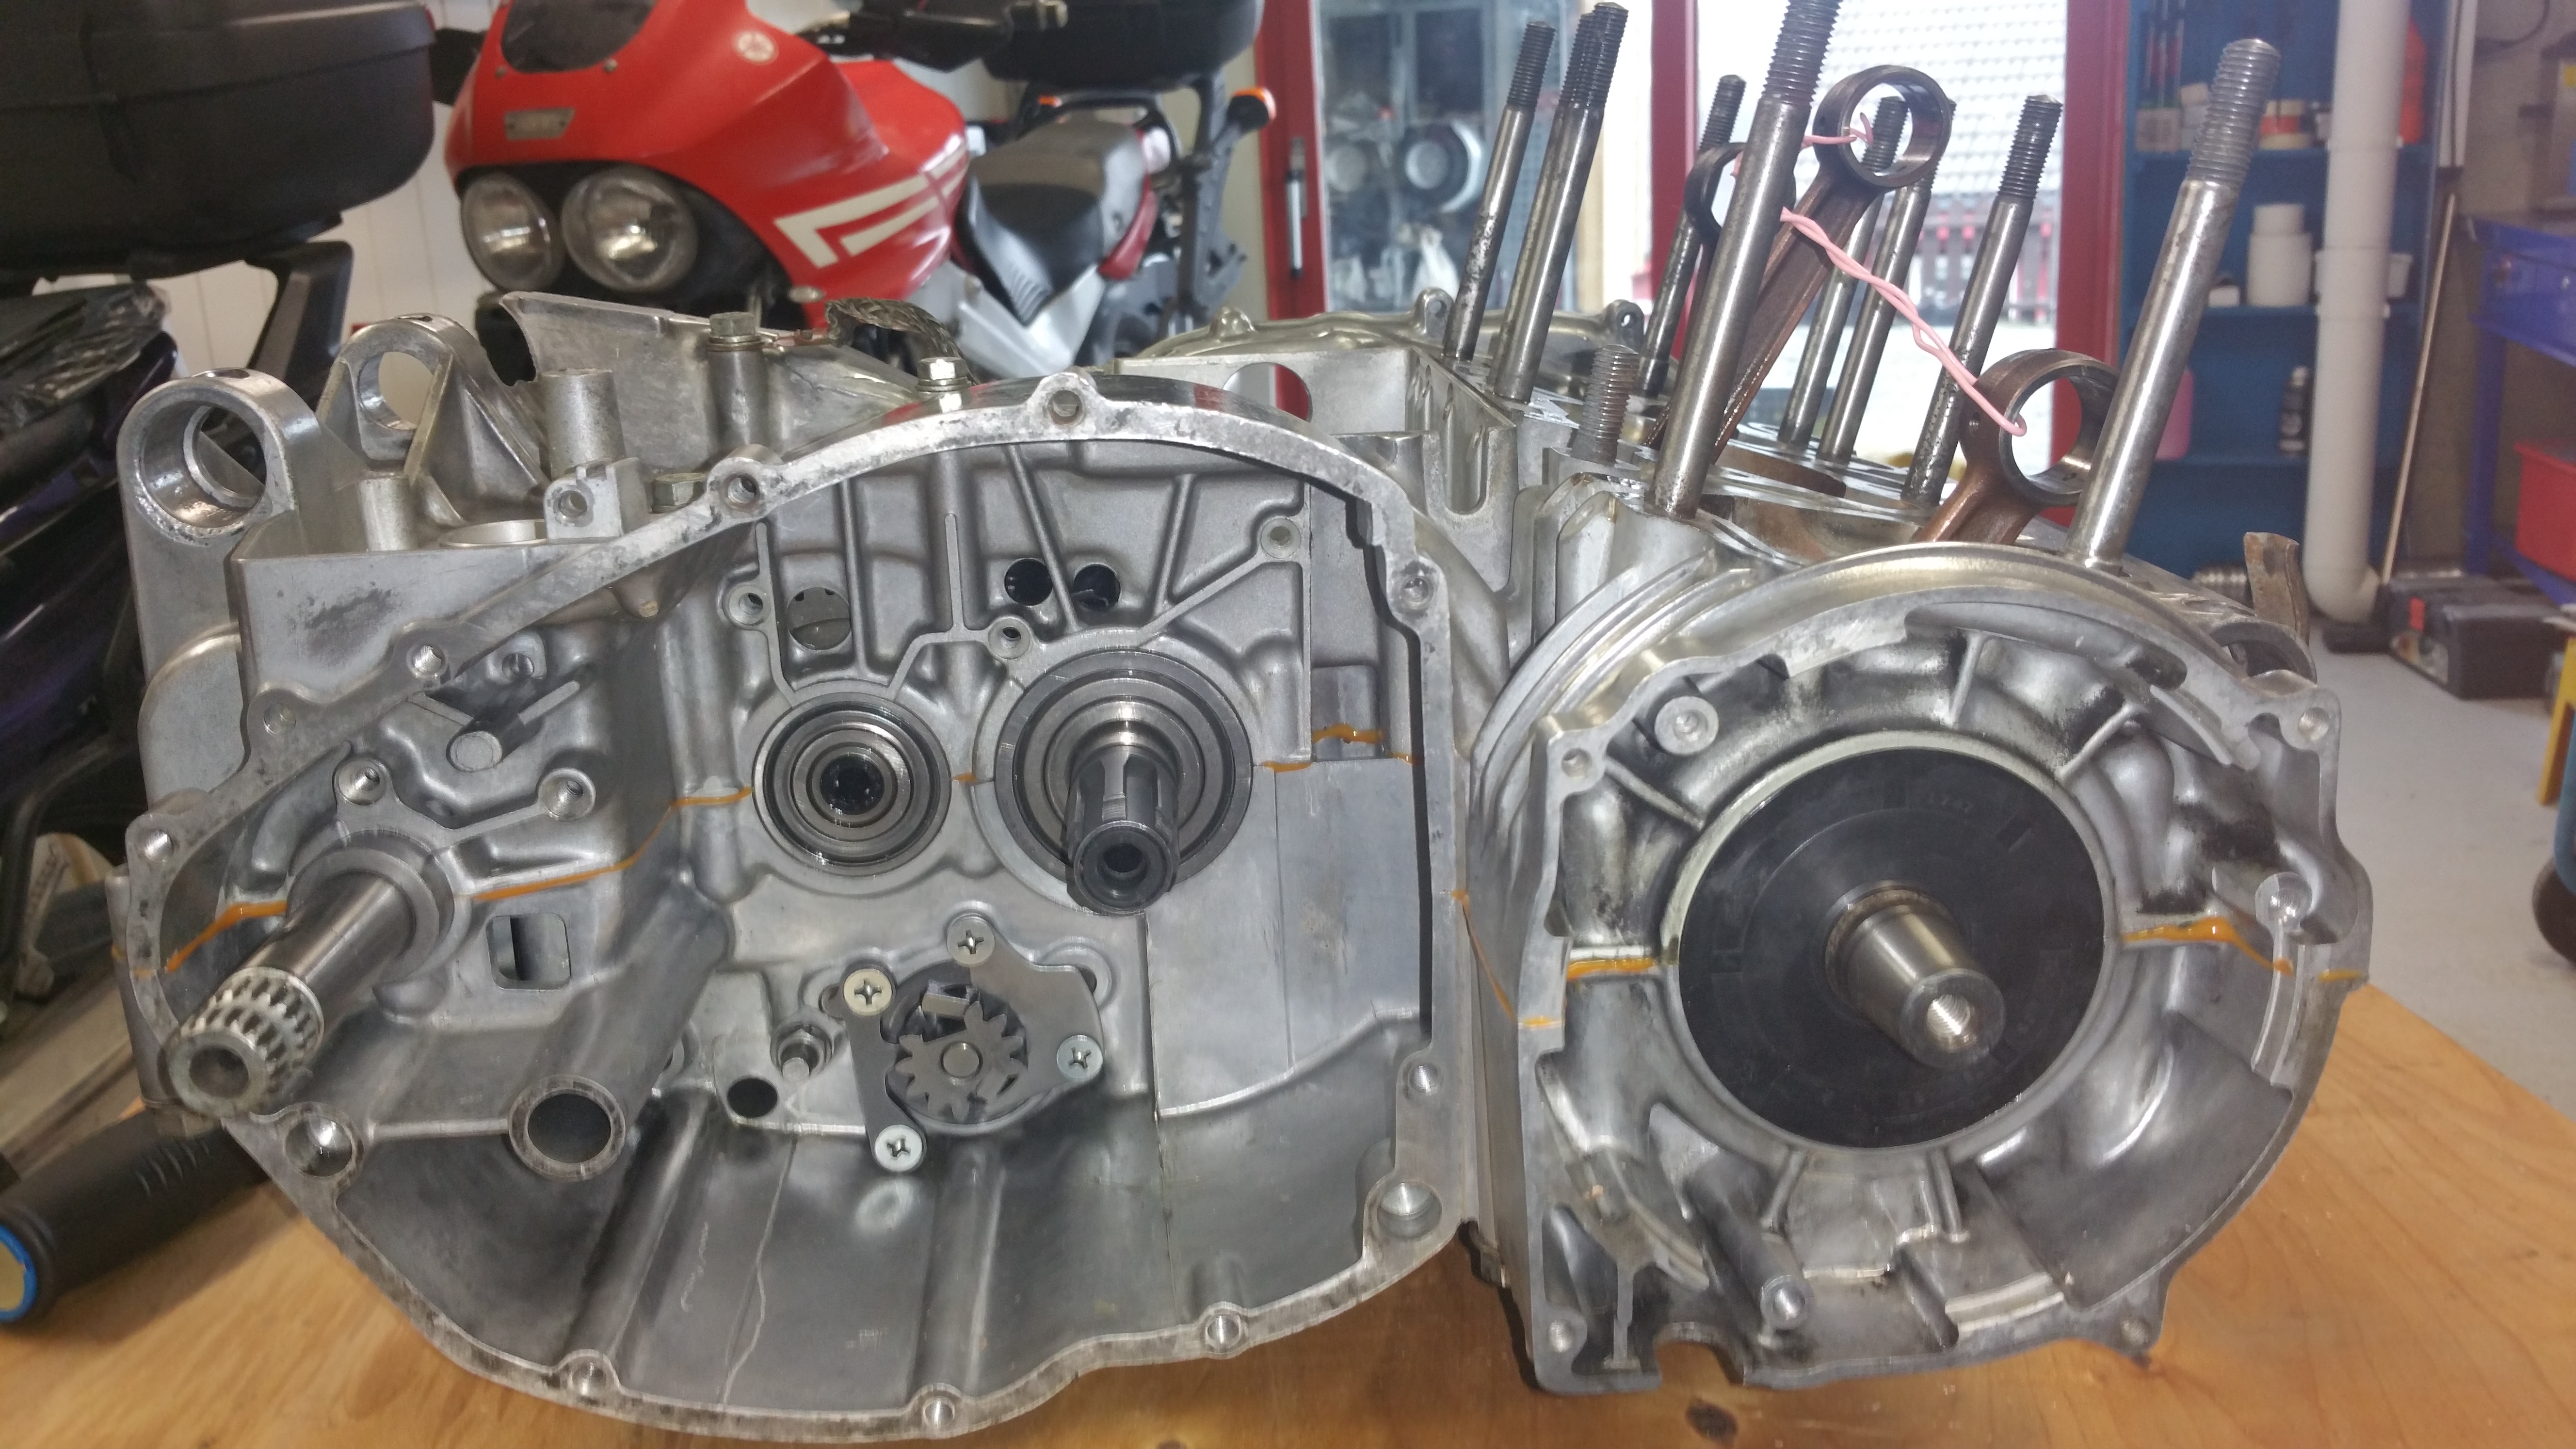
Mount the top case and install all the bolts on the top side. Secure the bolts but don’t use the maximum torque at this stage. Check to see the crankshaft is still movable.
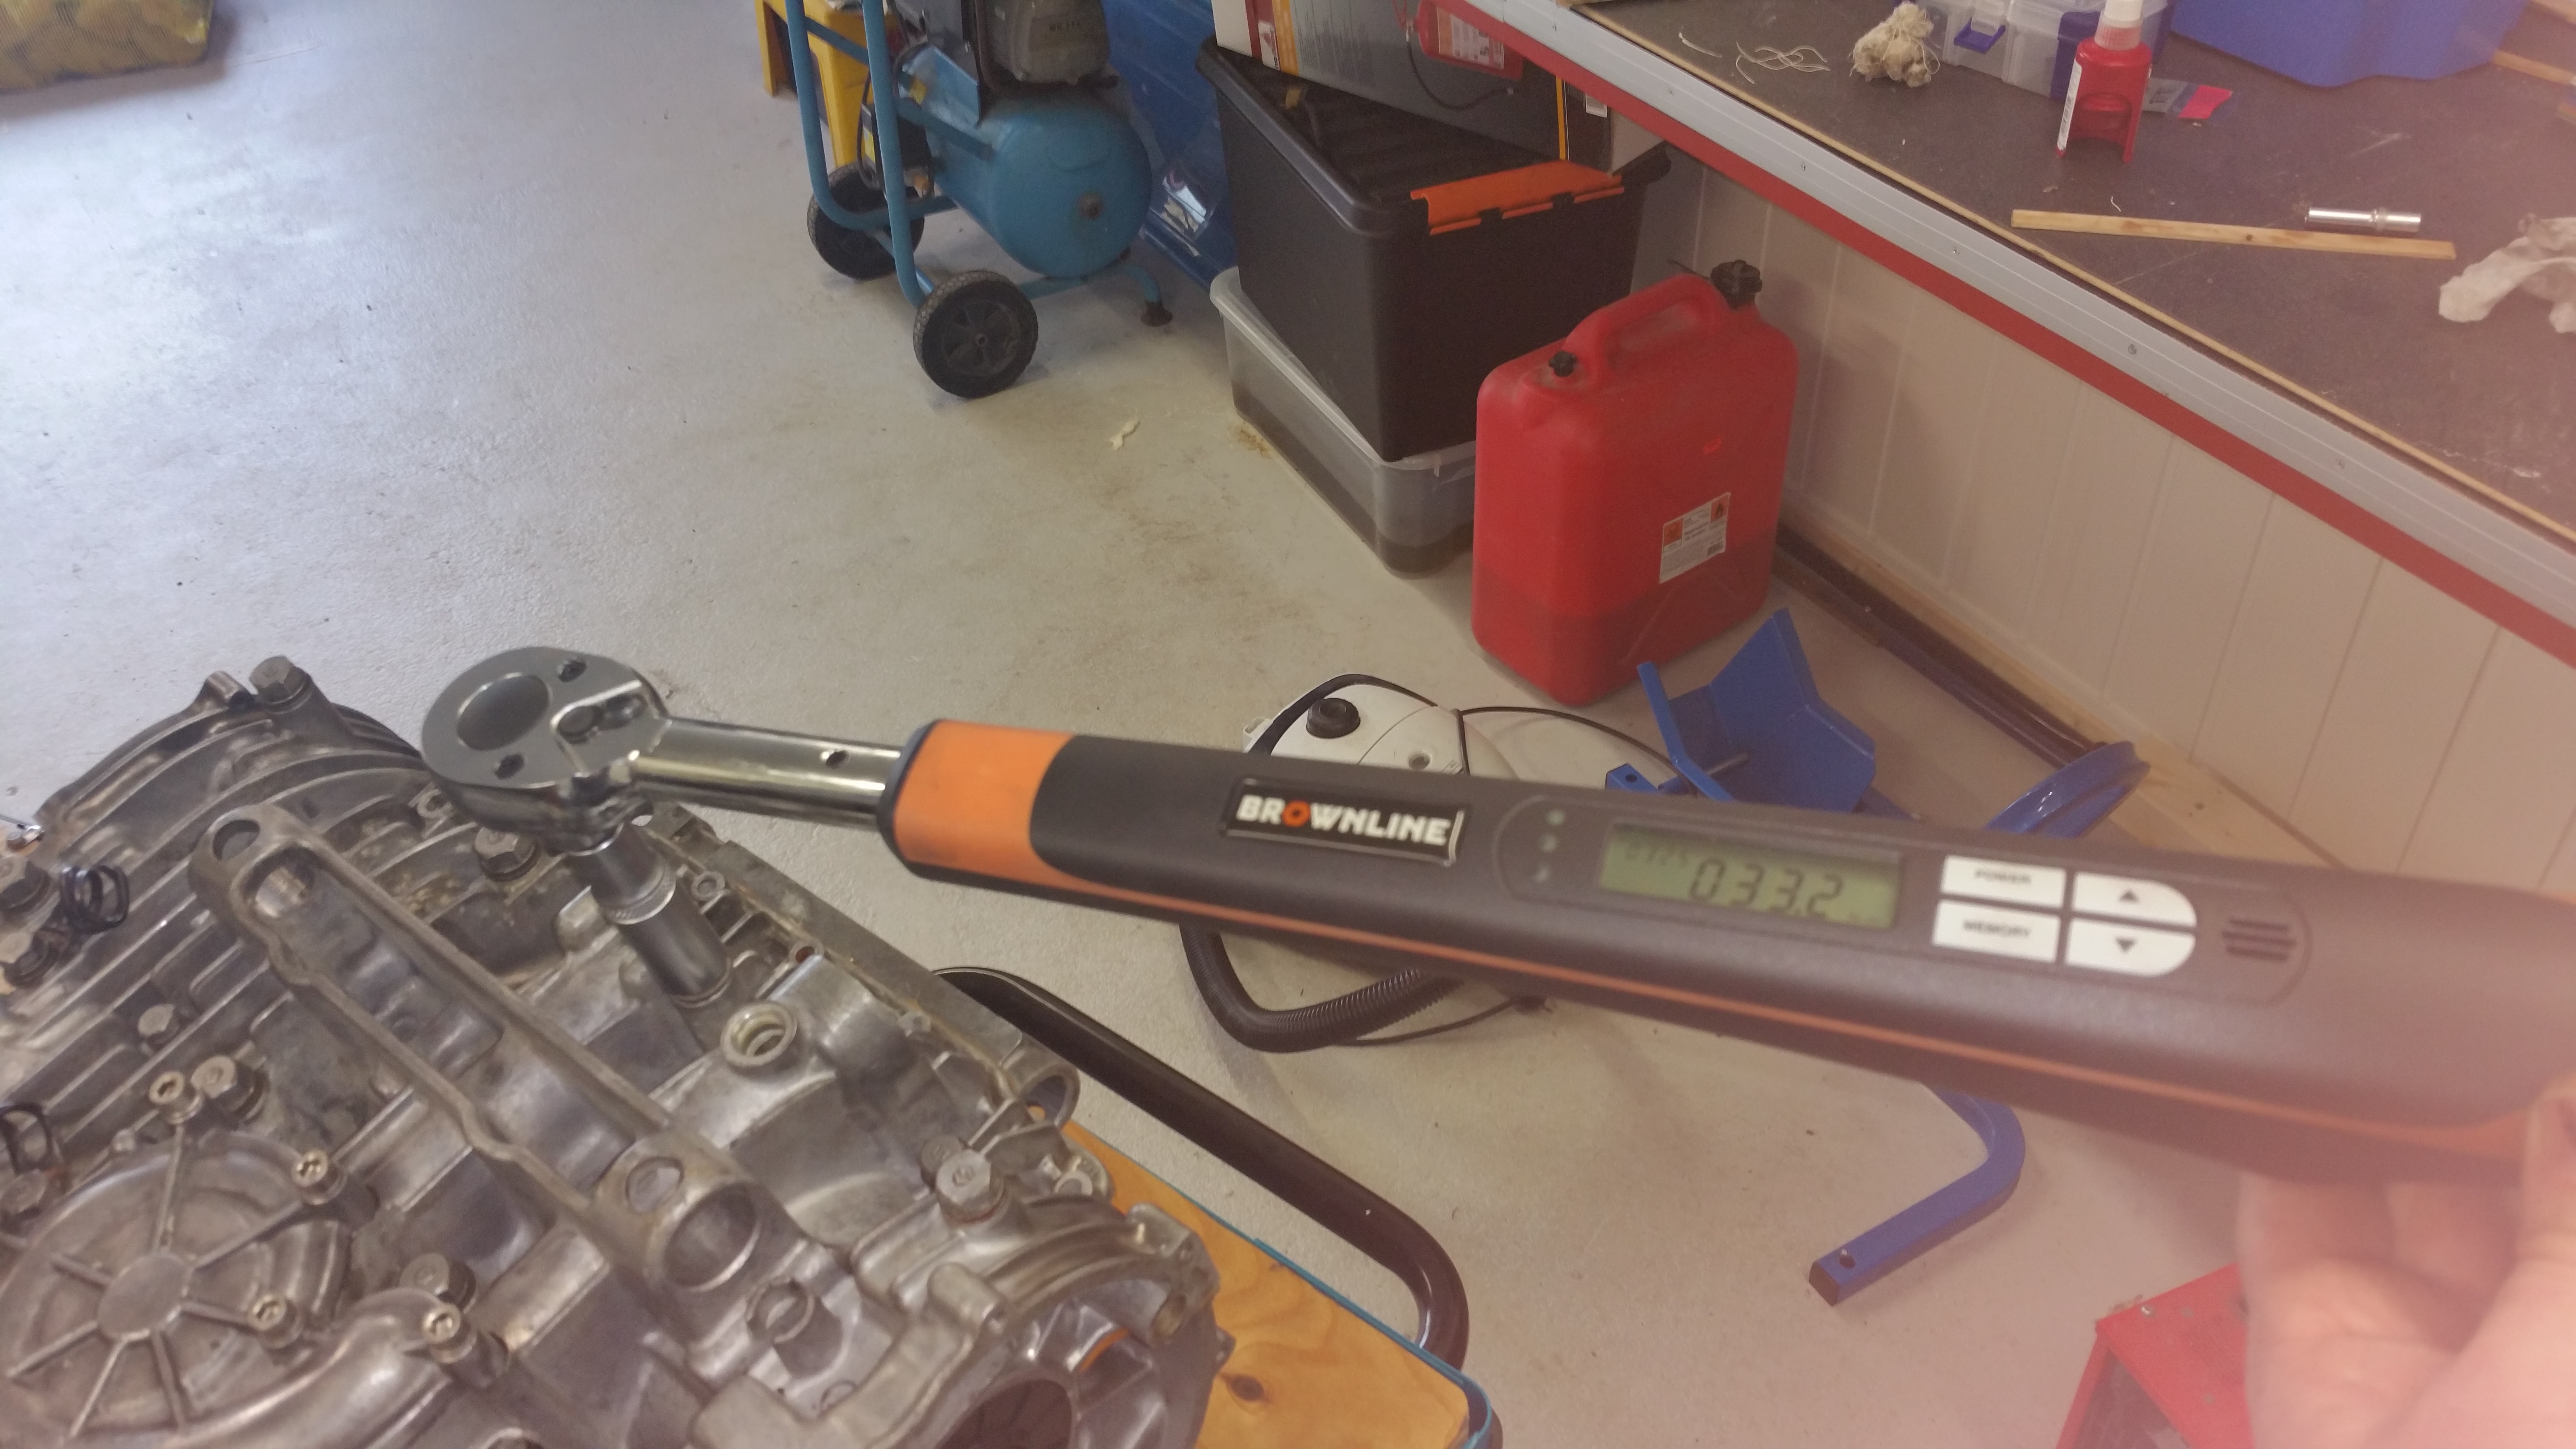
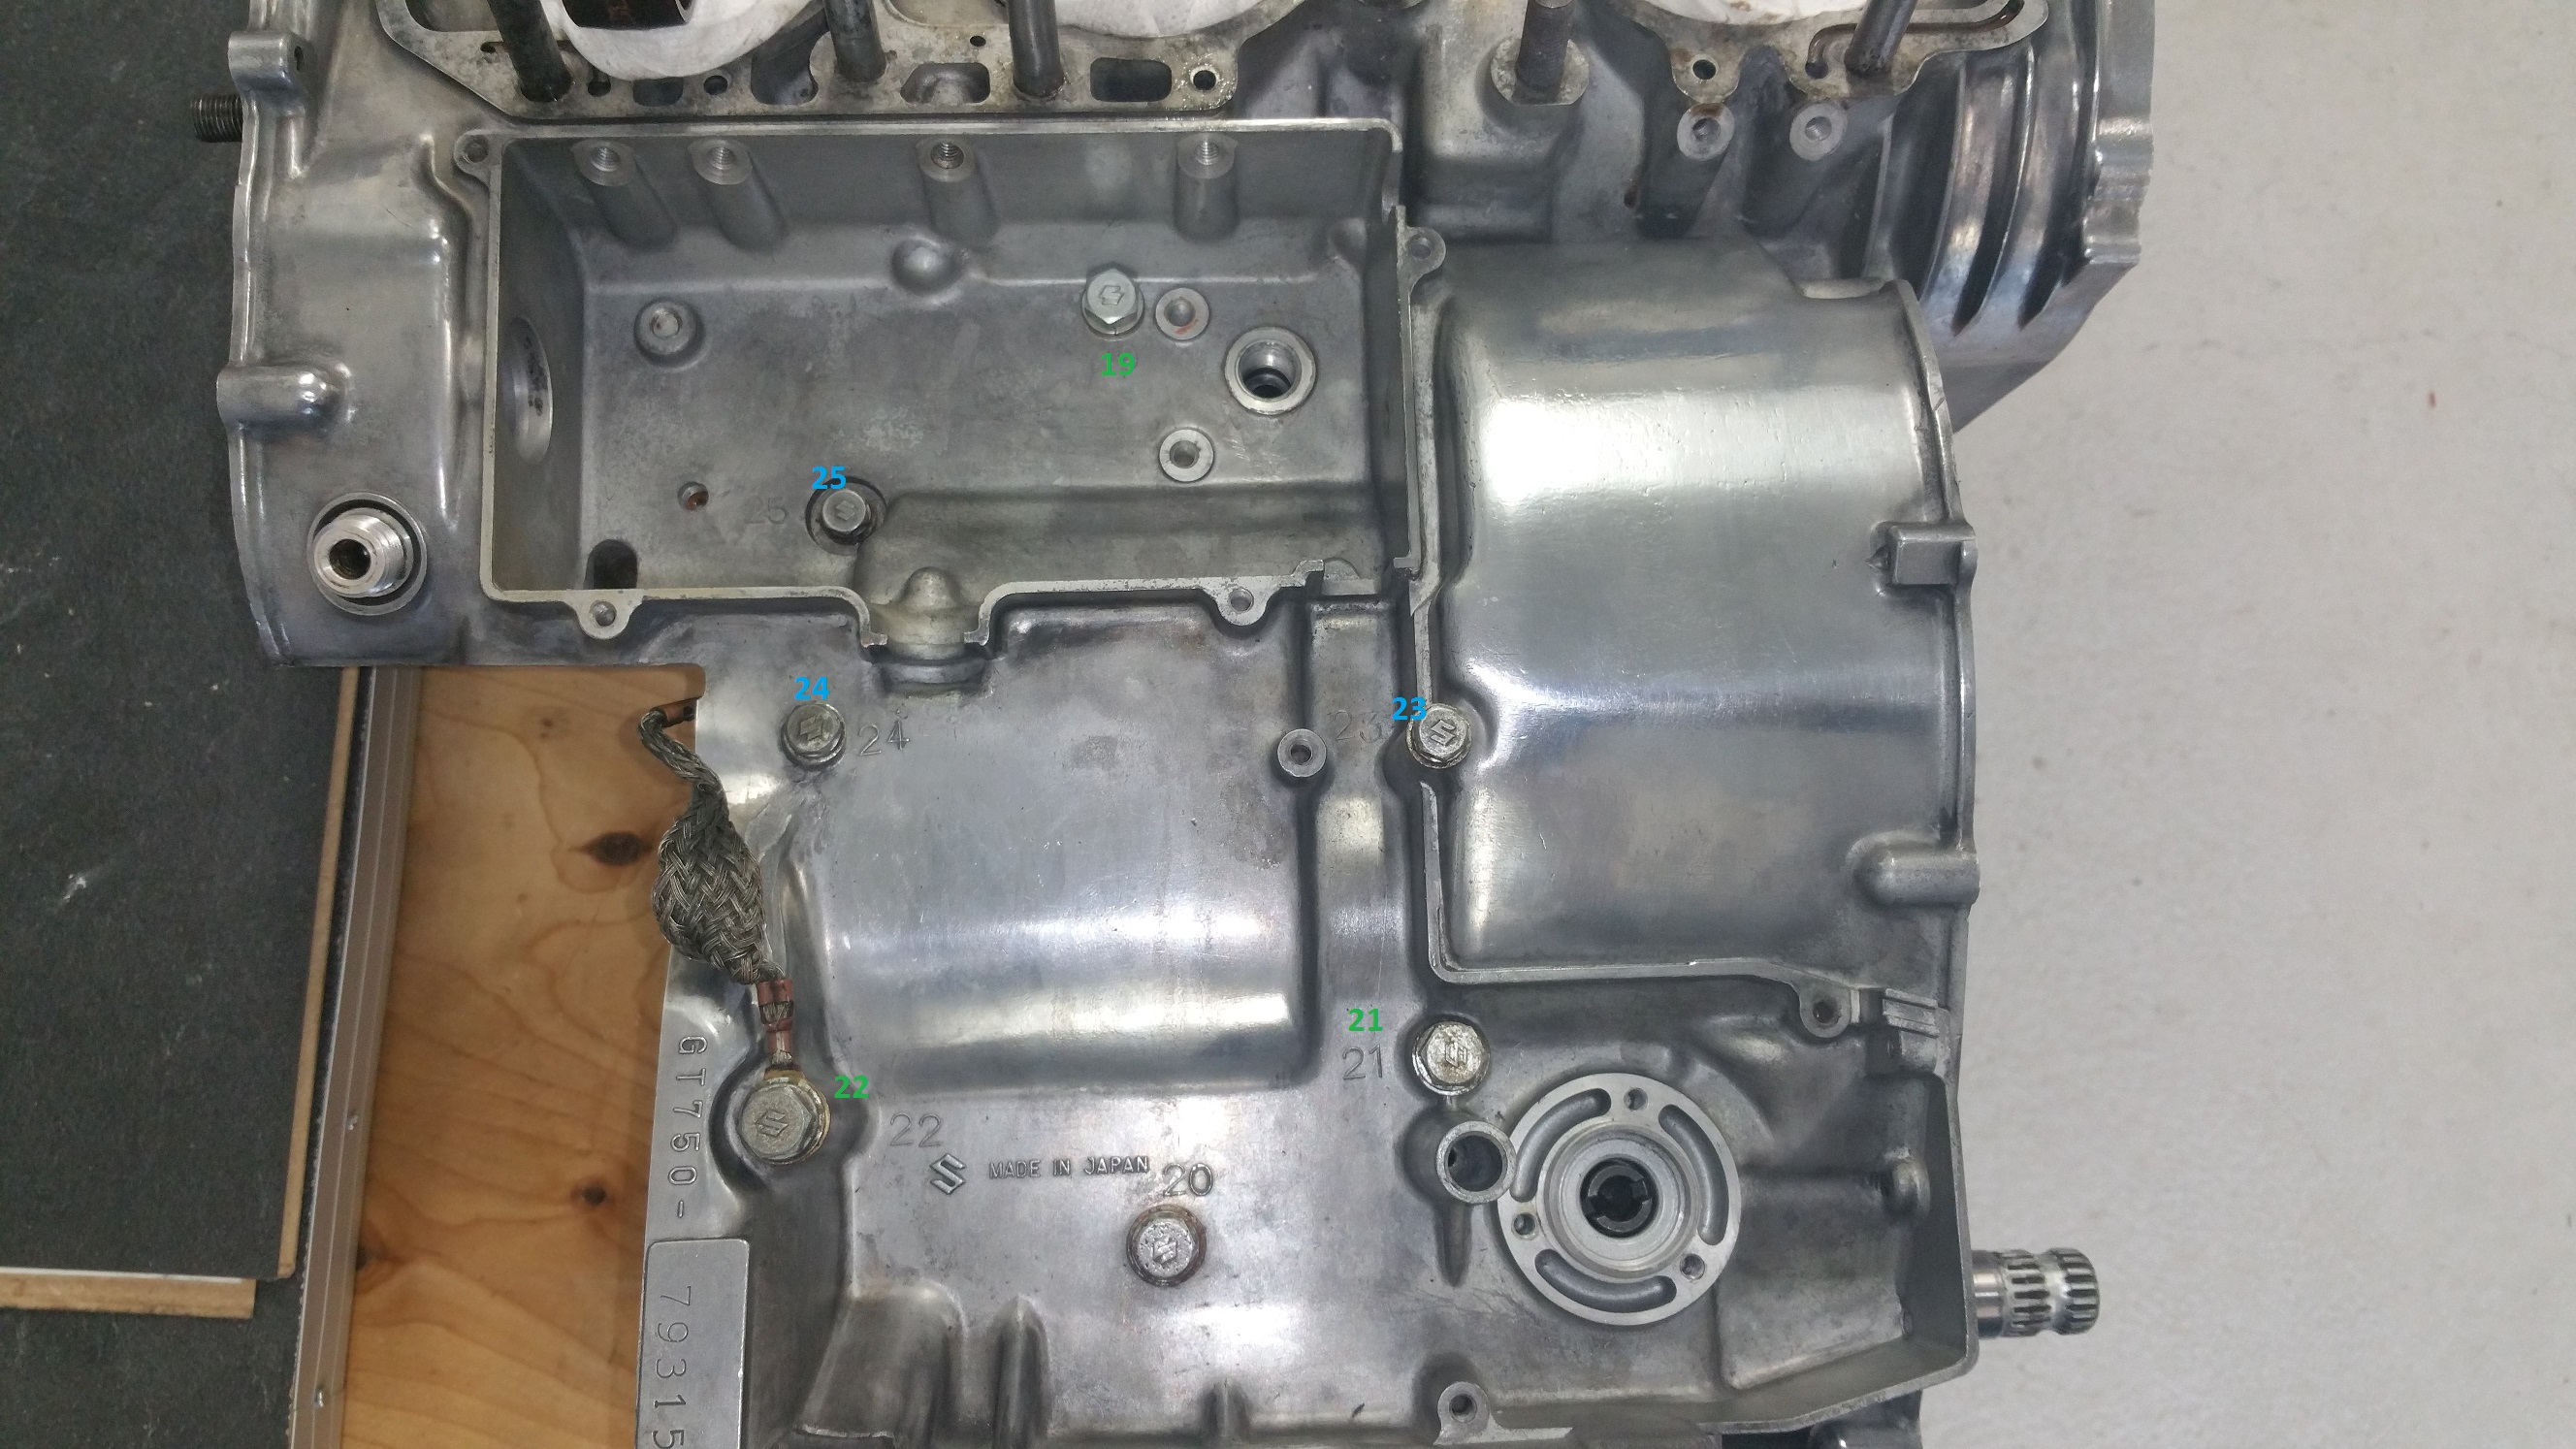
Turn around the engine to the bottom side and mount all the bolts according to the correct torque settings. And now is the pay off time for using a carton to keep track of the placements.

Please see the placement order and torque settings below. I have labeled 6mm bolts blue, 8mm green and 10mm yellow.
Click on the images for detailed information
Since I live in Norway I use Nm as tourque settings.
10mm bolts 32Nm
8mm bolts 15 Nm
6mm bolts 8 Nm


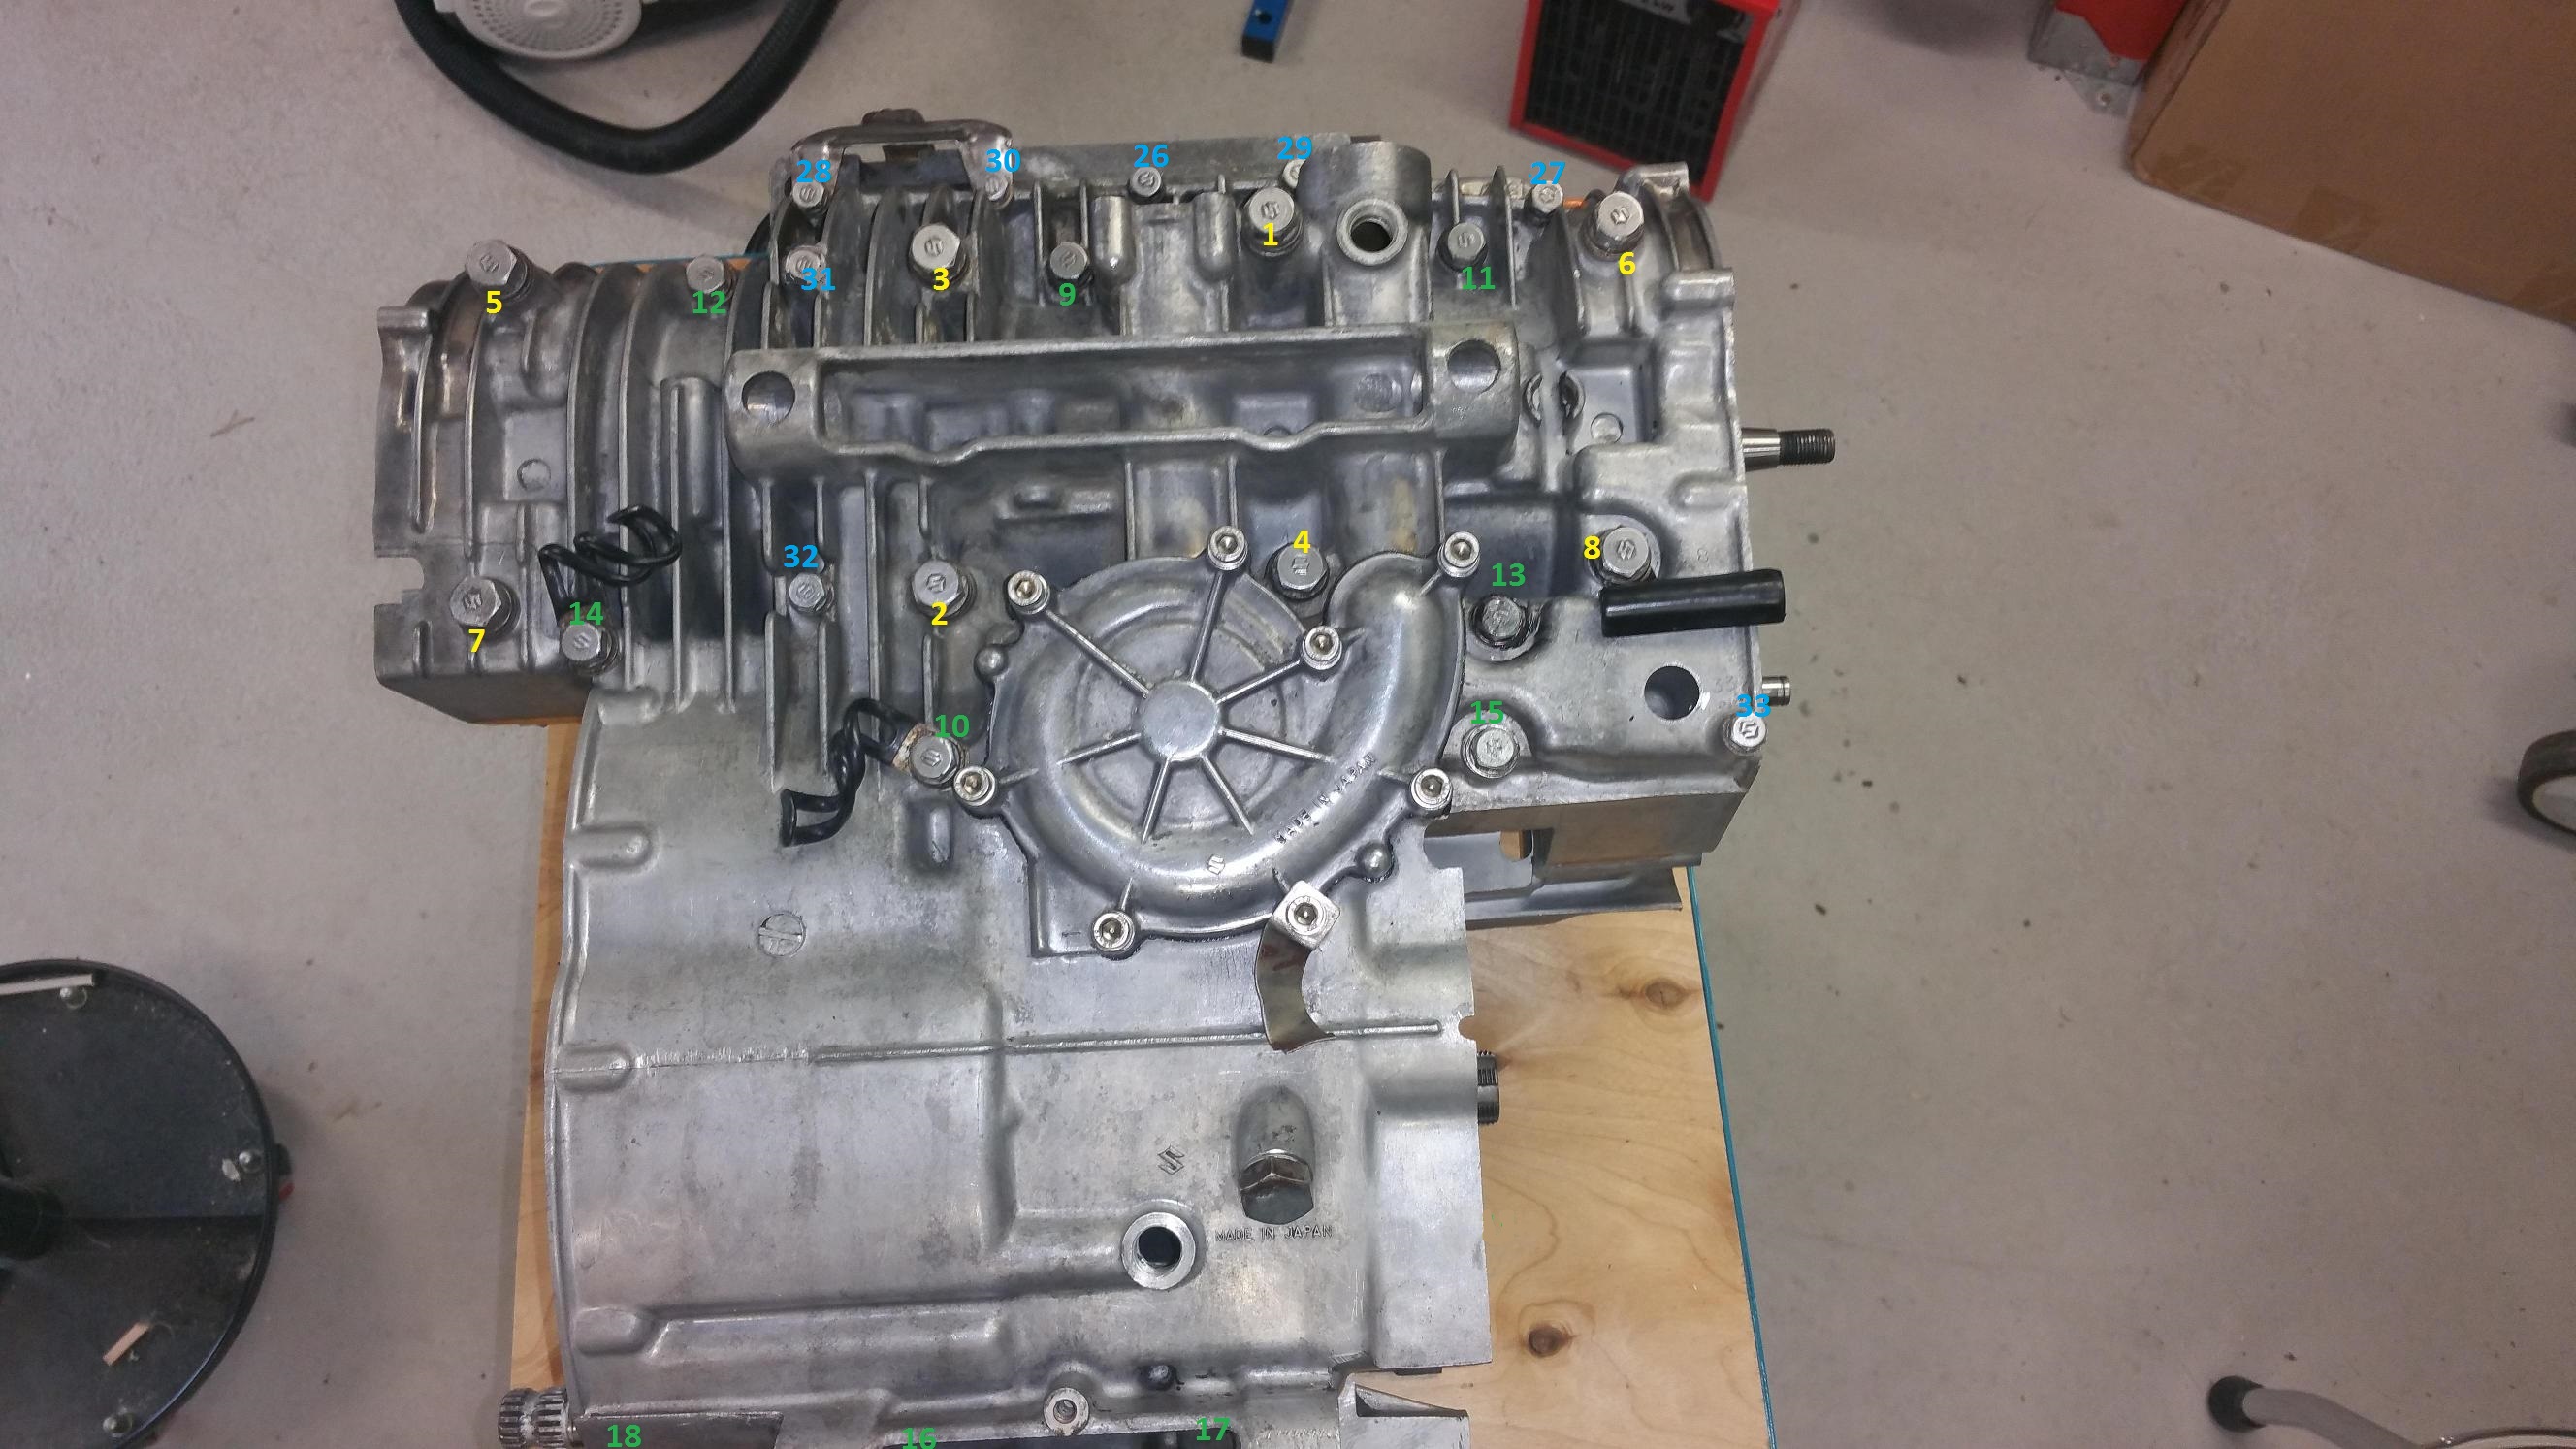
Bolt no 13 need a copper or alu washer + some extra silicone sealing
Step 3
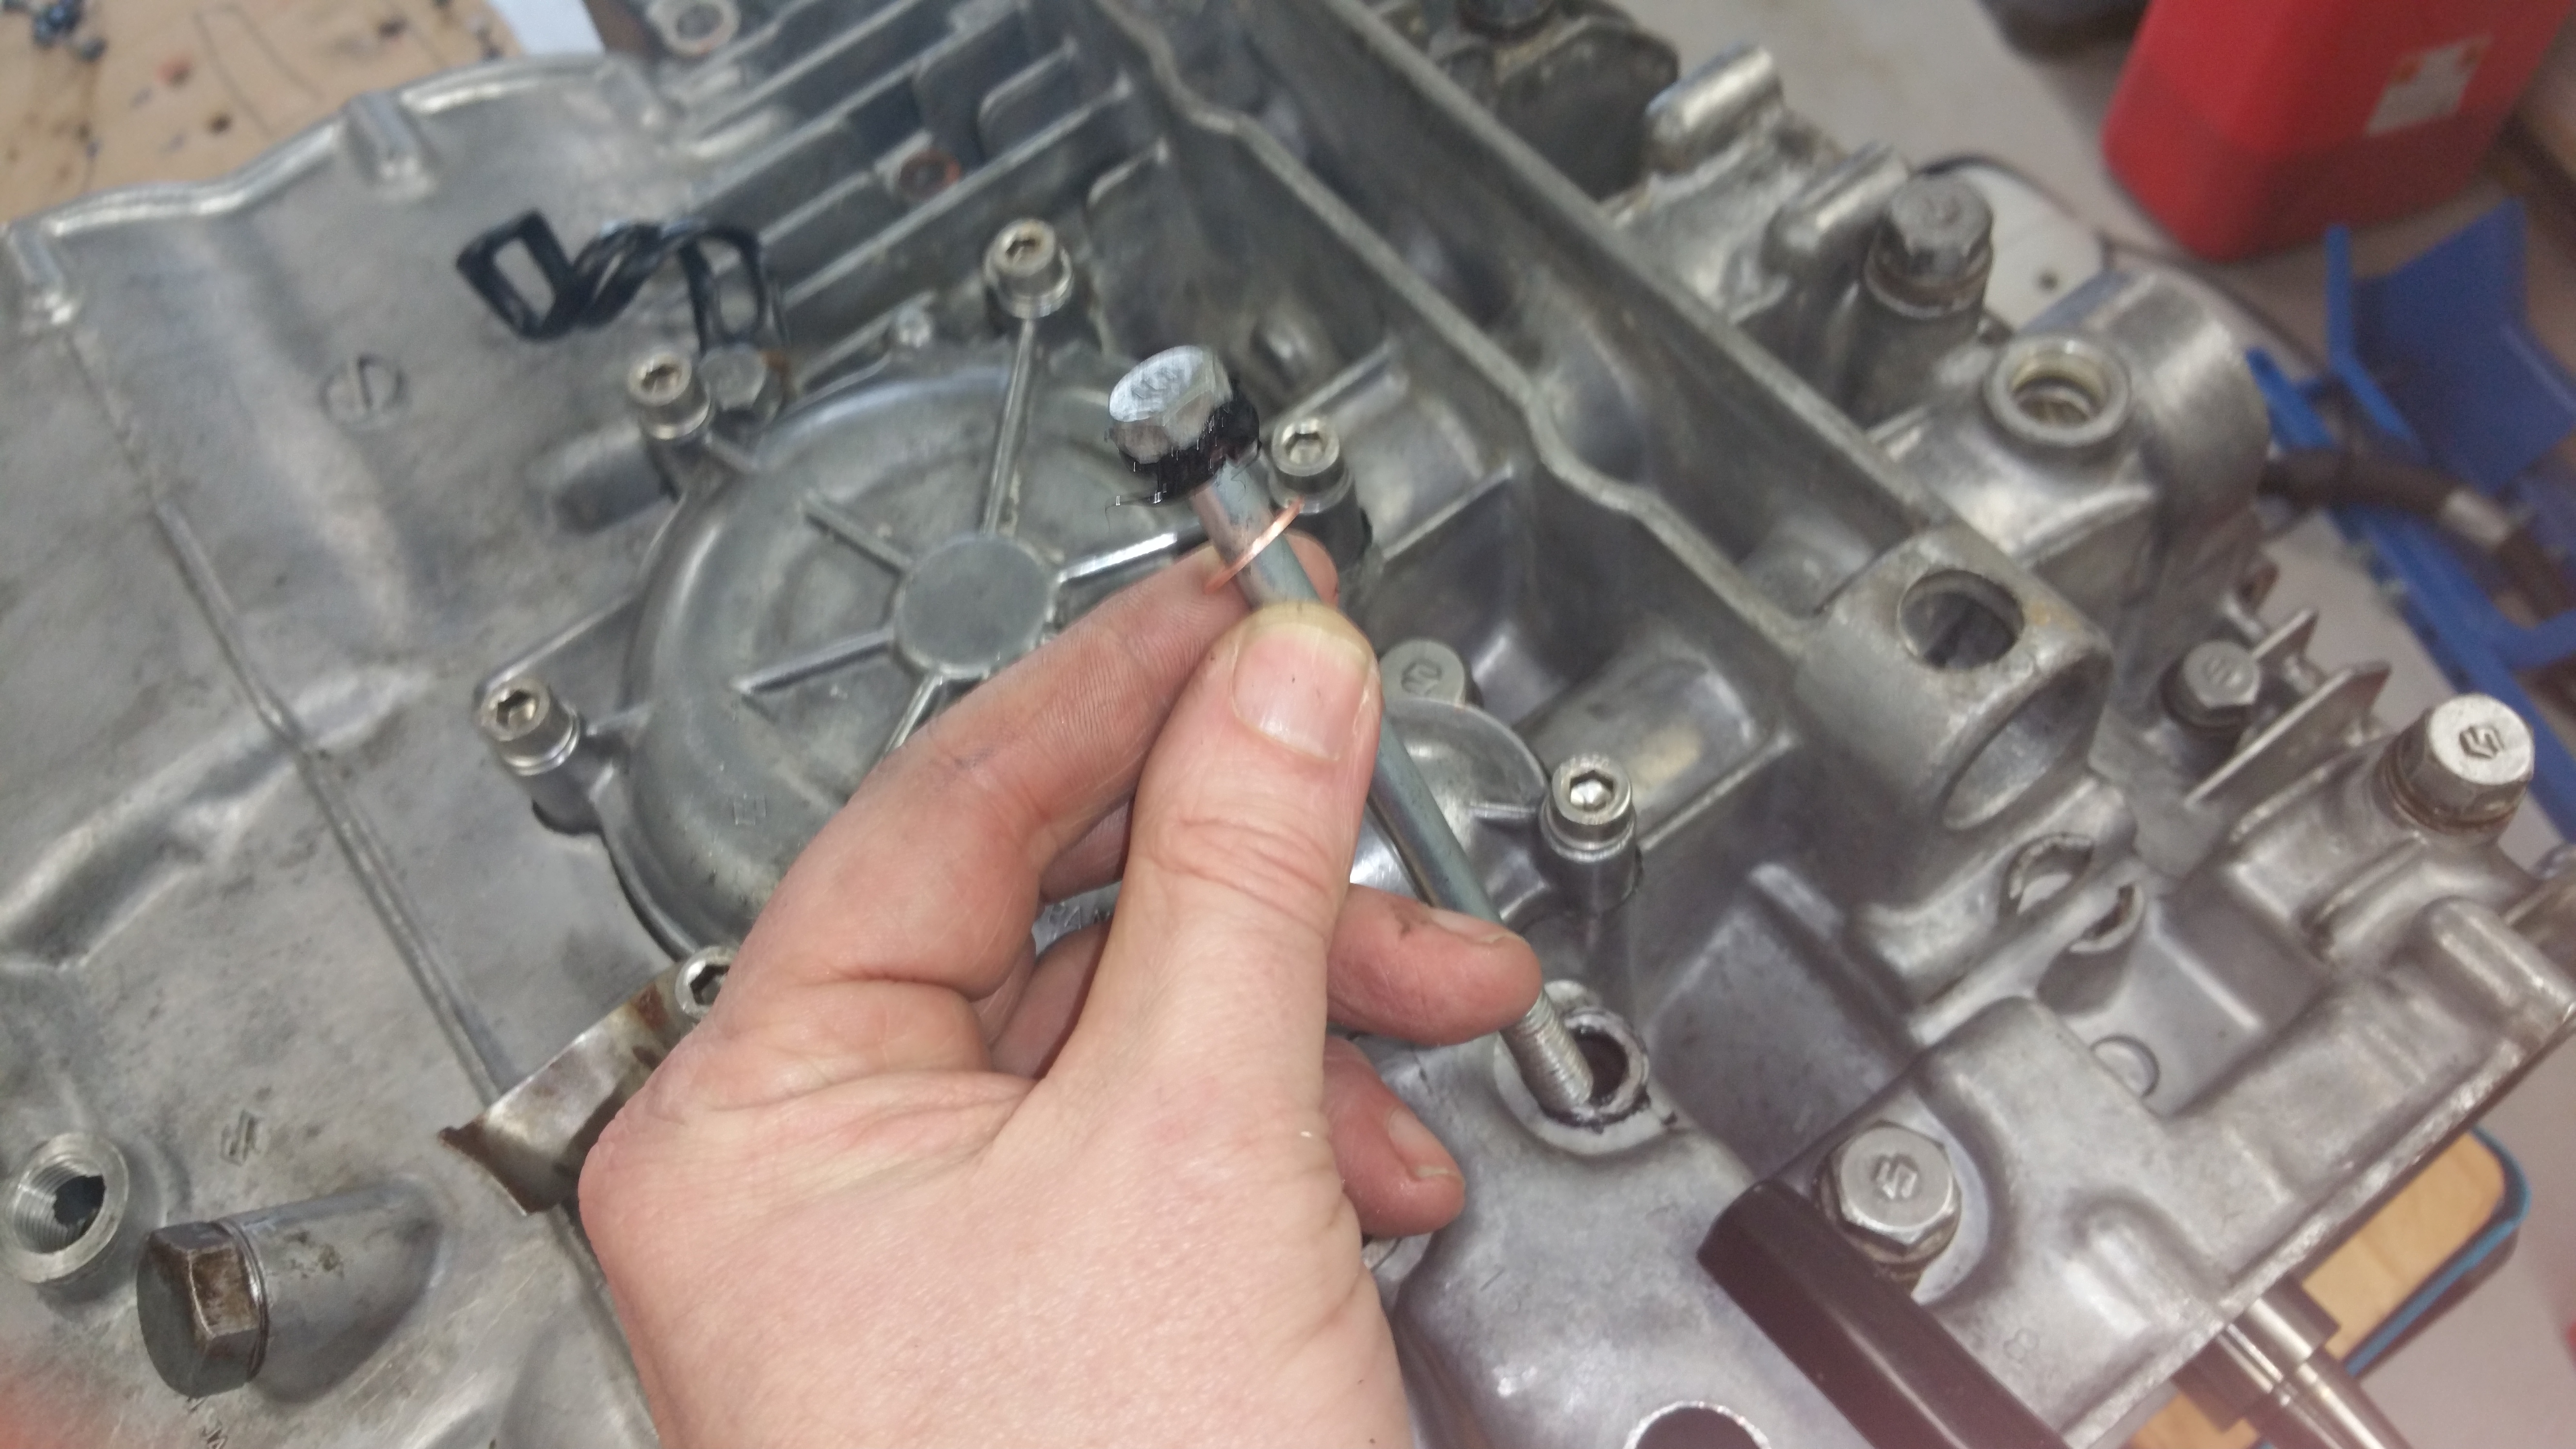
Installing the tachometer drive.
Mount a 6mm screw at the top to secure the inner part.
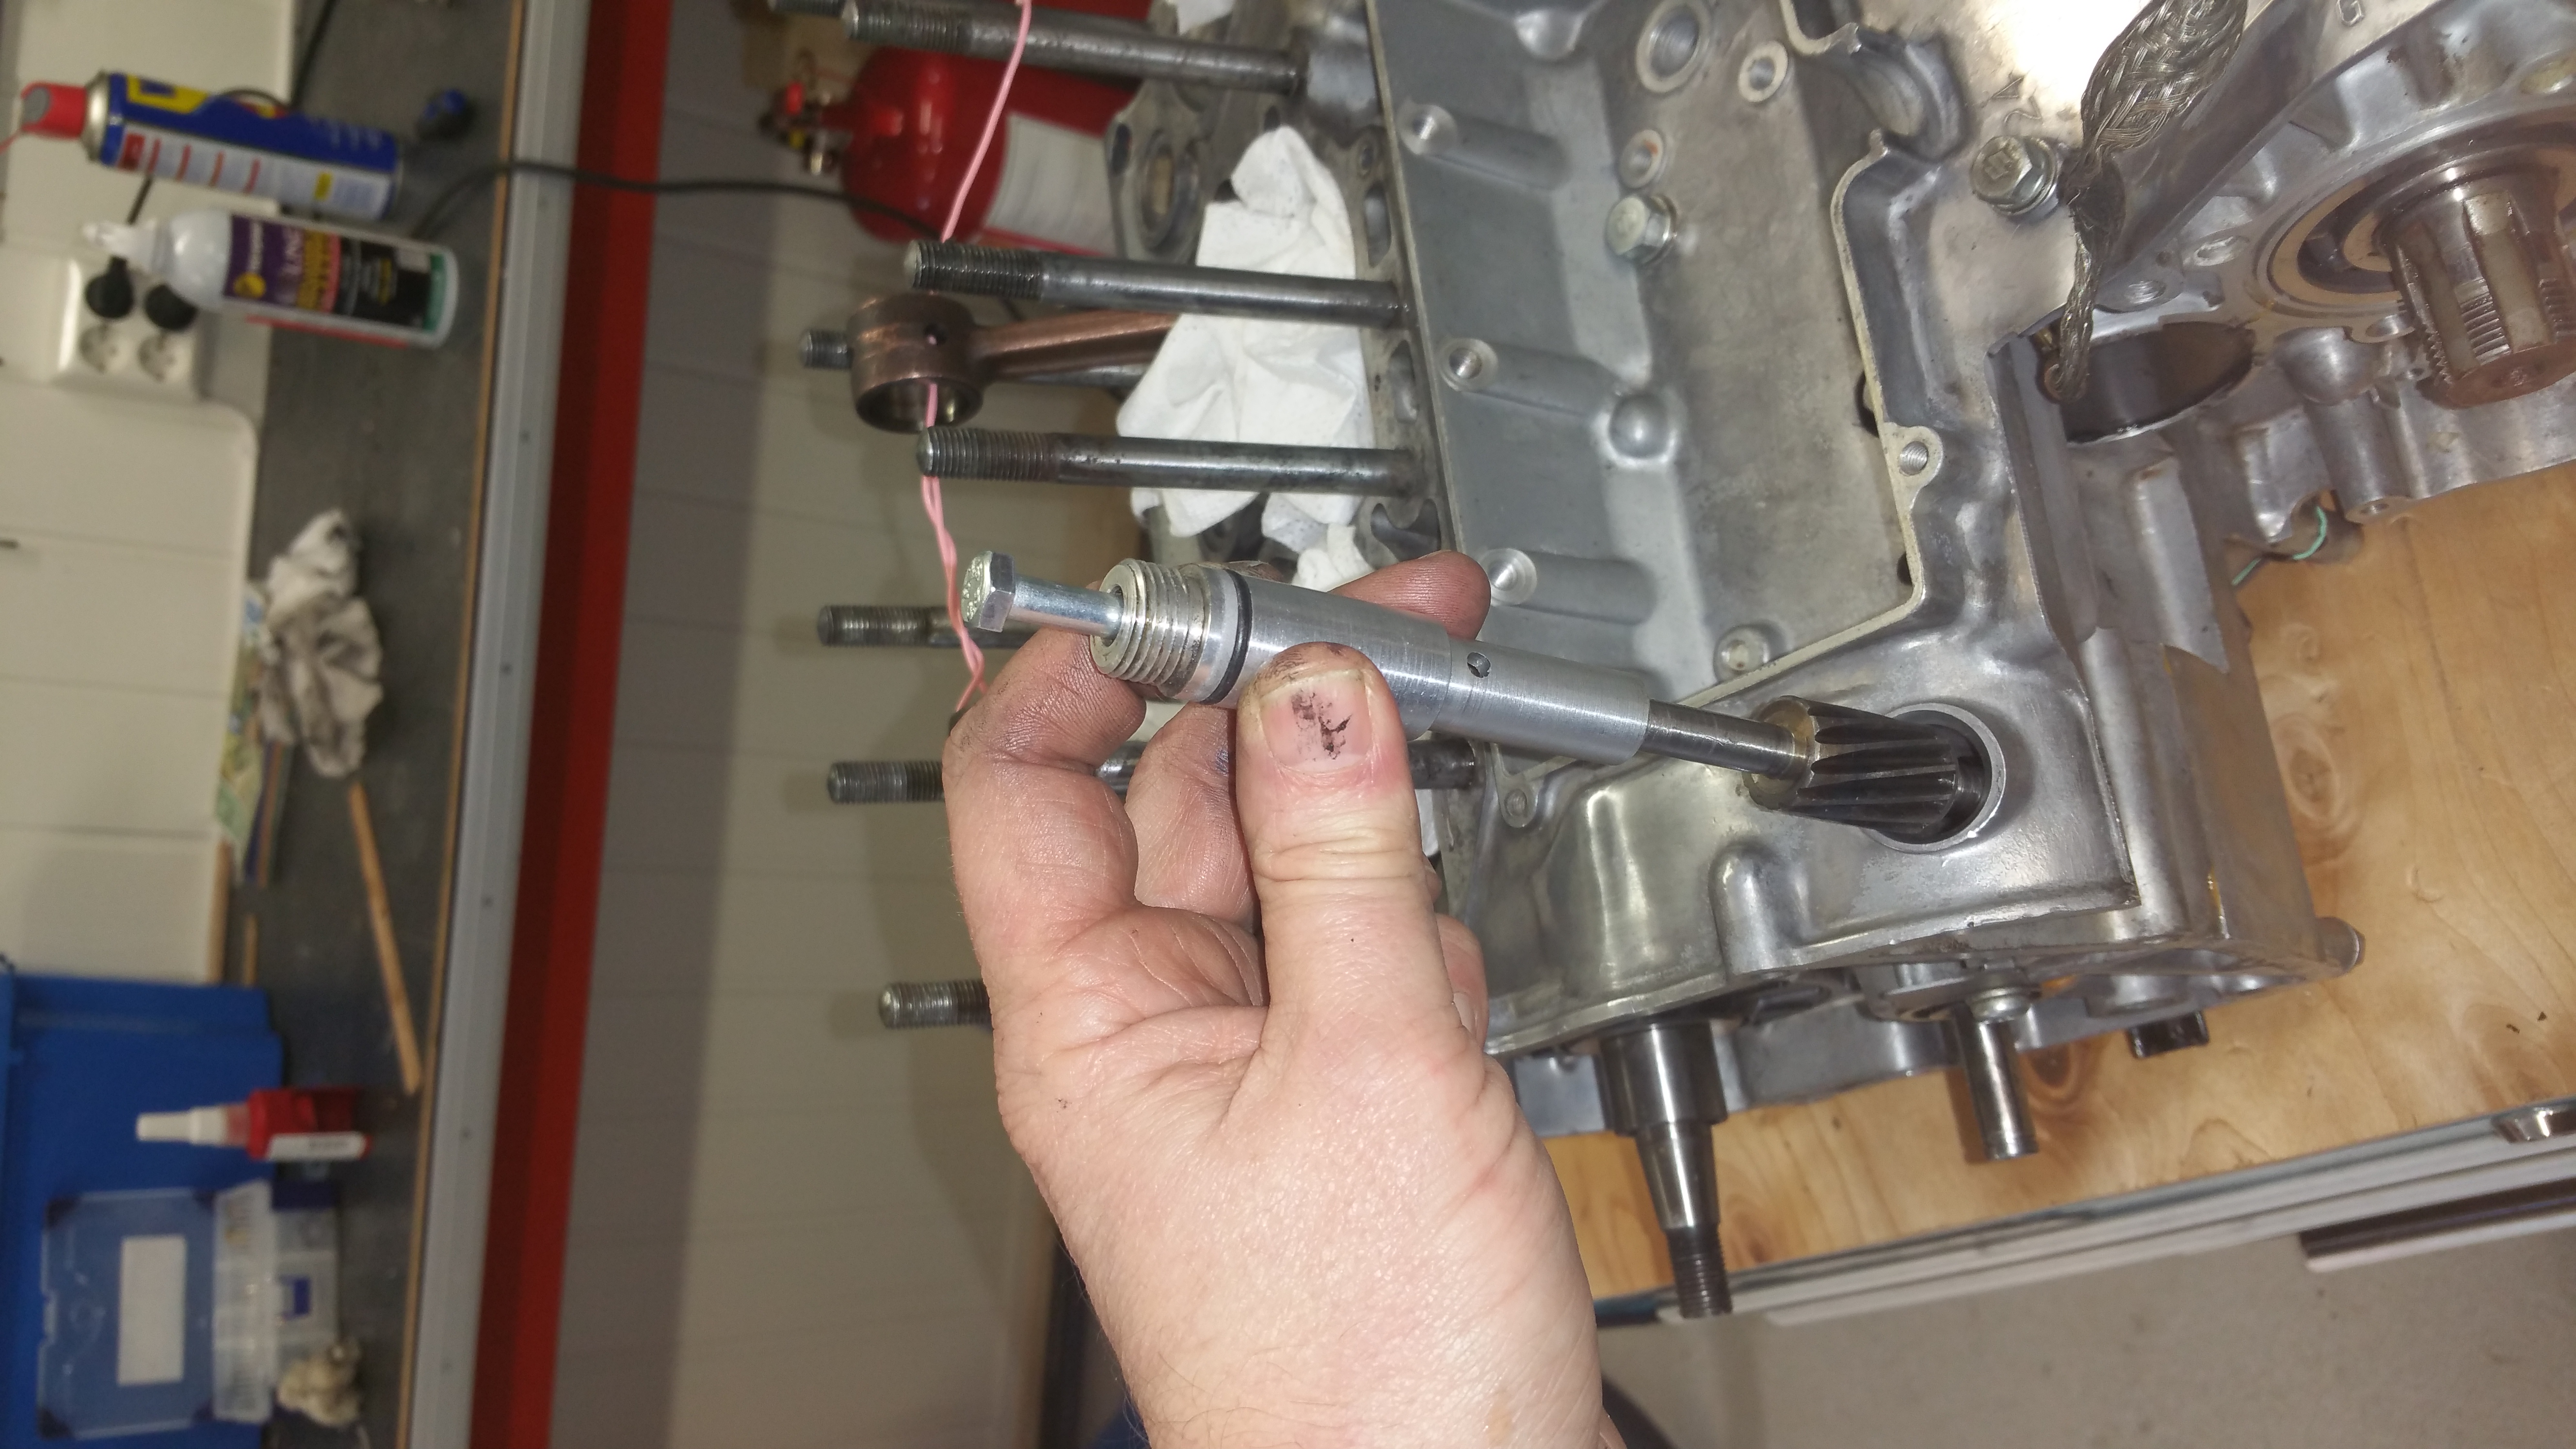
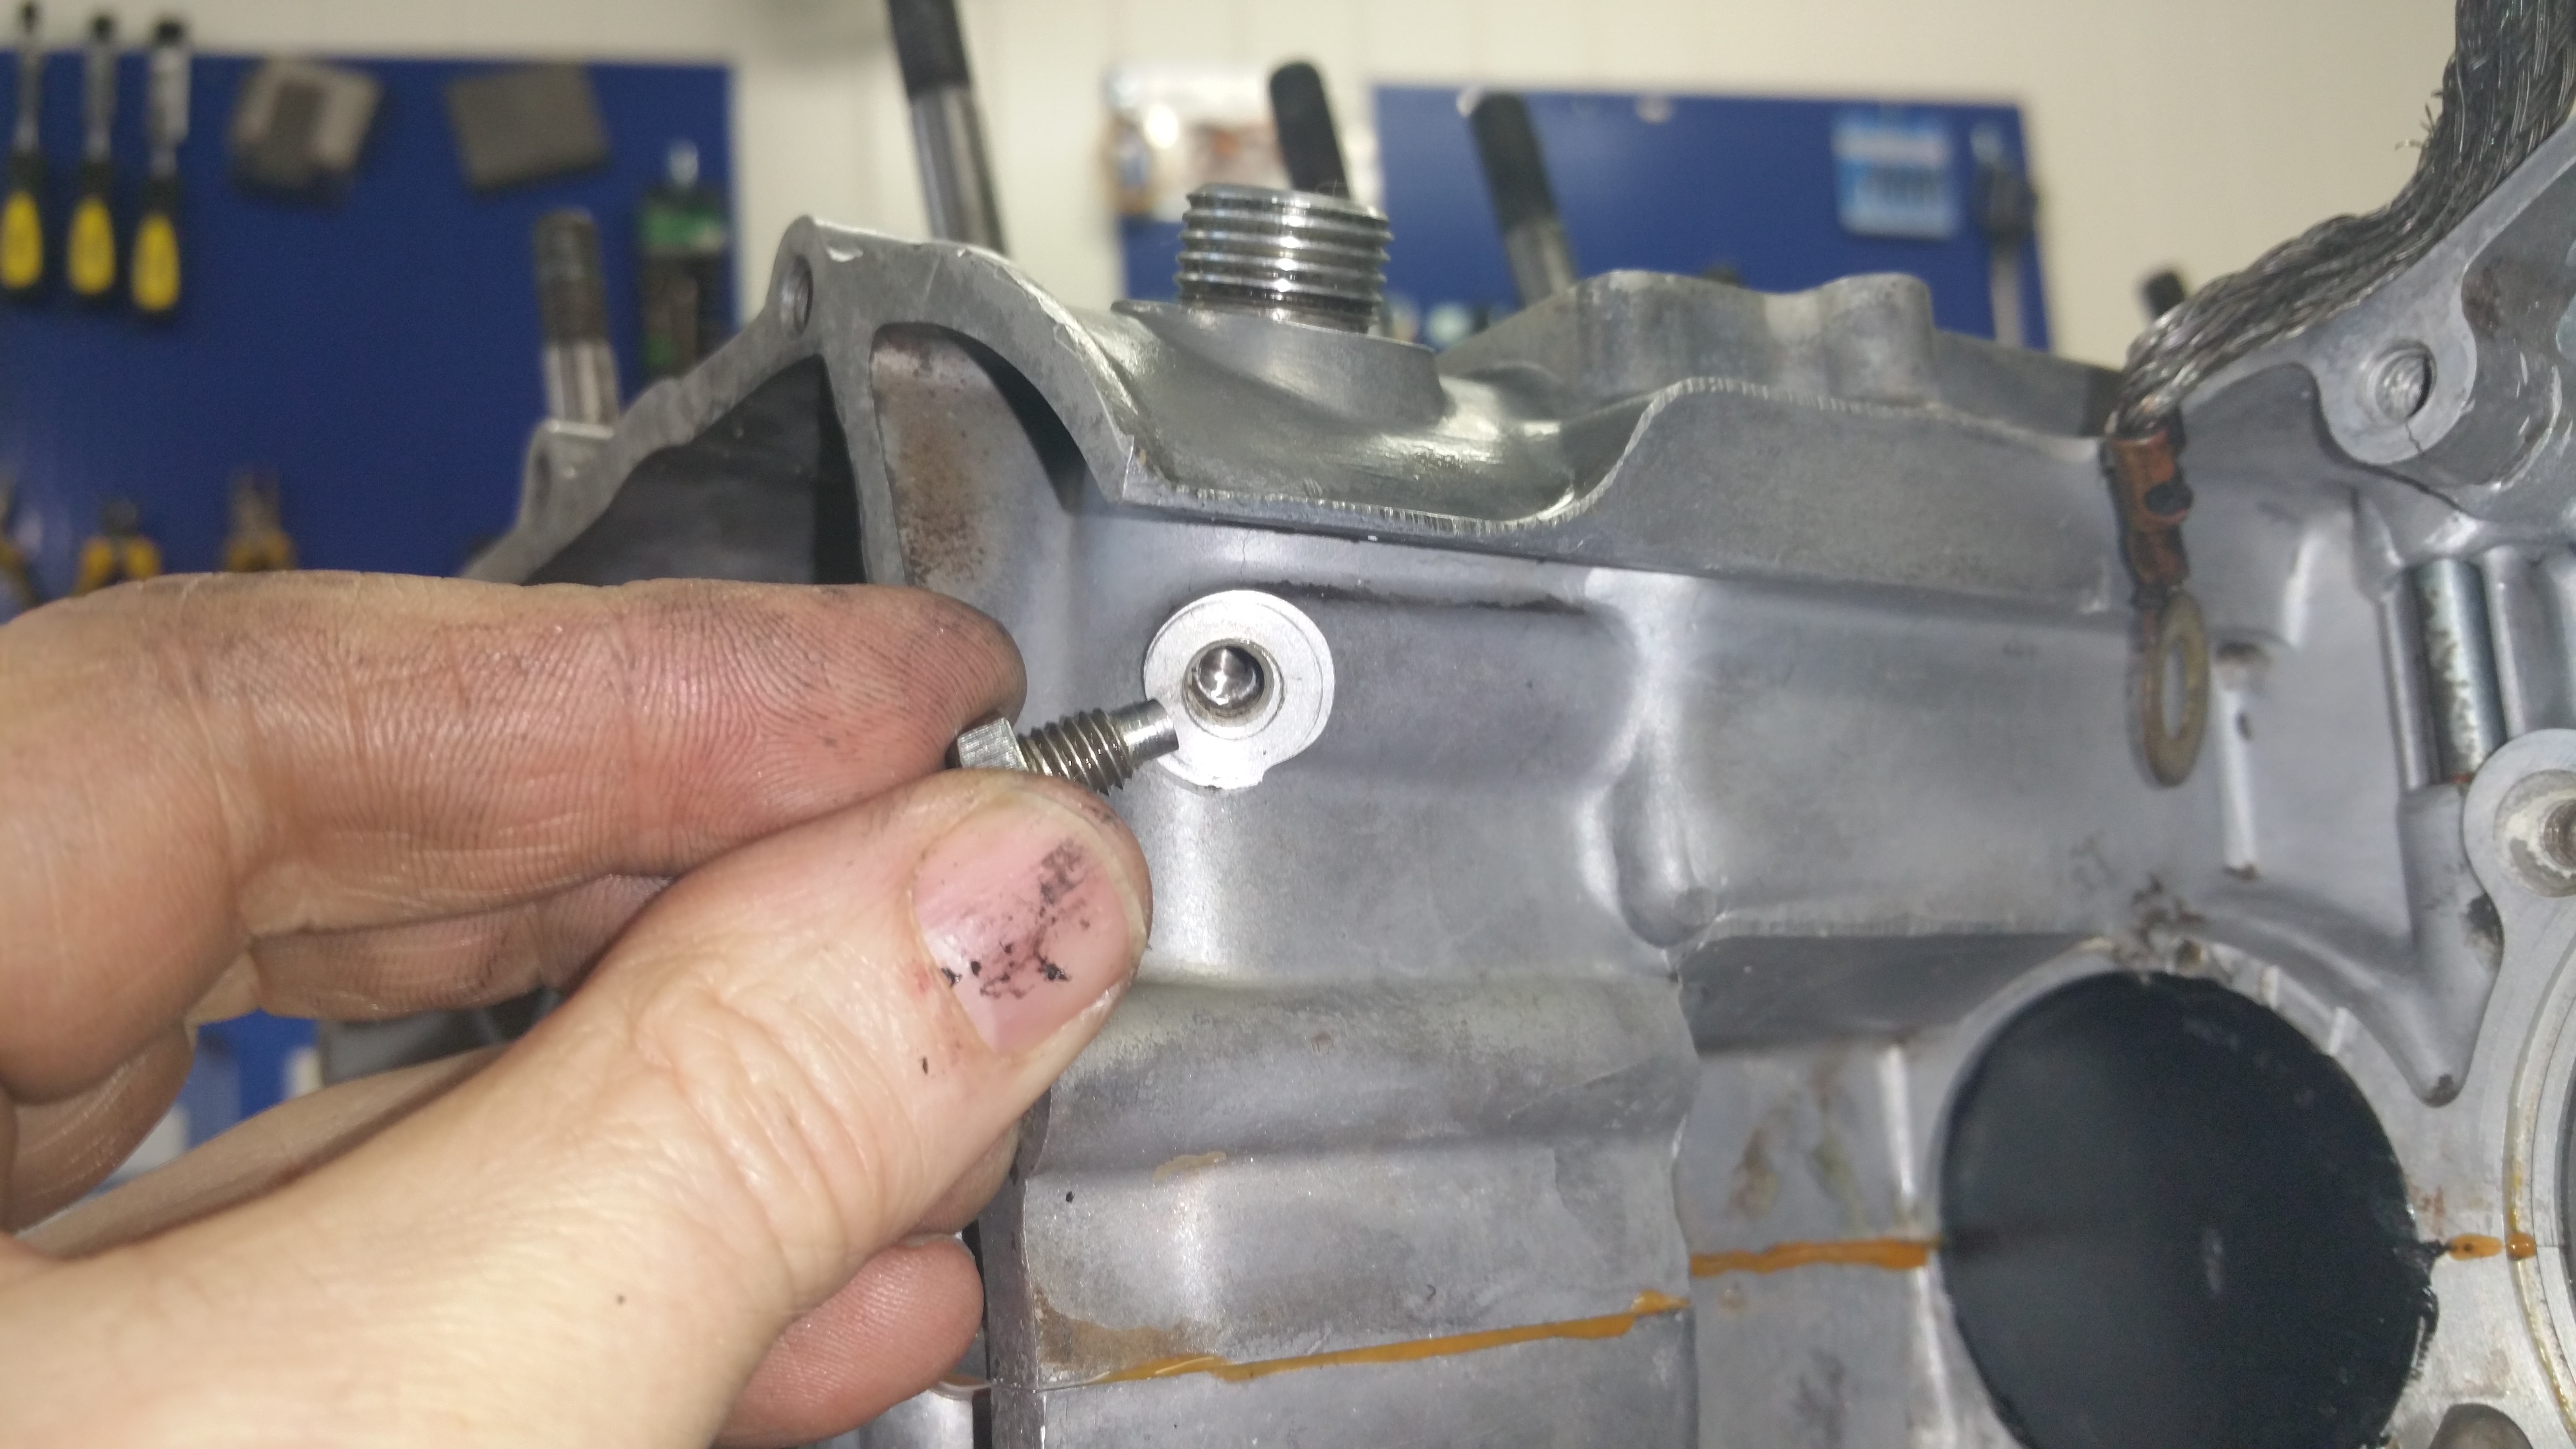
Tap the drive down to the position where you can see the mounting hole for the screw.
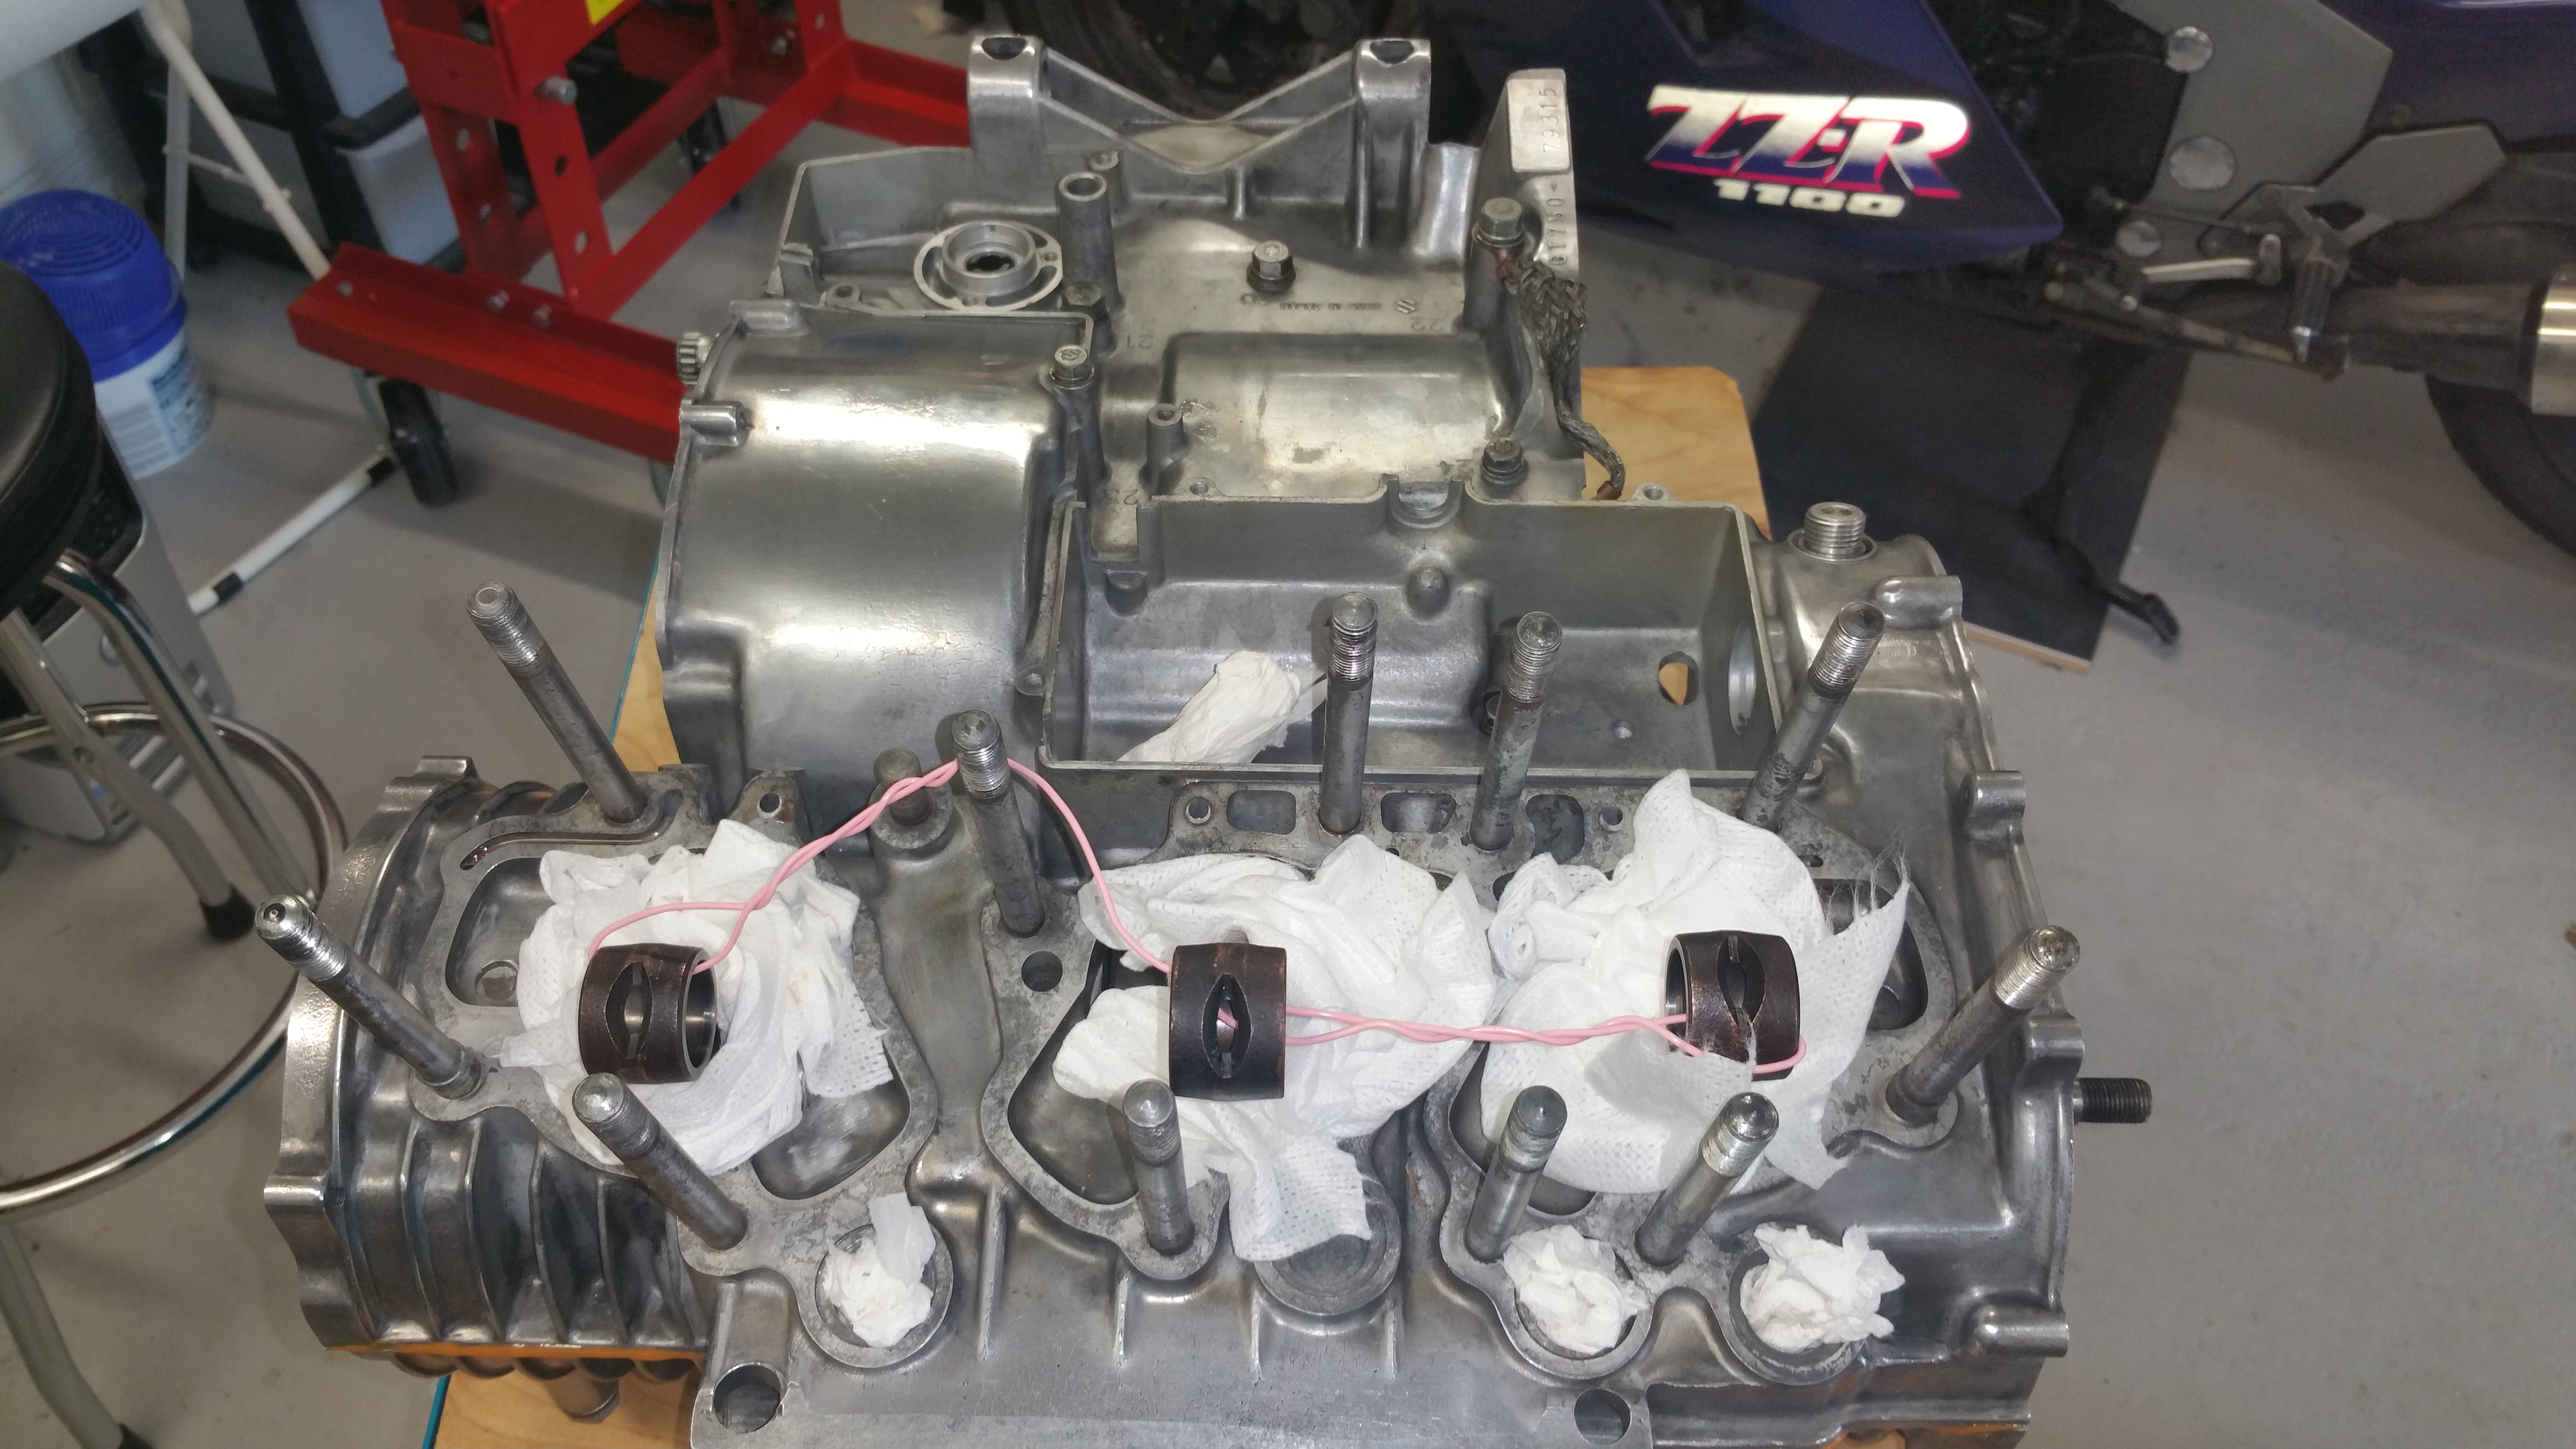
Step 4
Enjoy the work, dry off remains from the seal and do something clever to avoid parts falling into the engine.