Contact Breaker Assembly
(Denso type)
Note: Points or breakers are the same. I usually refer to the breakers calling them points.
As mention before, my GT380J project was in a horrible state when I bought it. No exceptions when it comes to the electronics. Wrong connectors and terminals. Wrong color codes on many of the wires. The wiring for the contact breaker was a mess too and I had to make it all new according to the wiring diragram.
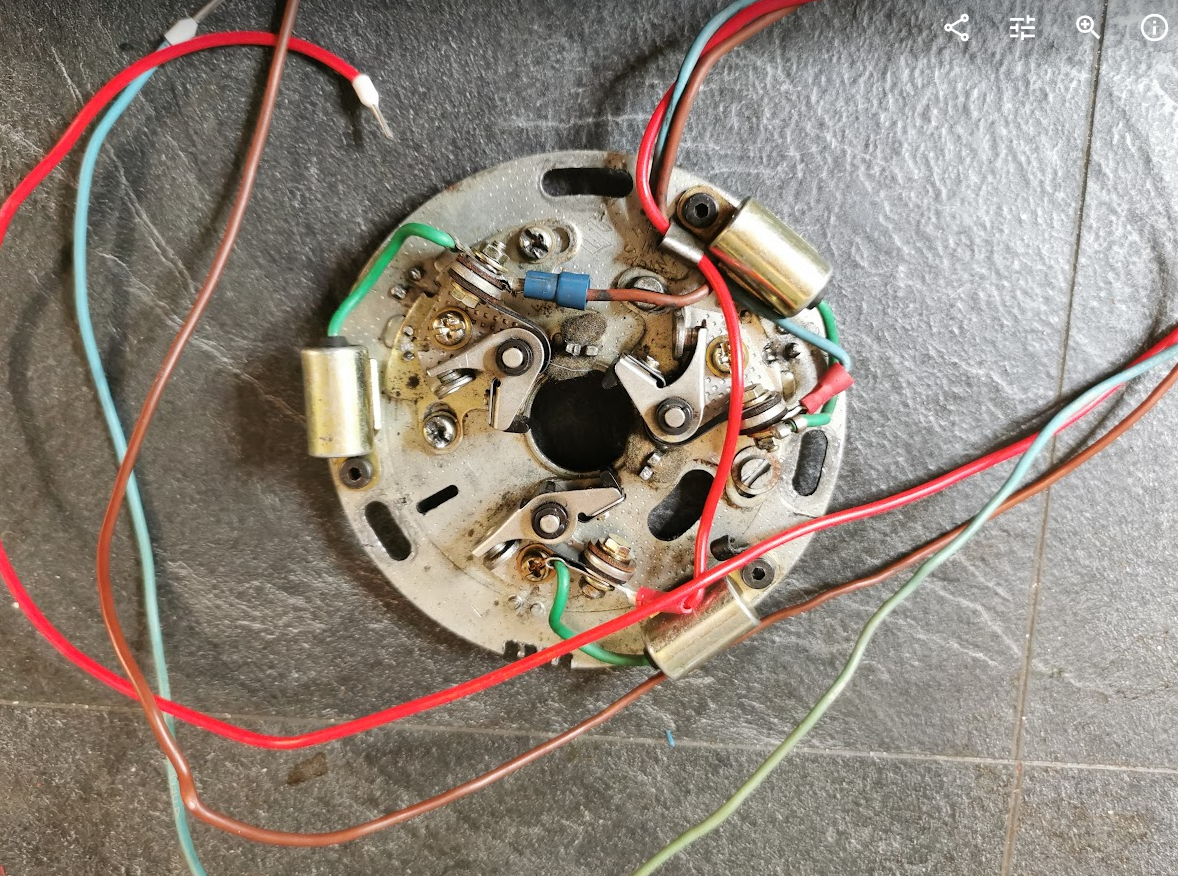
This is how it was, wrong wire colors, wrong type of screws, and missing connector.
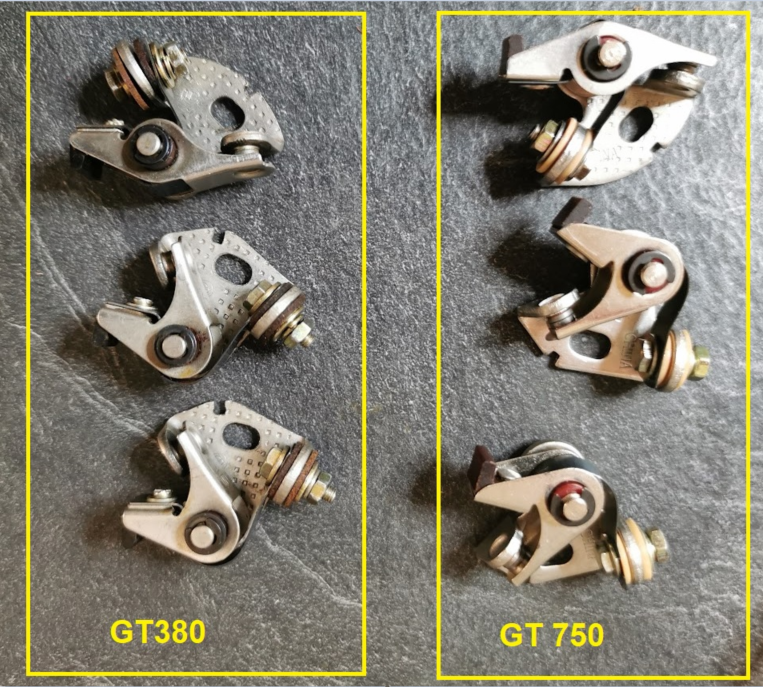
By the way, be aware of the difference from GT750 to GT380. Since the points are located on the right side of the bike on GT380 and left side on GT750, they have to be mirrored. Don’t buy the wrong ones.
The left point is locked direct to the main plate and has therefore a different shape compare to the center and right point.
Where to start ? I found this picture below on E-bay and it looks alright compare to the wiring diagram.
The picture also gave me some idea of the cable length.

Connector:
I bought a kit from China with a lot of connectors and terminals making it possible to fit the corresponding connector in the main wiring harness.
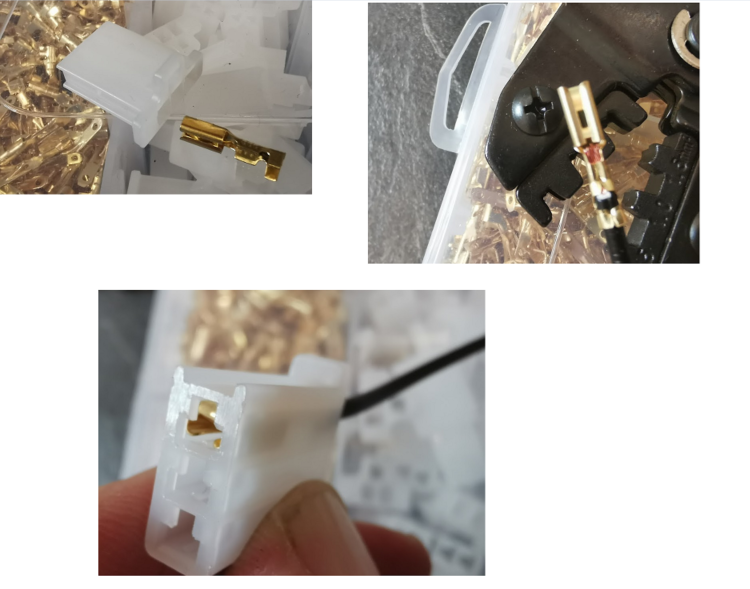
Connection to main wiring:

Note, on the GT380 the connector goes directly to the main wiring, not through the connector plate as you see on the GT750.
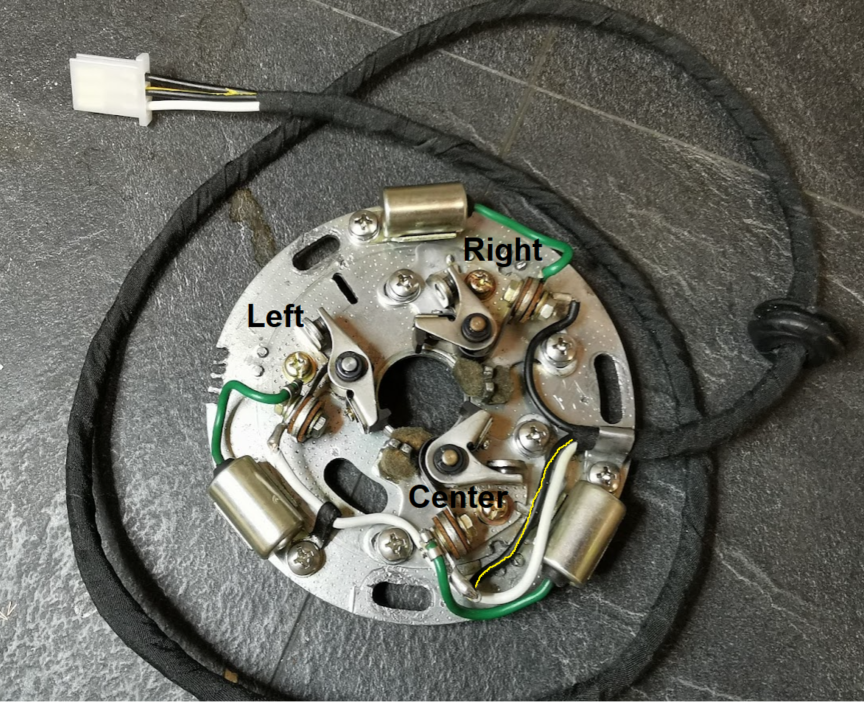
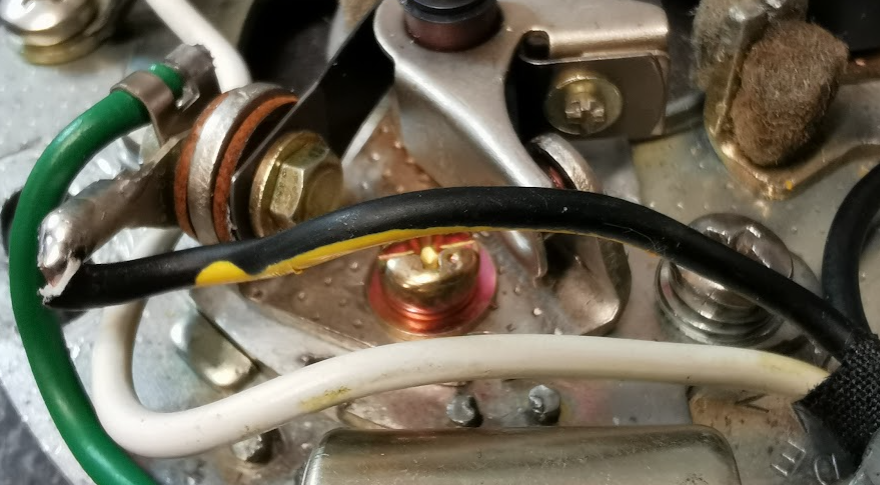
I was not able to find a black wire with yellow stripe, and as you see, I painted the yellow stripe to get the color code correct.
Left point: White
Center point: Black and yellow
Right point: Black
How to fit the contact breaker and adjust the timing will come in a later post.