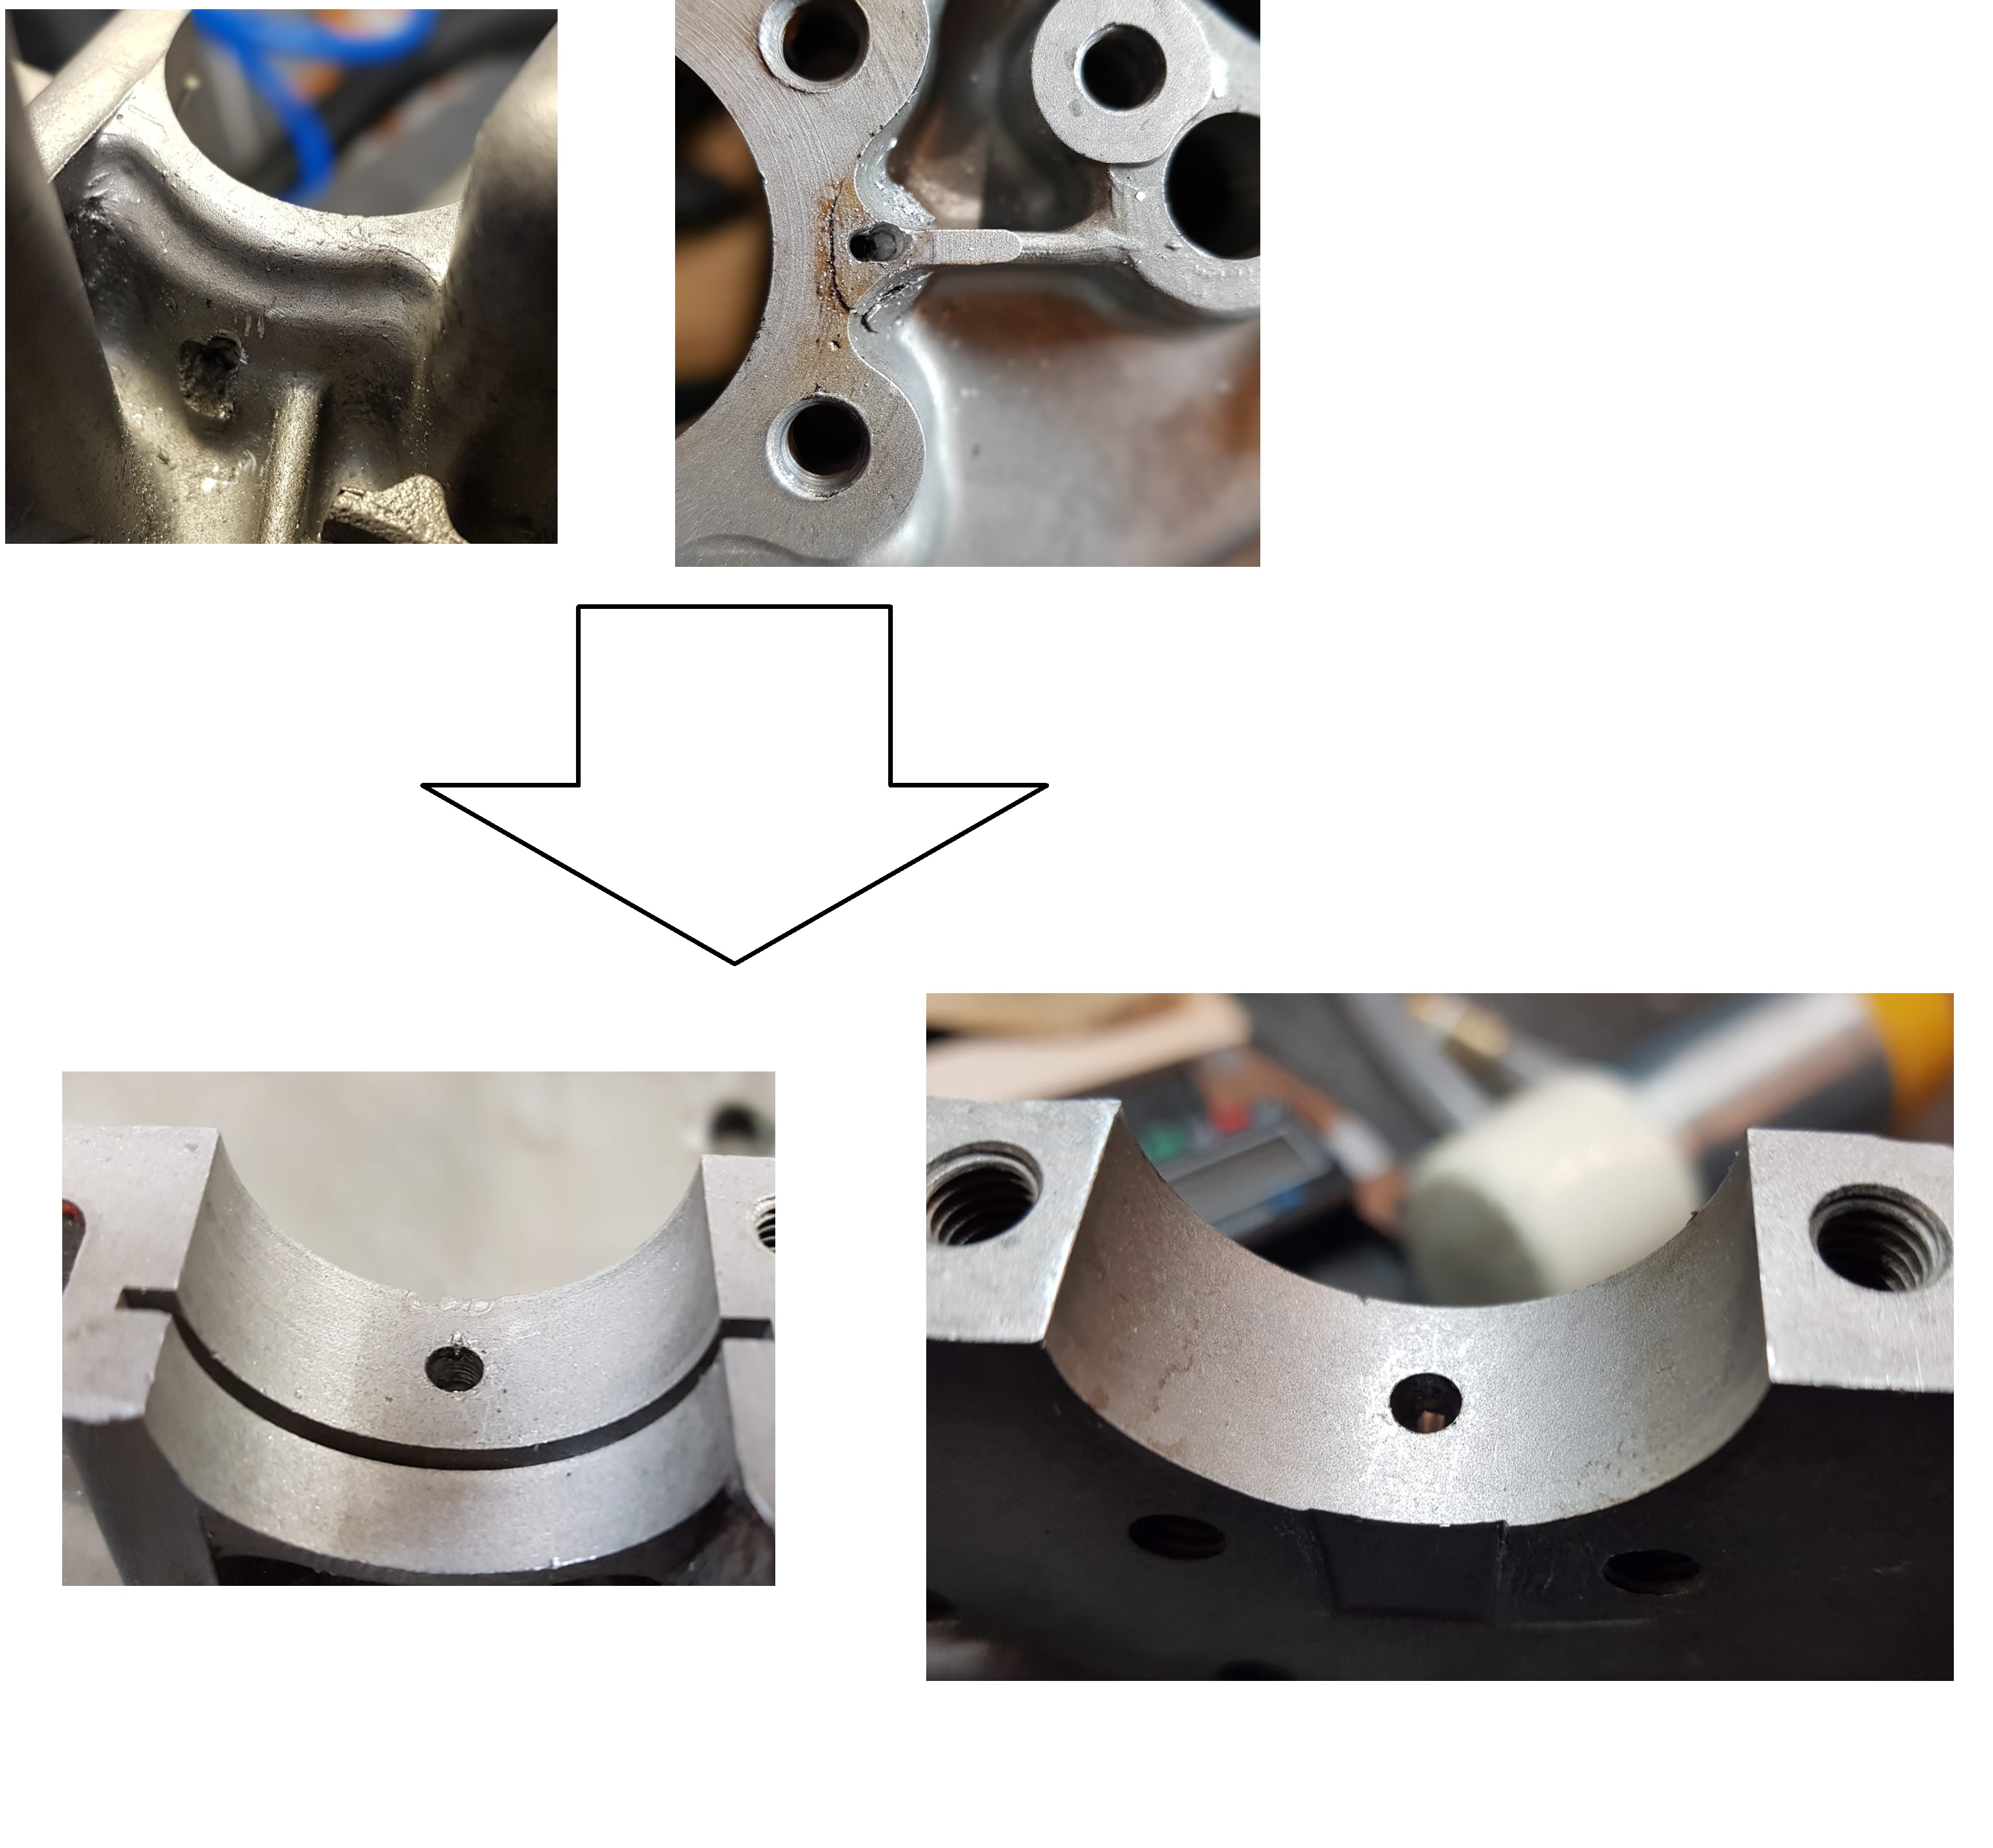
Case closed
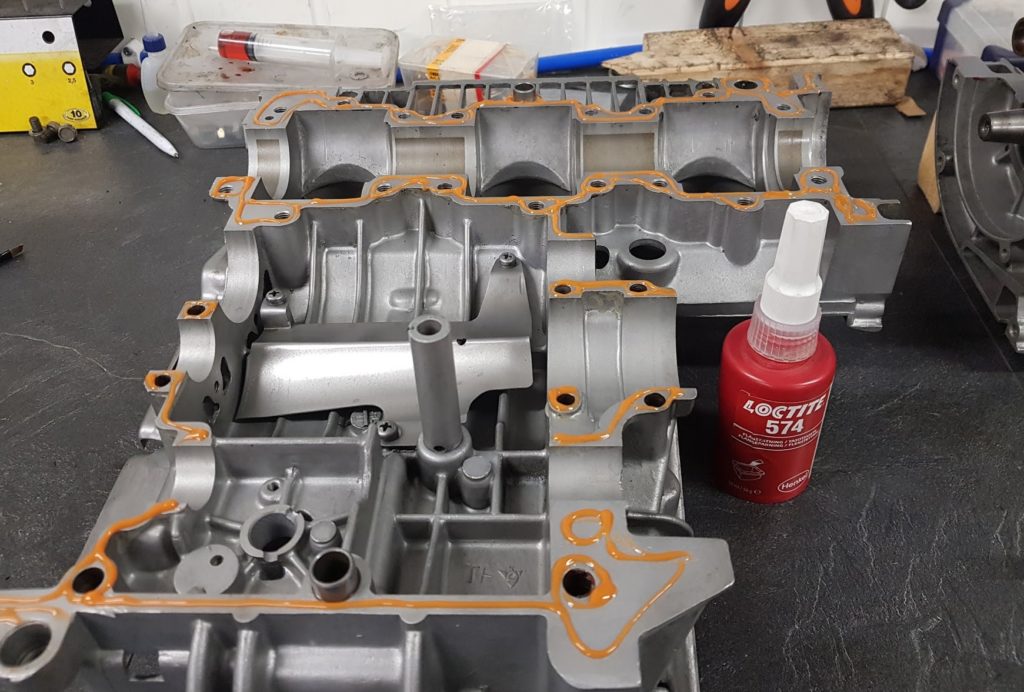
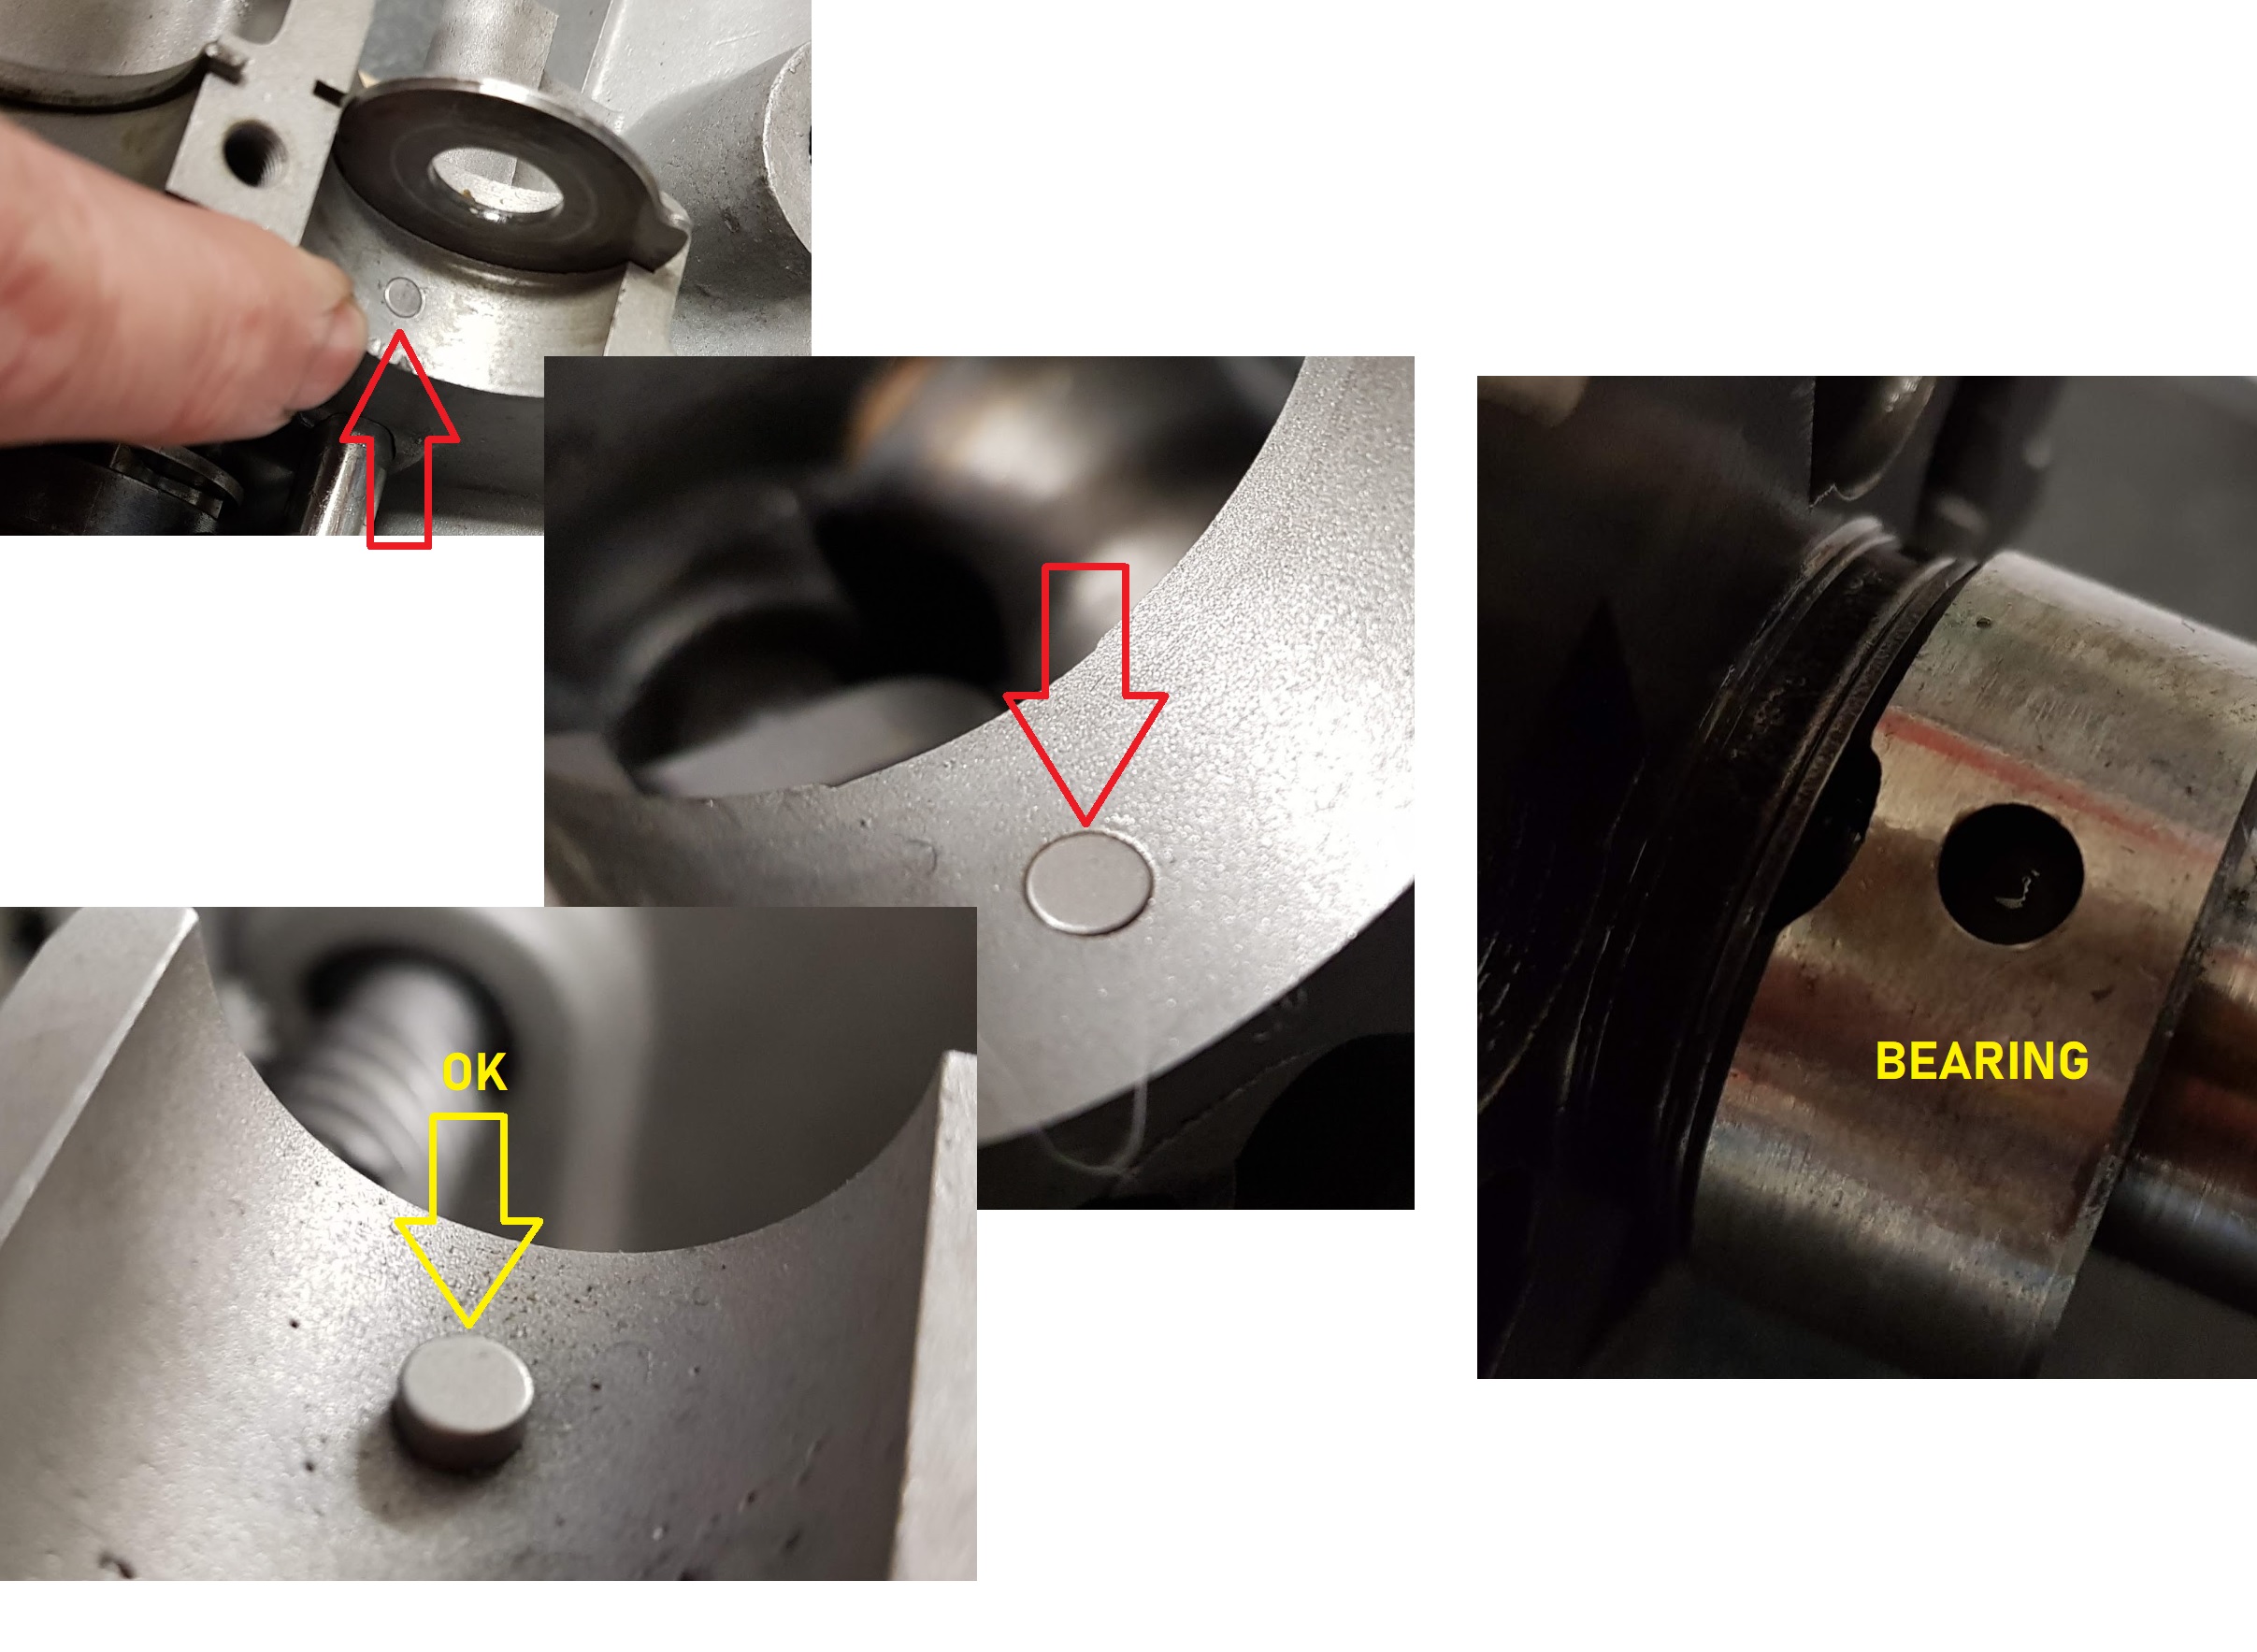
The upper part of the crankcase was glued using Loctite 574 as sealing. In the same way as I did on my GT750.
The Loctite 574 does not harden in air, only under pressure. A very common type of sealing for all type of crankcase.
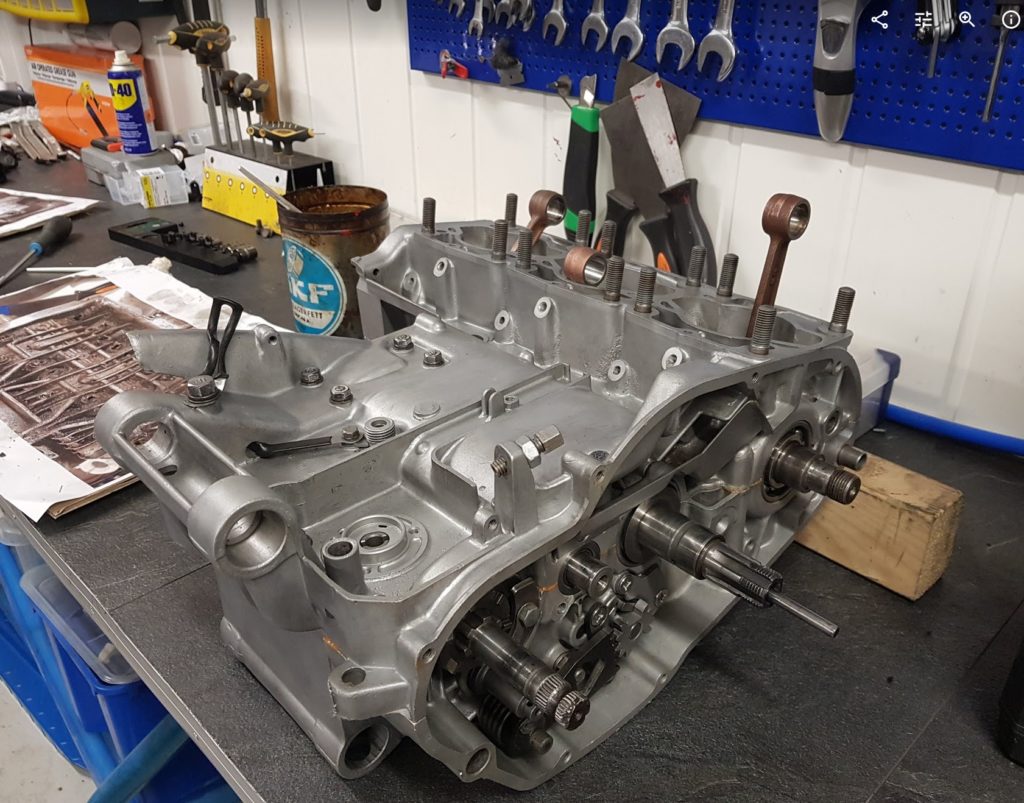
Closing the crankcase:
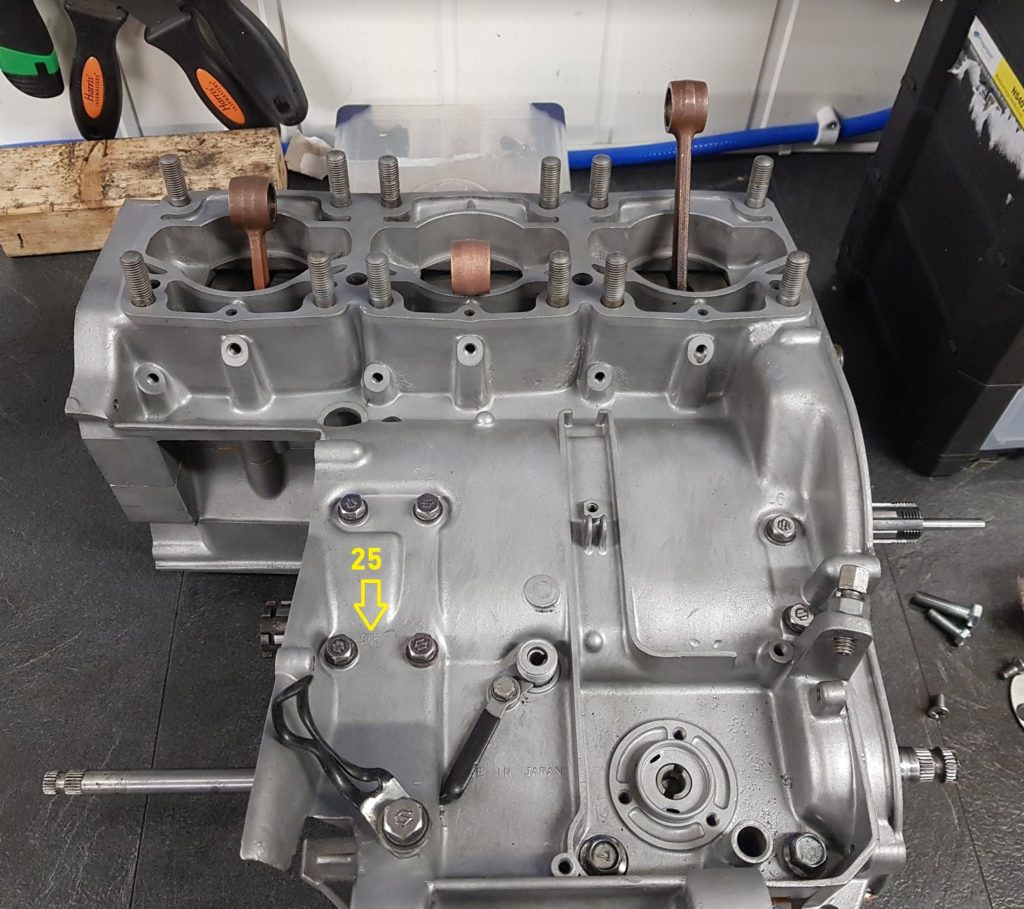
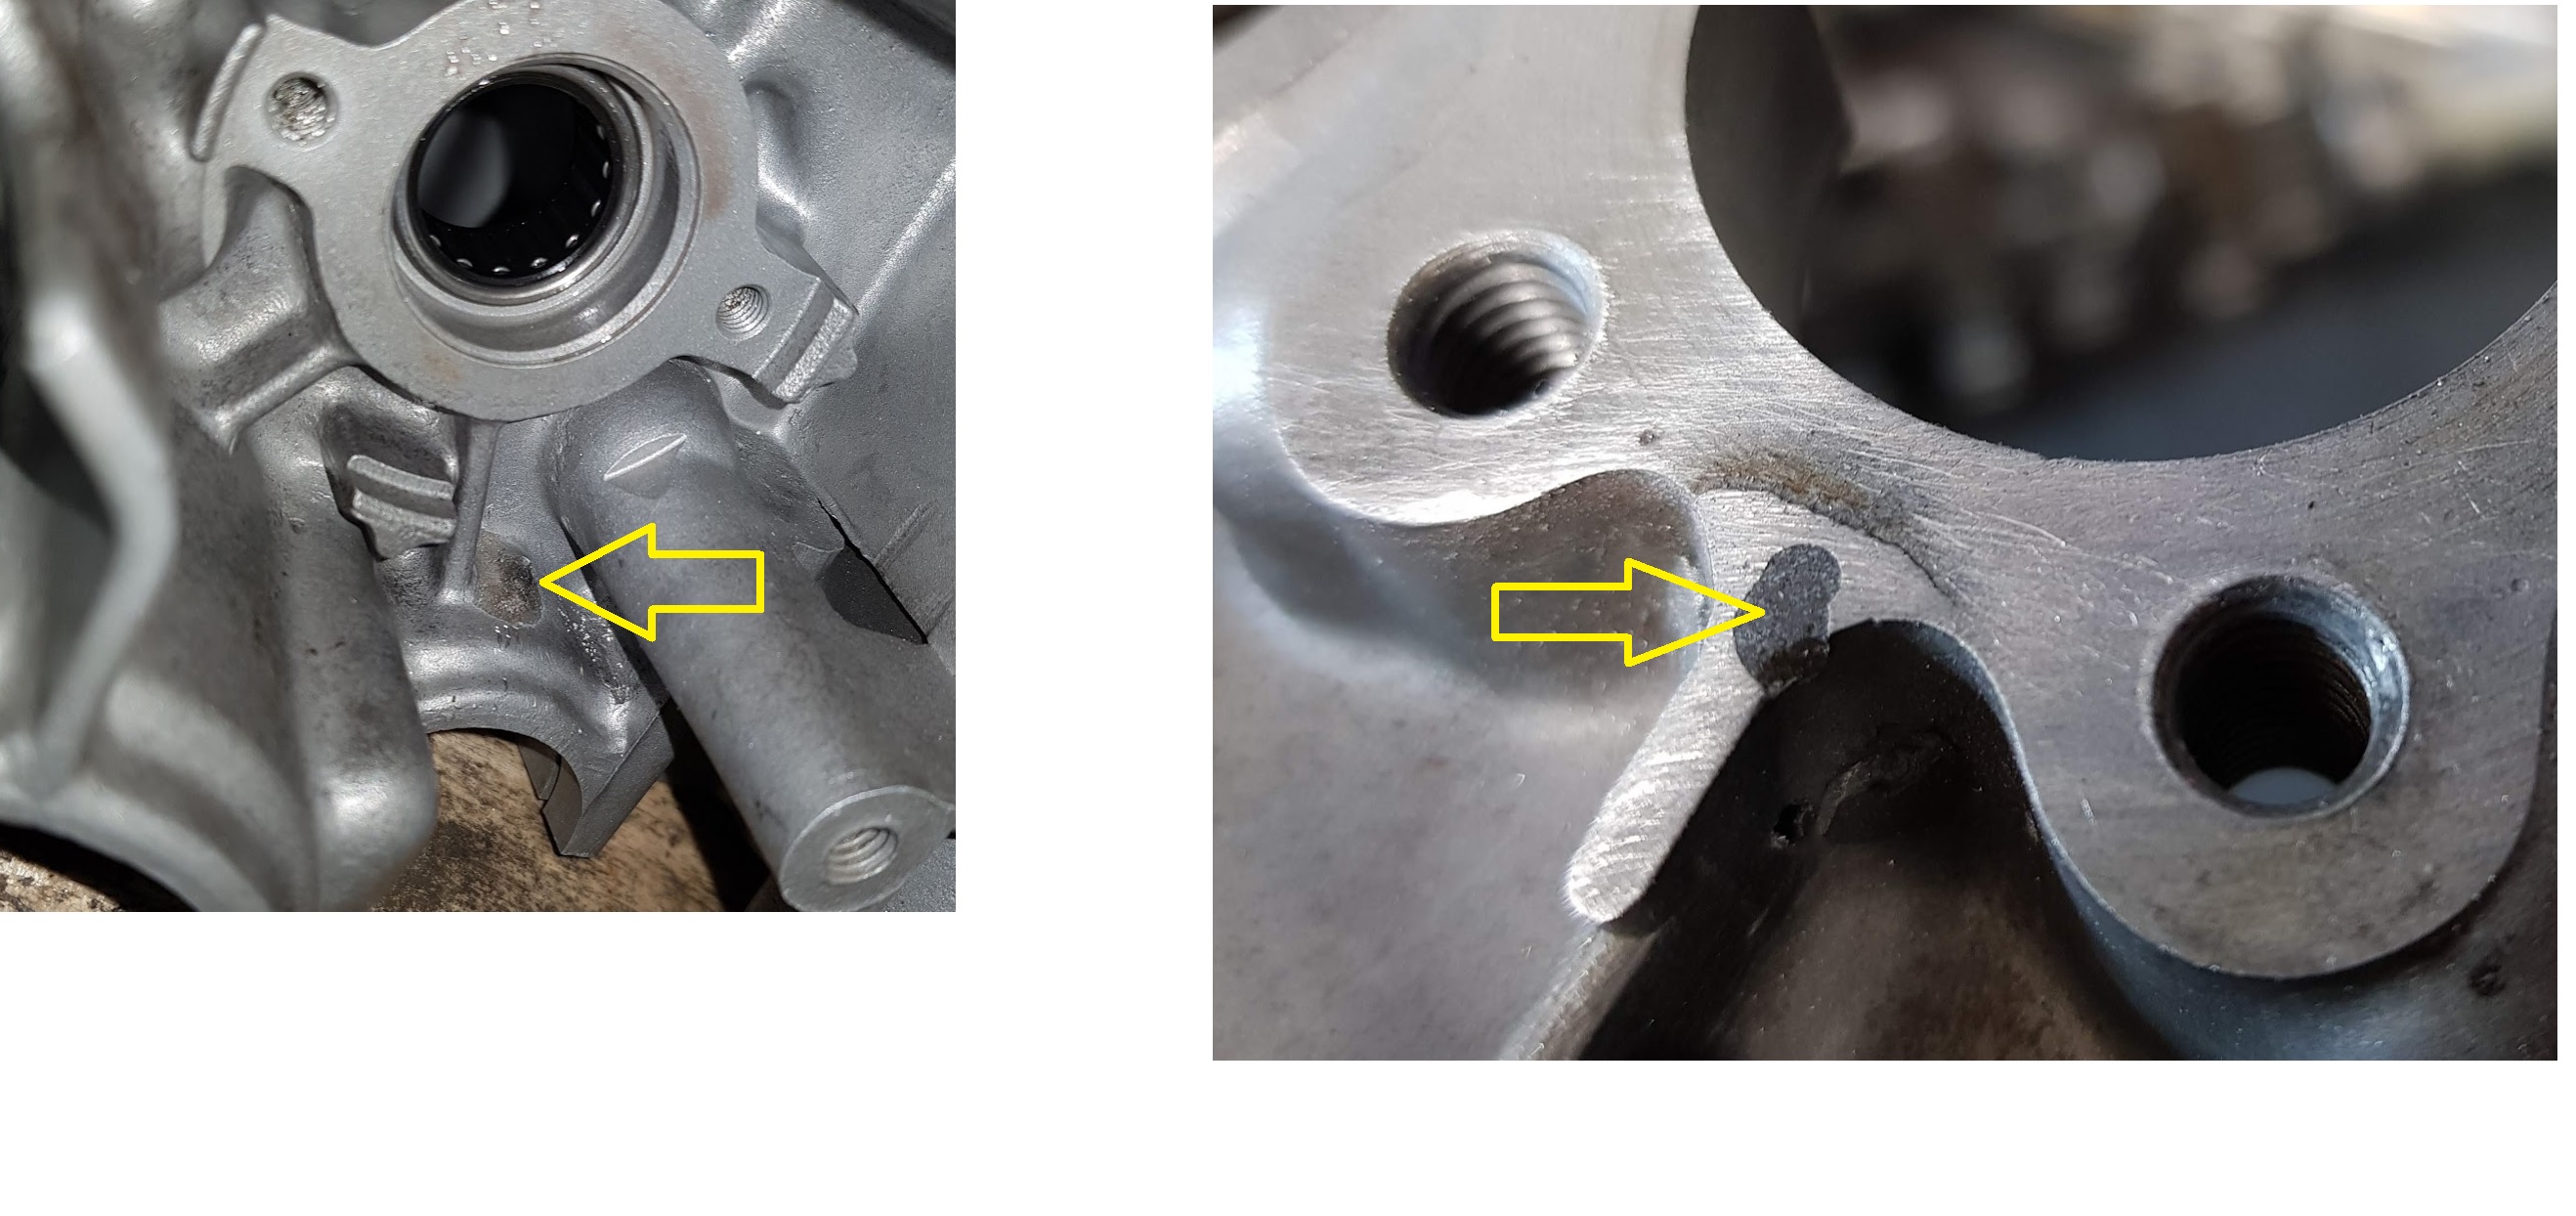
All bolts are labeled with numbers. If you look close at the image you will see the number 25 is written into the case, just below the yellow arrow. That’s the order of the torque settings. If the crankcase is clean it’s easy to see the numbers. Mount all the bolt on the top side but don’t thight too much at this point. Make sure the crank is moving freely before turning the case onto the other side.
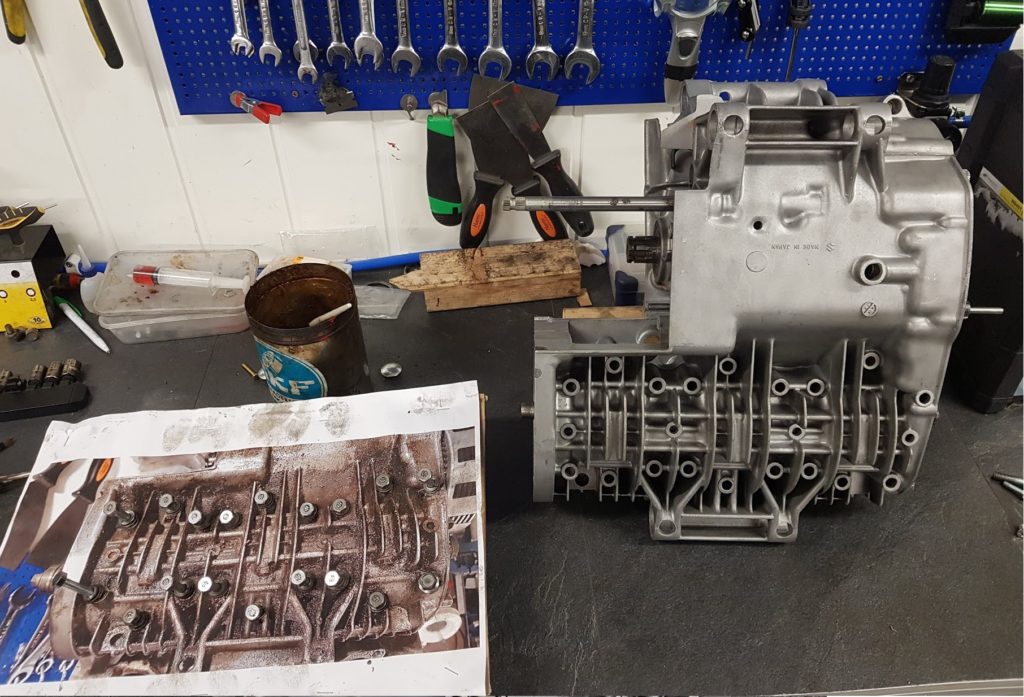
Since I have stored the bolts on a picture glued to a carton It’s easy to pick the right bolts with the correct length. All of them have been cleaned and polished. The S mark indicate bolts with more strenghts than bolts without the lable. The S bolts are for GT models but not for GS models. The GS bikes have labels with 7 on, not S. I found only GS bolts mounted on a spare crankase from a late GT model, 76-77. Not sure if that was original from the Suzuki factory or if someone had swapped them all. On my GT380 engine I mounted all the S-bolts I had except from a couple of 7-bolts.
Torque order:
Bottom case:
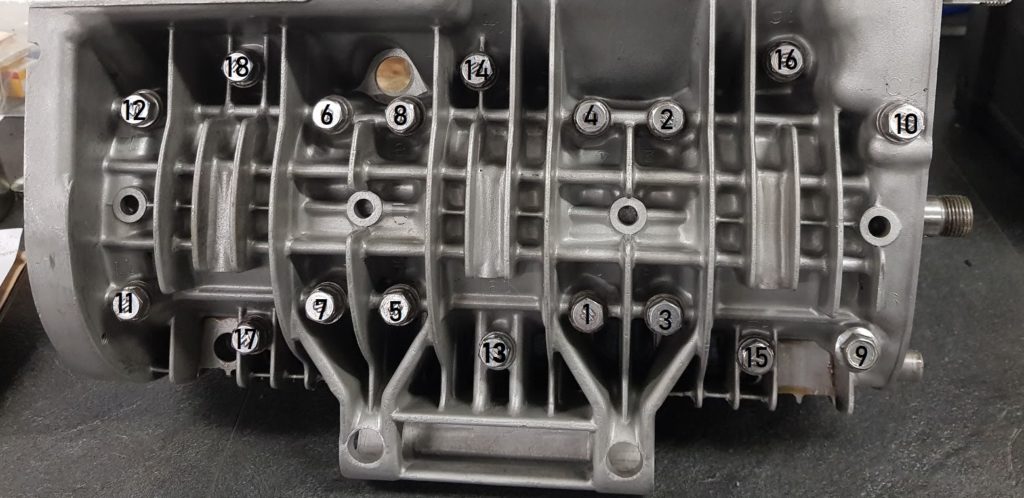
In addition to my picture above you will find the torque order in the manual and it’s written onto the case.
Top case:

From the manual:
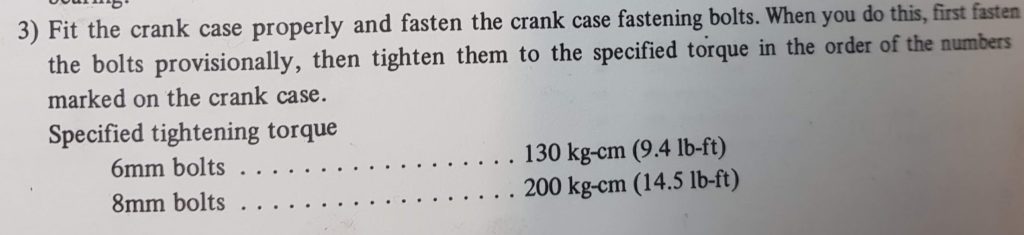
In Nm:
8 mm bolts: 20 Nm
6 mm bolts: 13Nm
DONE: