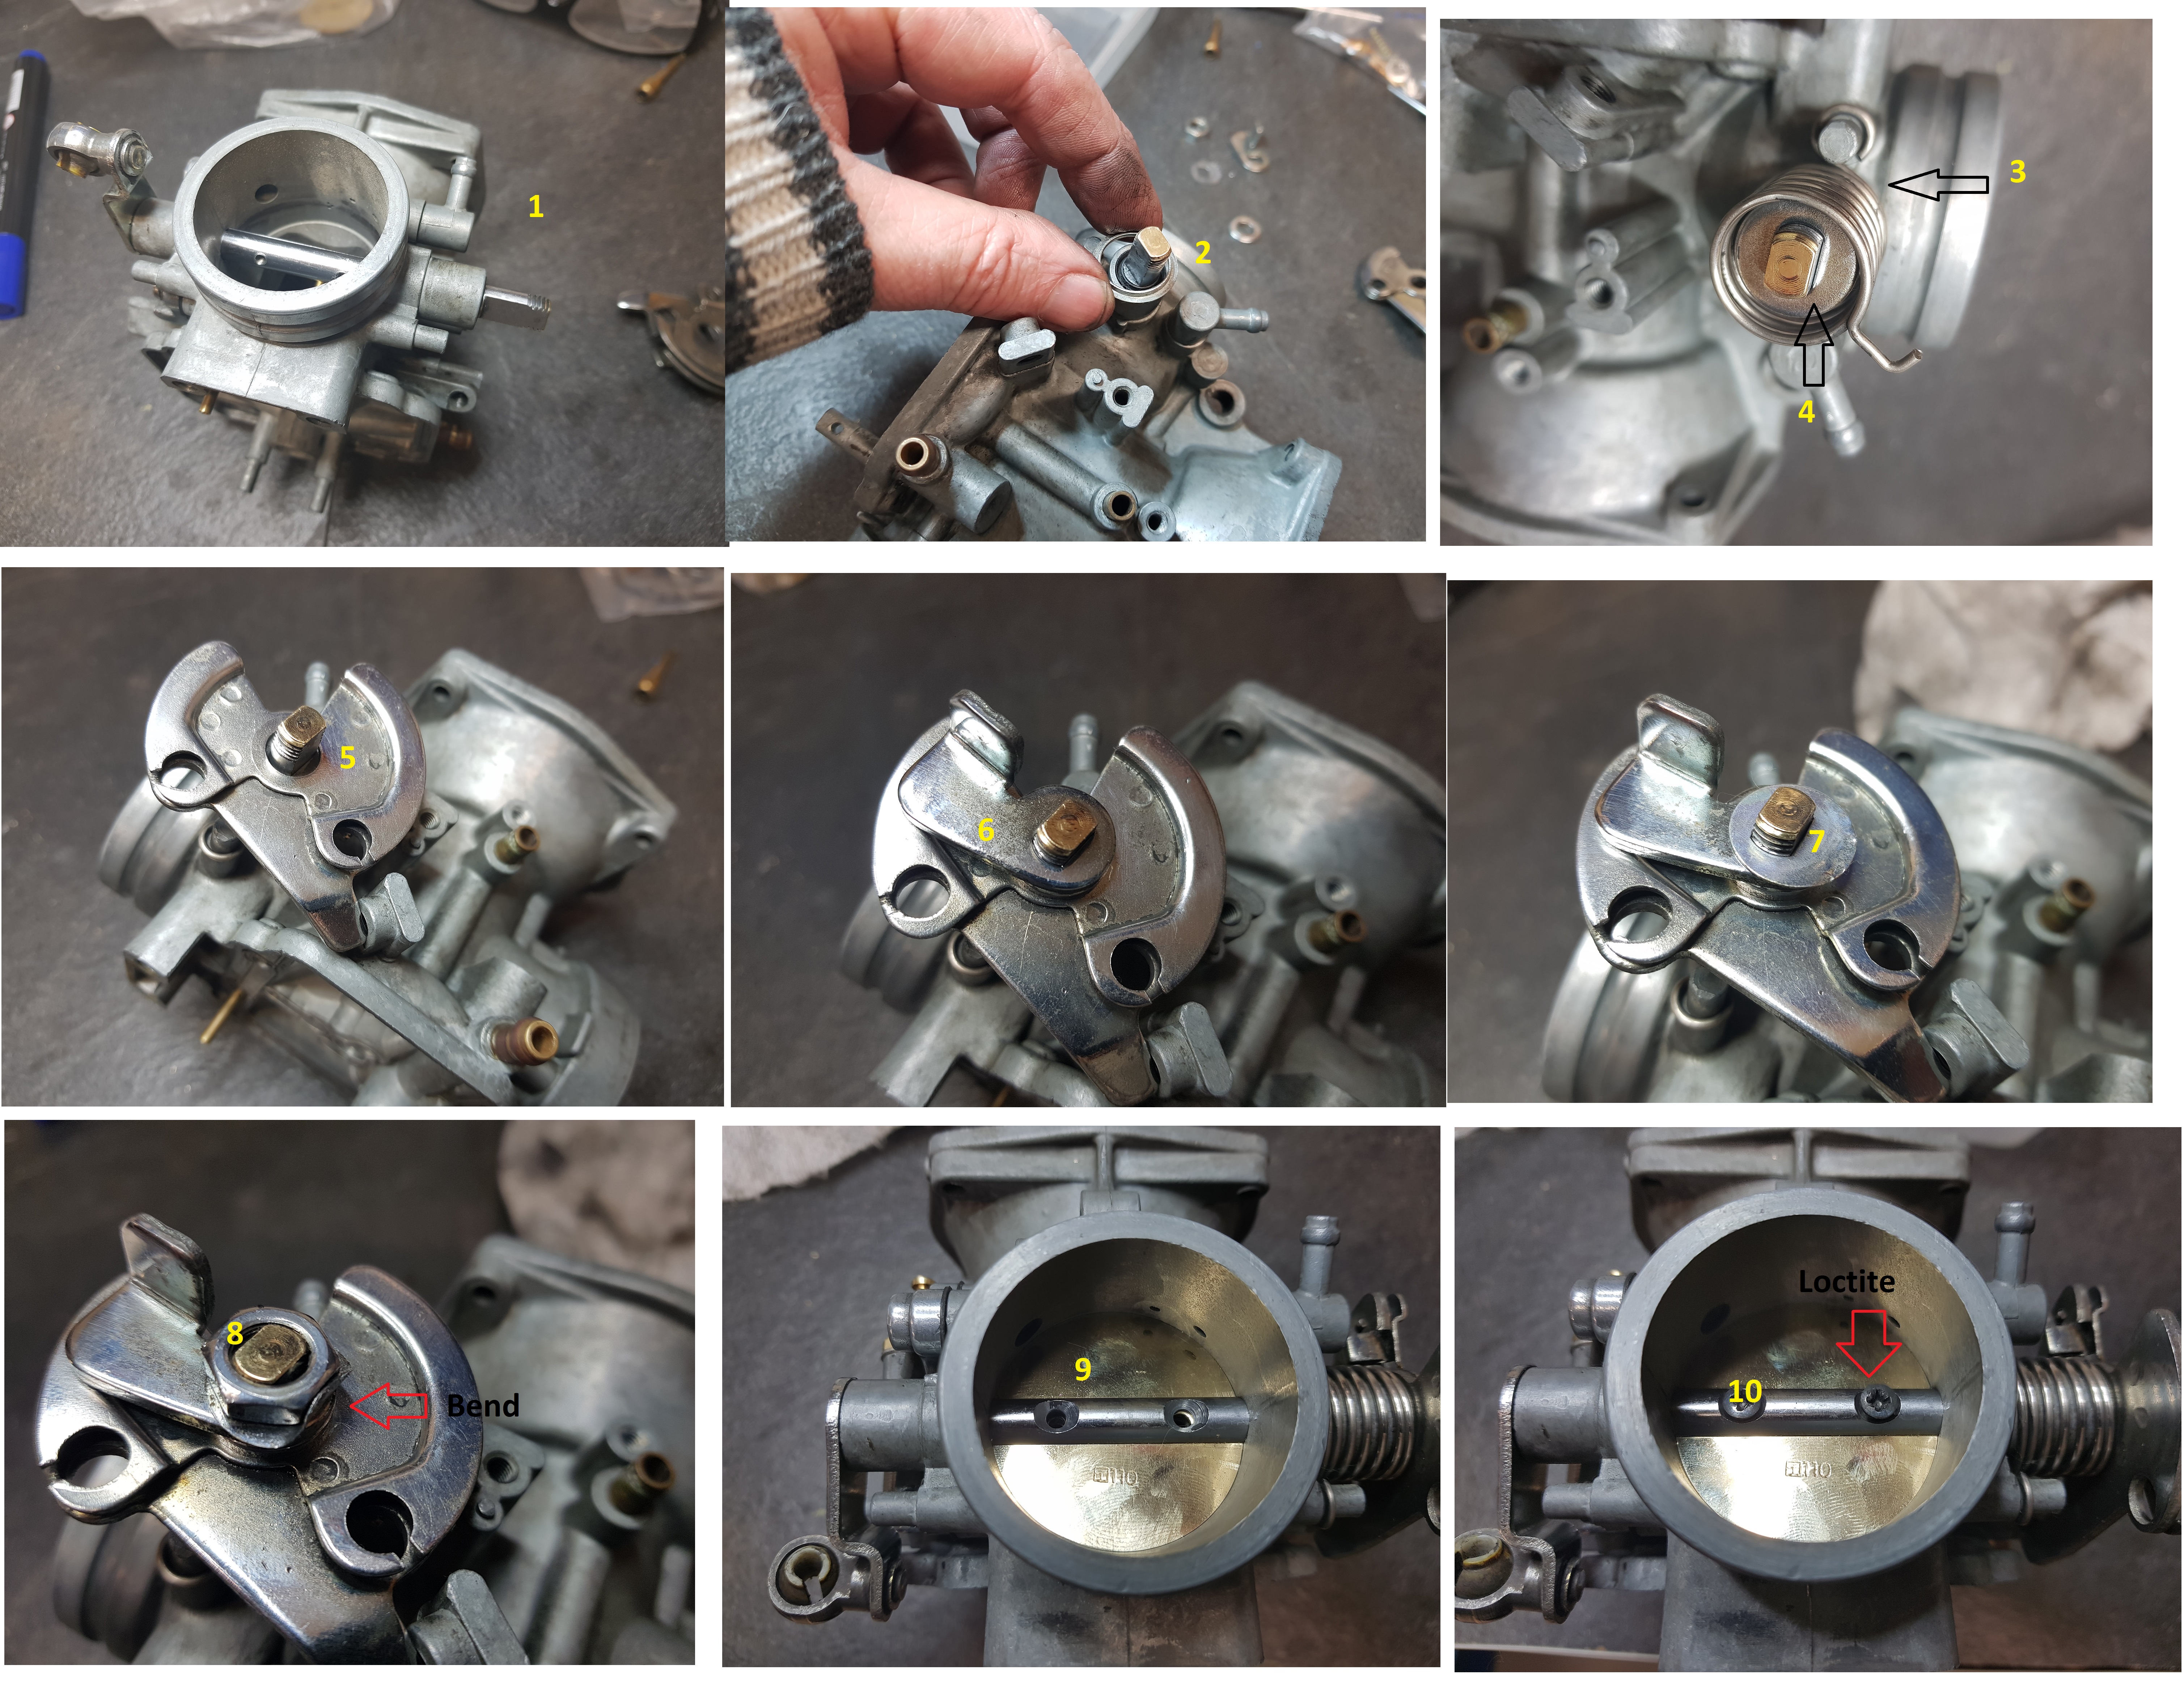
Butterfly shaft repair
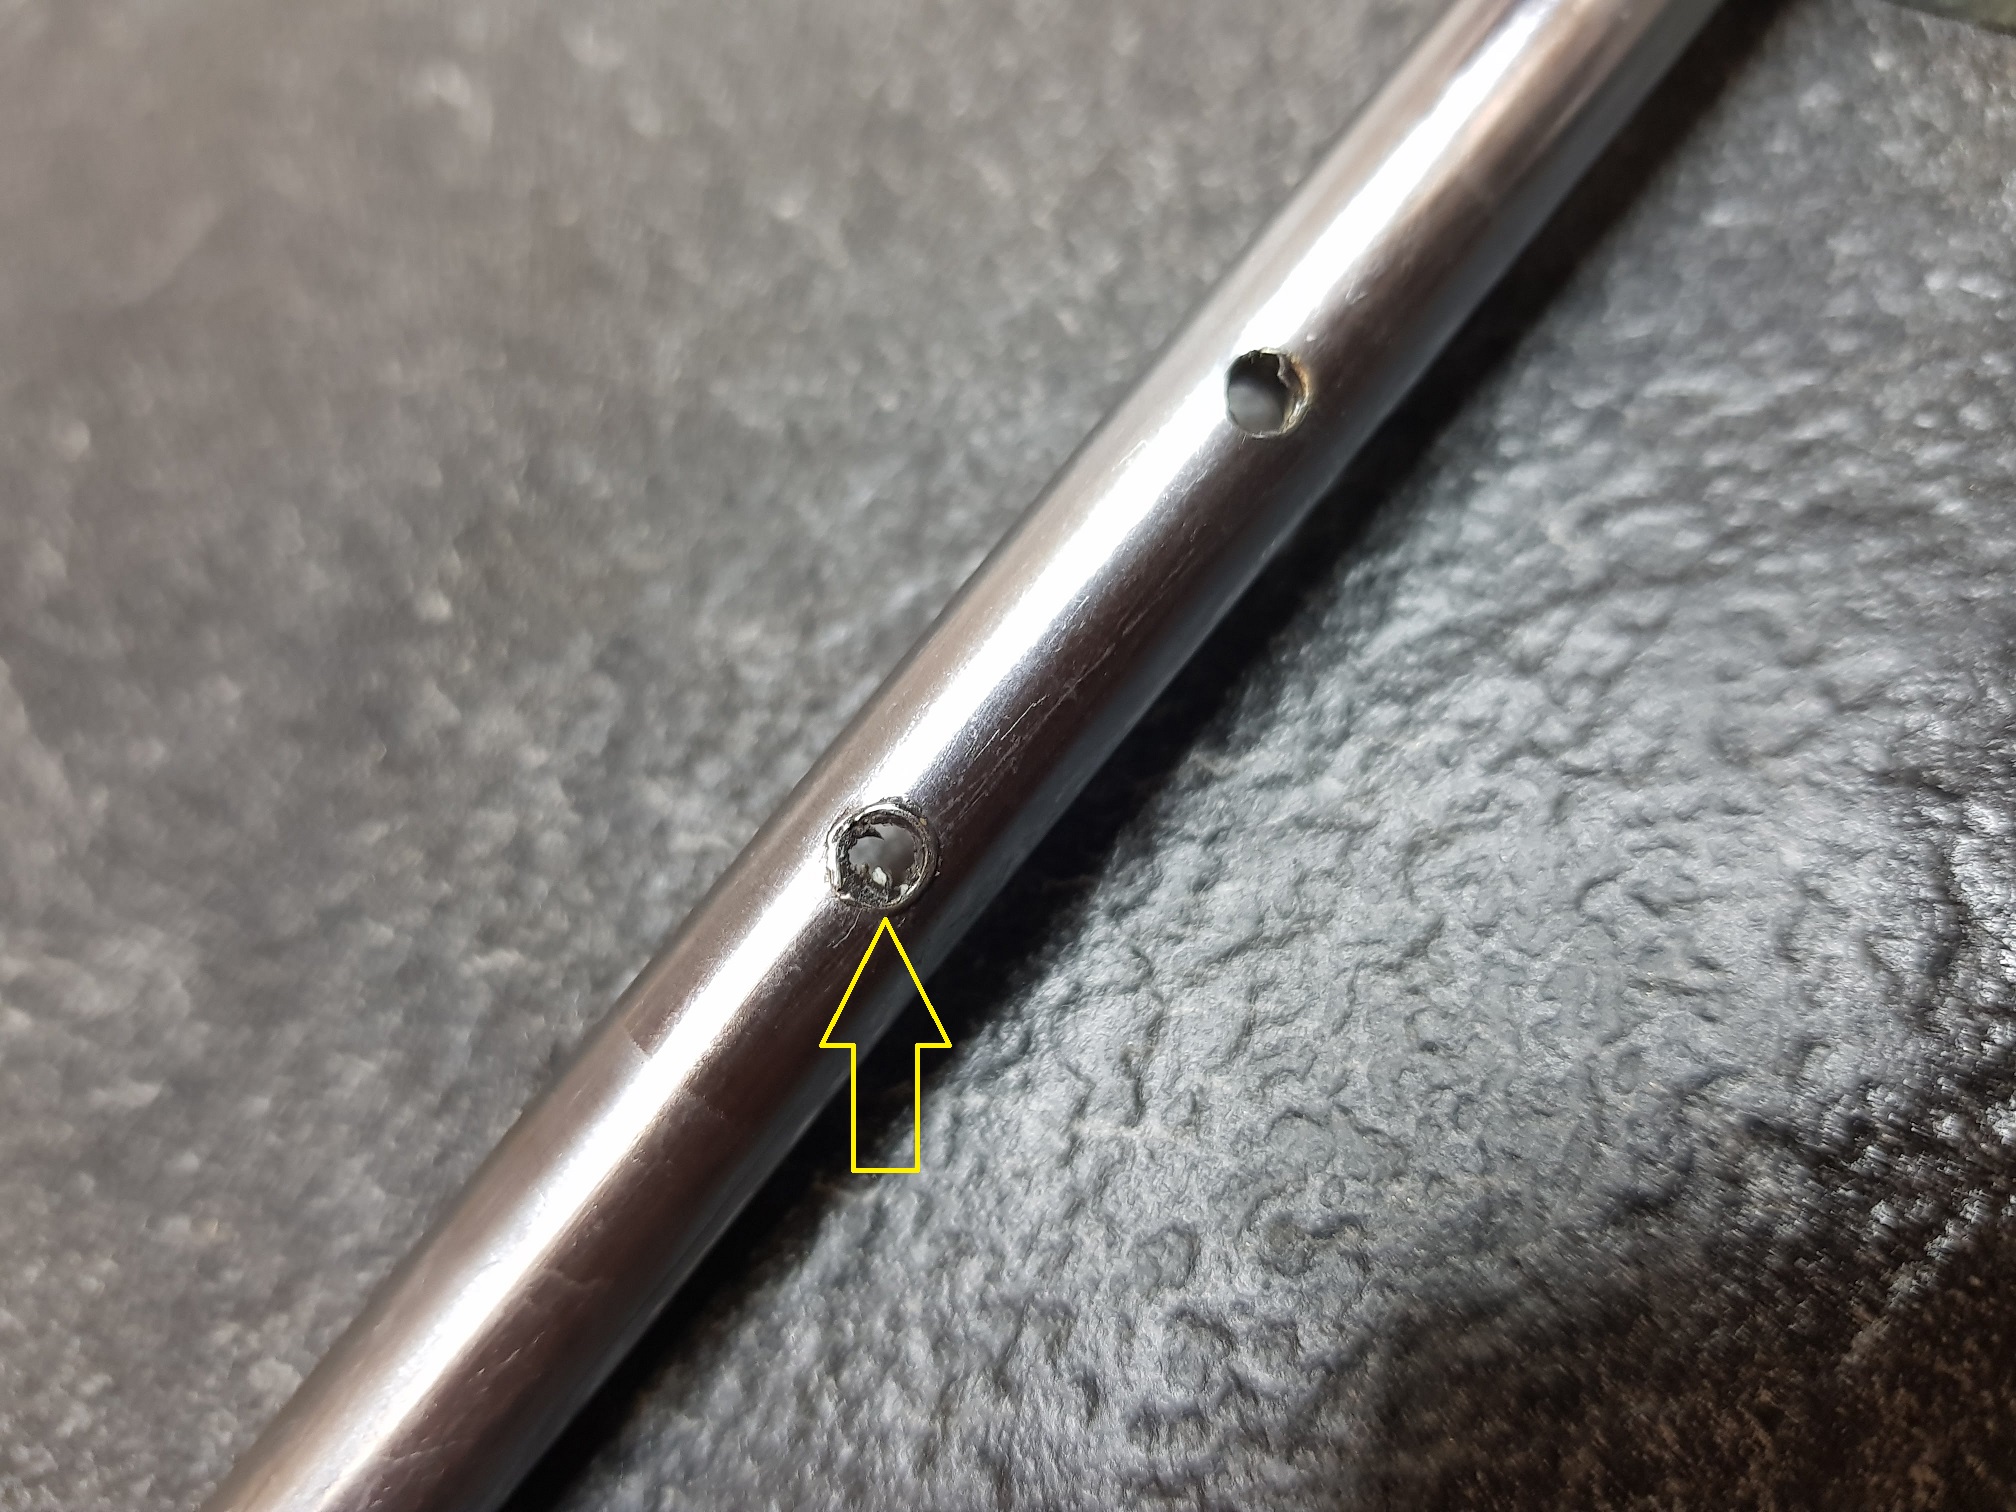
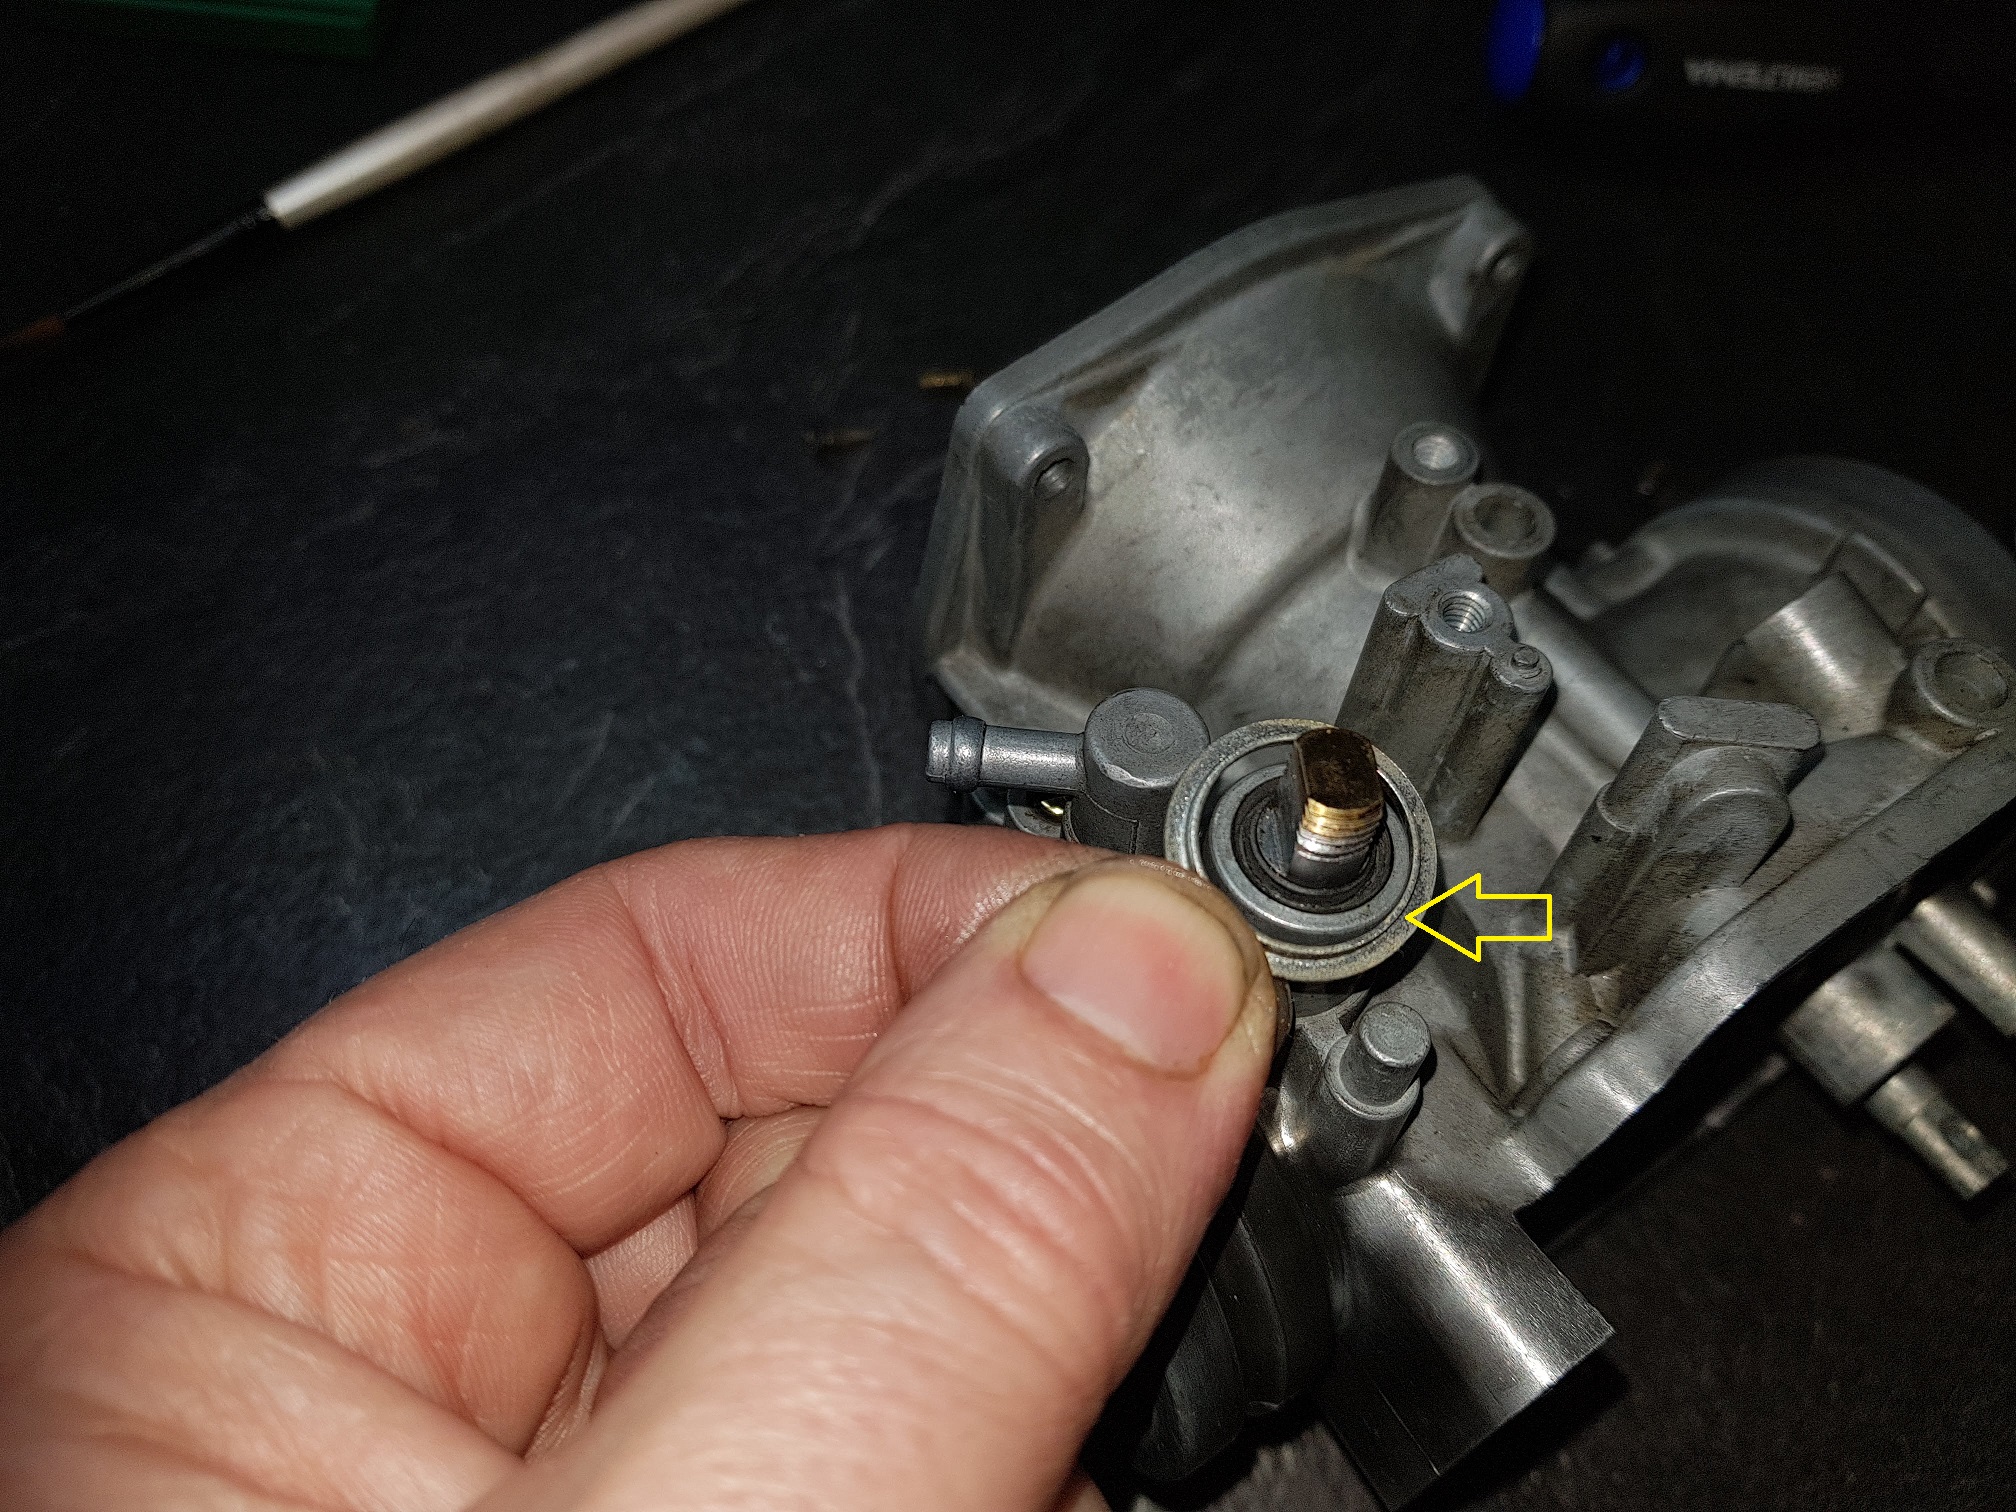
While doing the work on the carburetors I saw two of the butterfly shafts had bad threads for the 3mm screw holding the butterfly valve.
The one on the photo below looks like it has a previous repair using some sort of insert, not sure but it looks bad.
Click on the images for detailed view
The procedure below is a much better way to do the repair. Since the shaft is made of brass a new piece of brass can easily be soldered into the bad area.
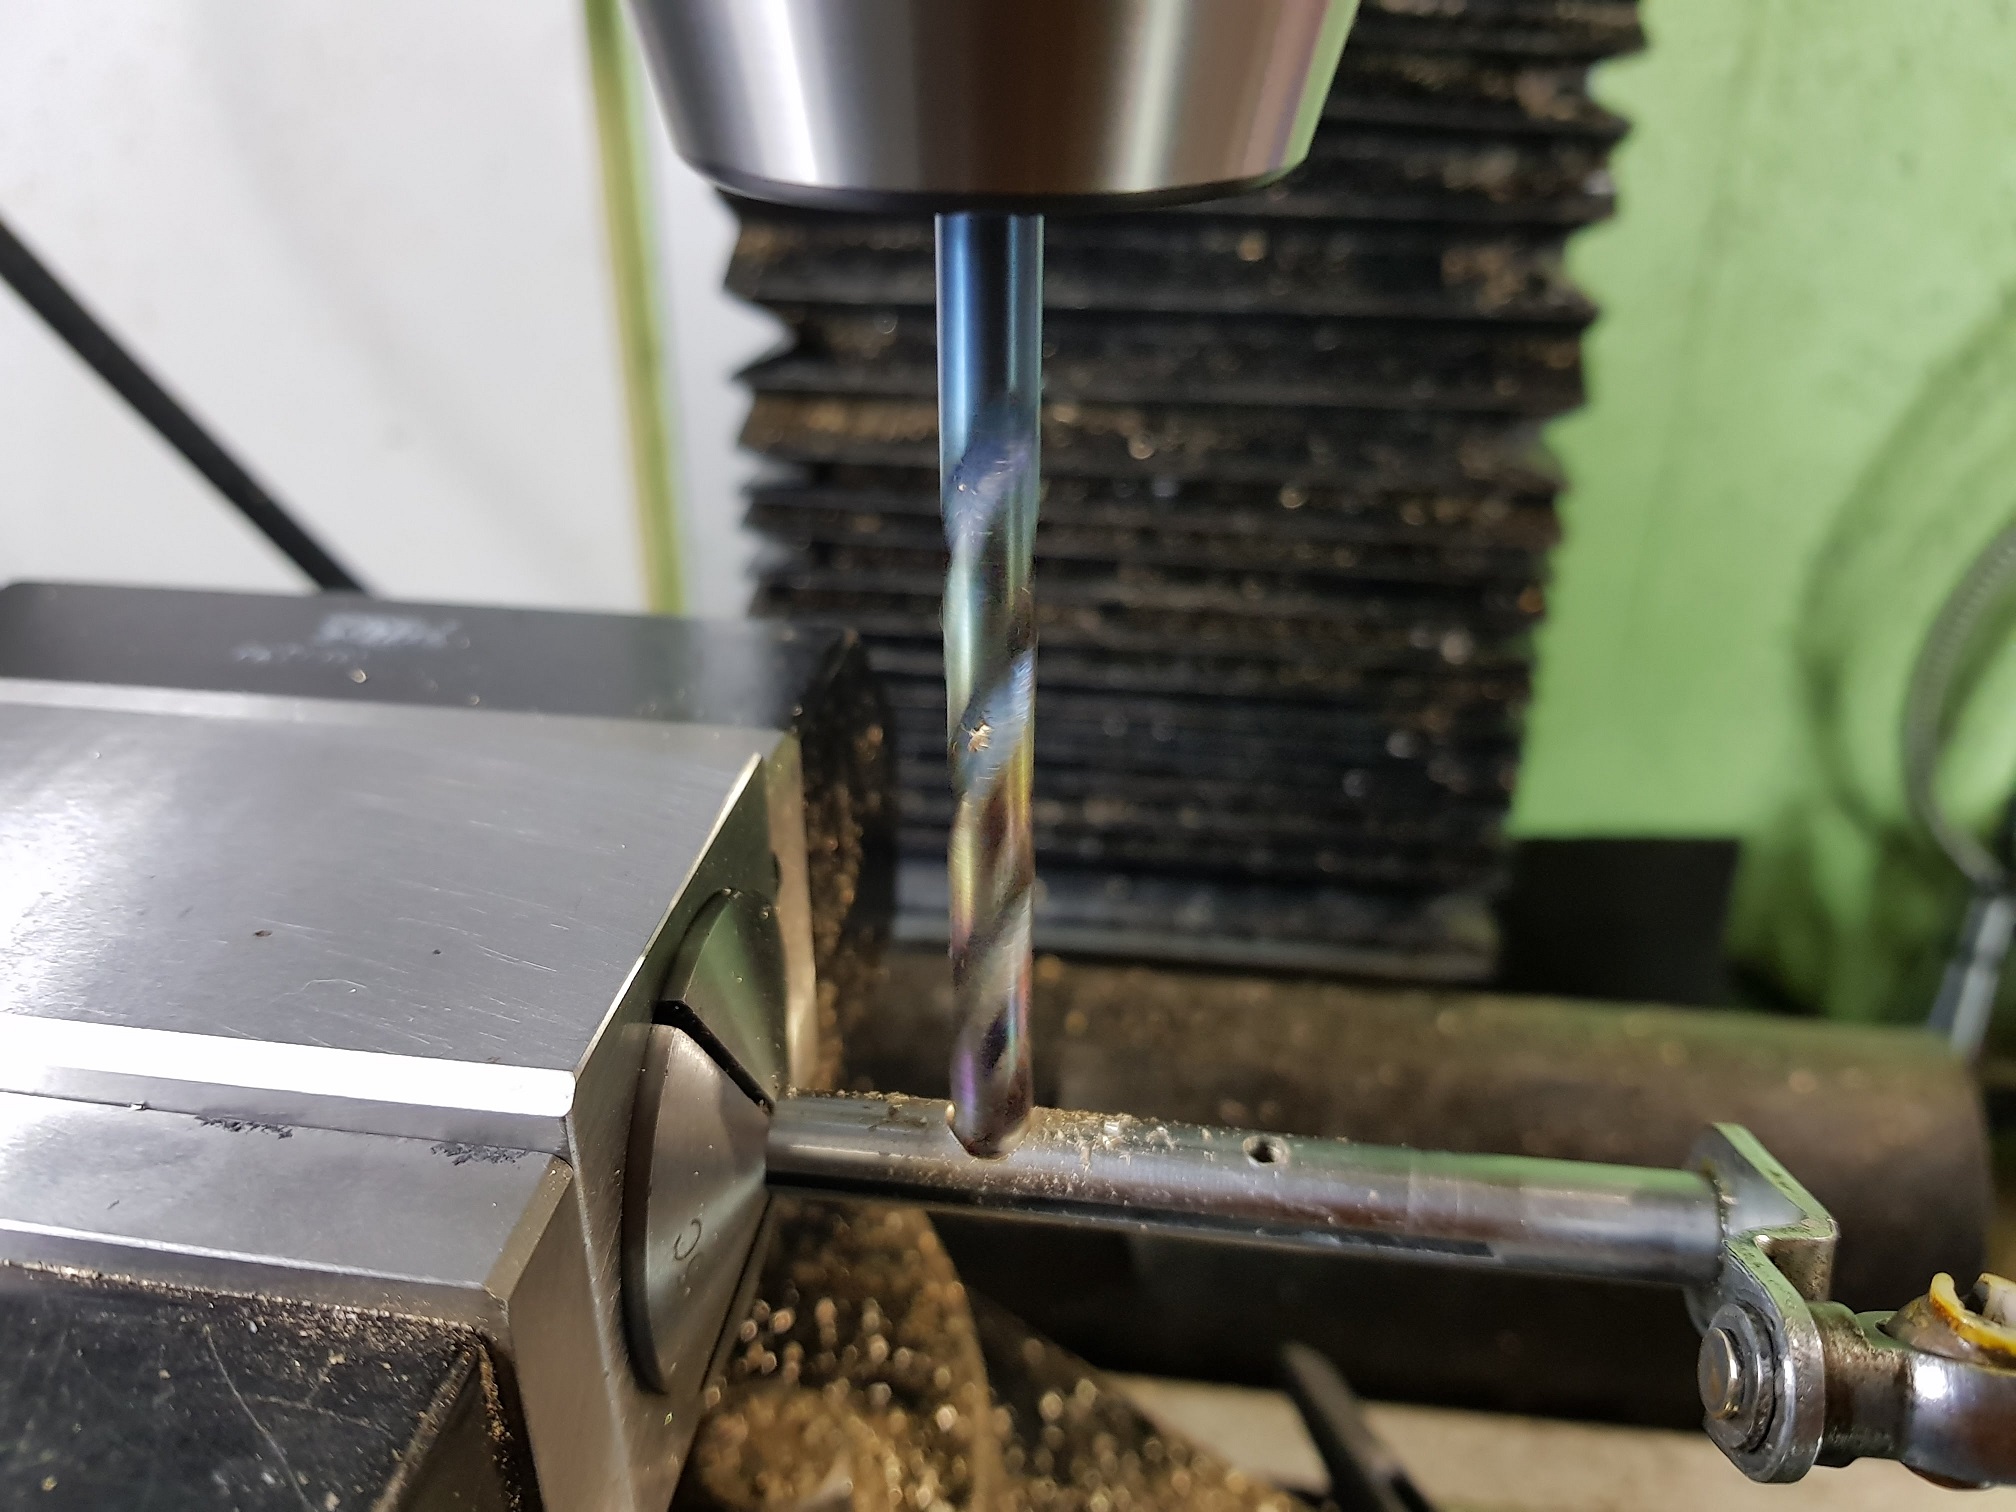
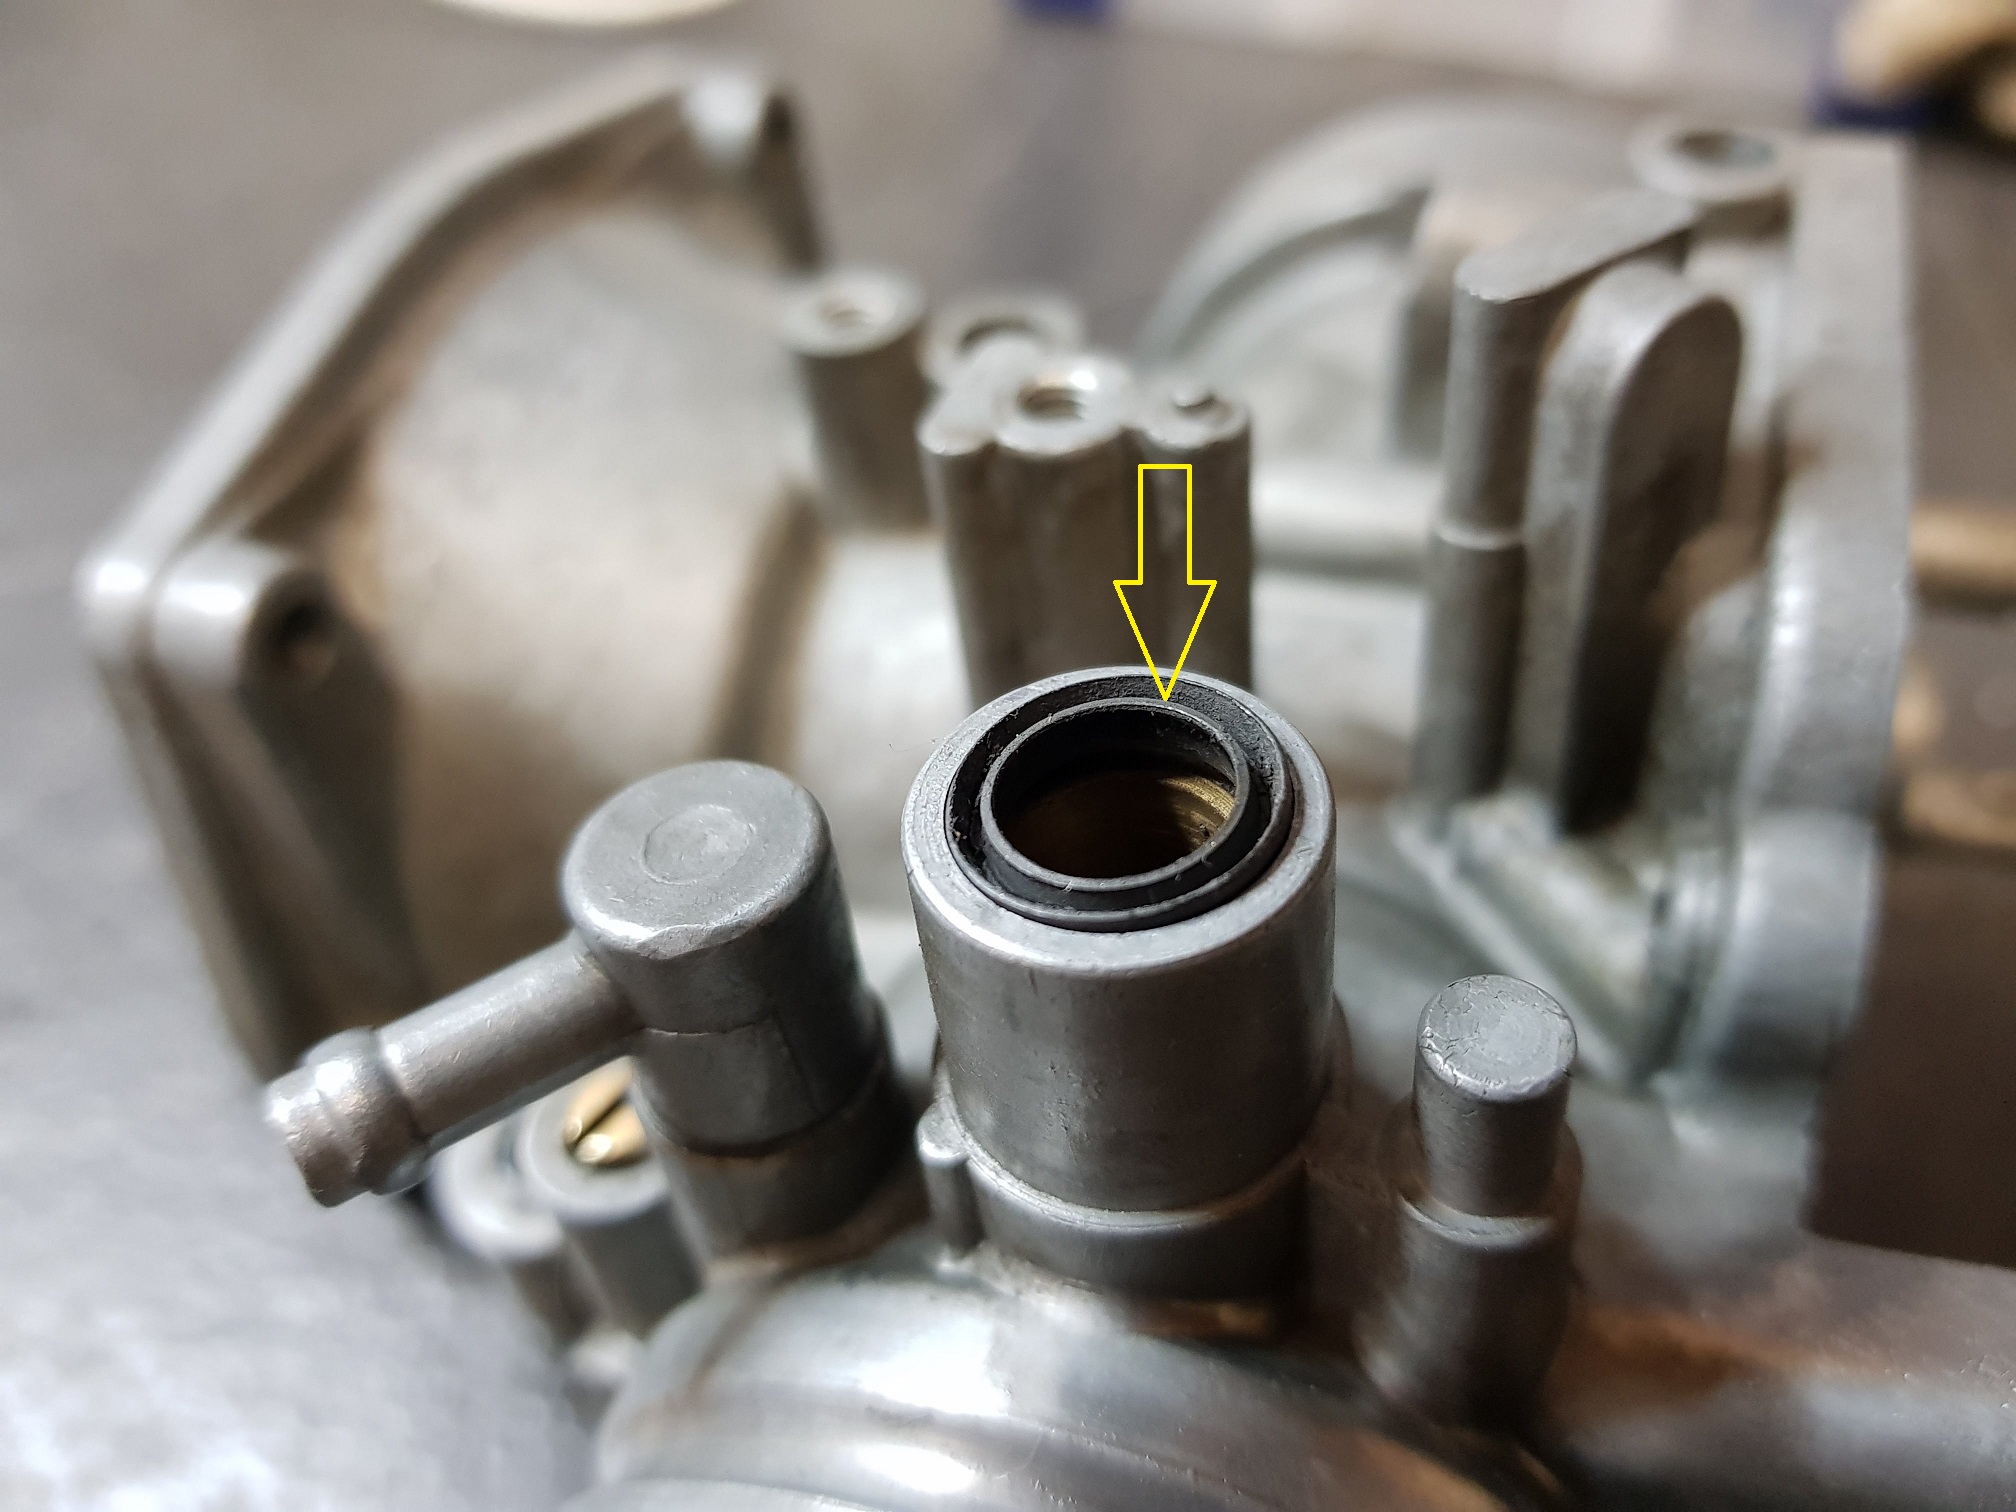
Drill down about 1,5 mm using a 6mm drill bit.

Continue down to 2,5mm using an end mill. ( not all the way through )
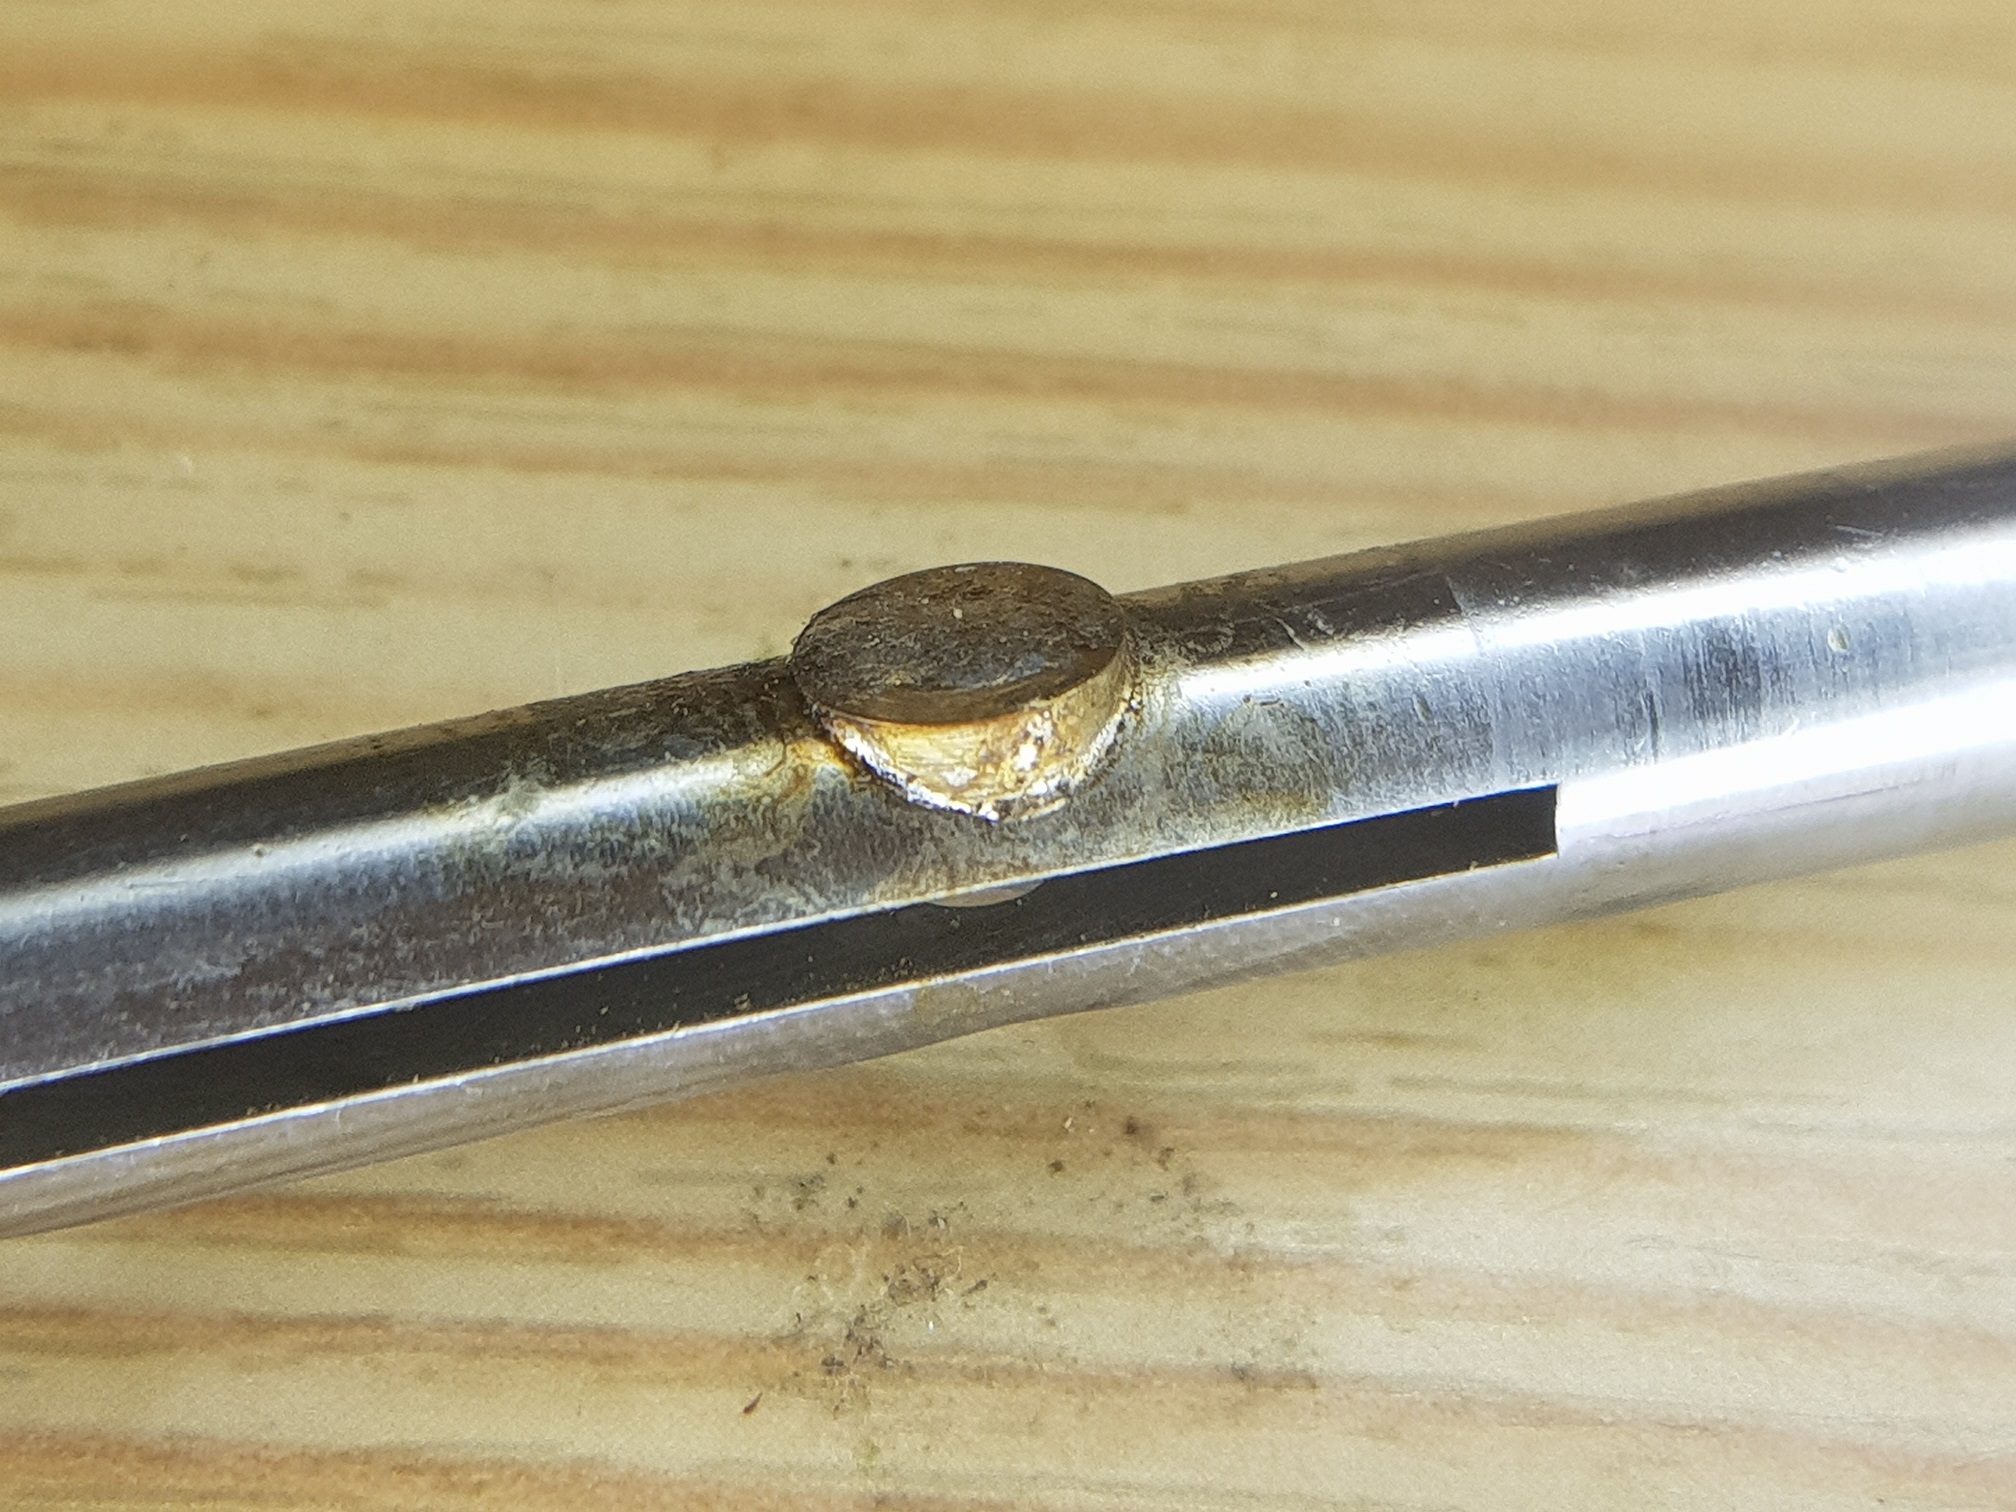
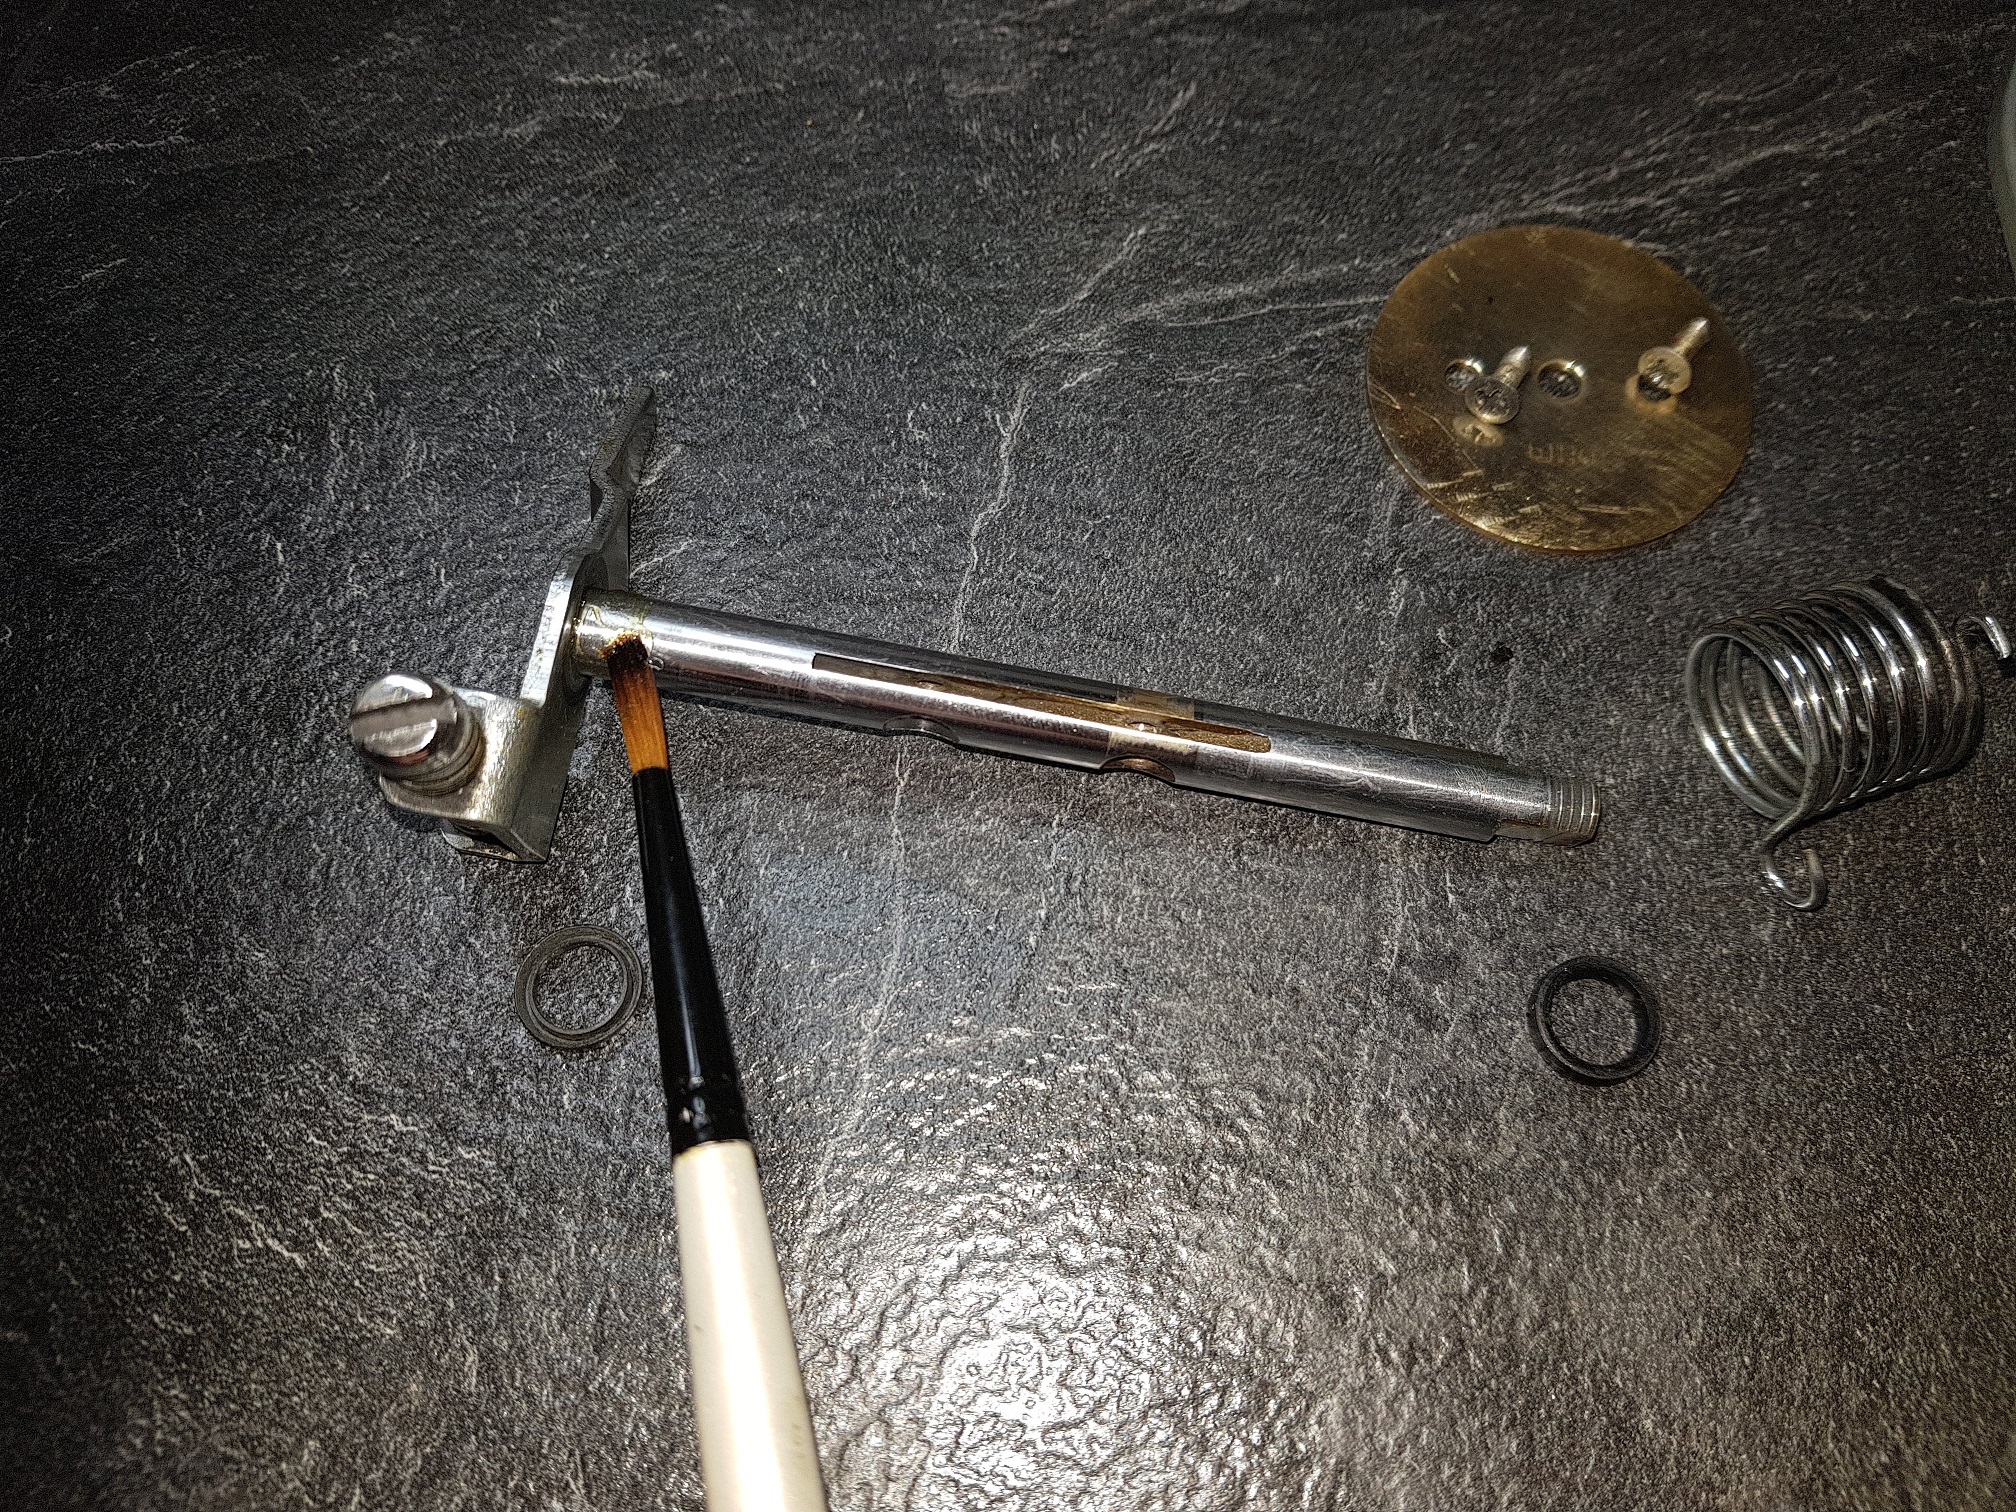
The piece of brass has been soldered

Use a lathe to turn turn off the brass piece until the shaft looks smooth and nice.

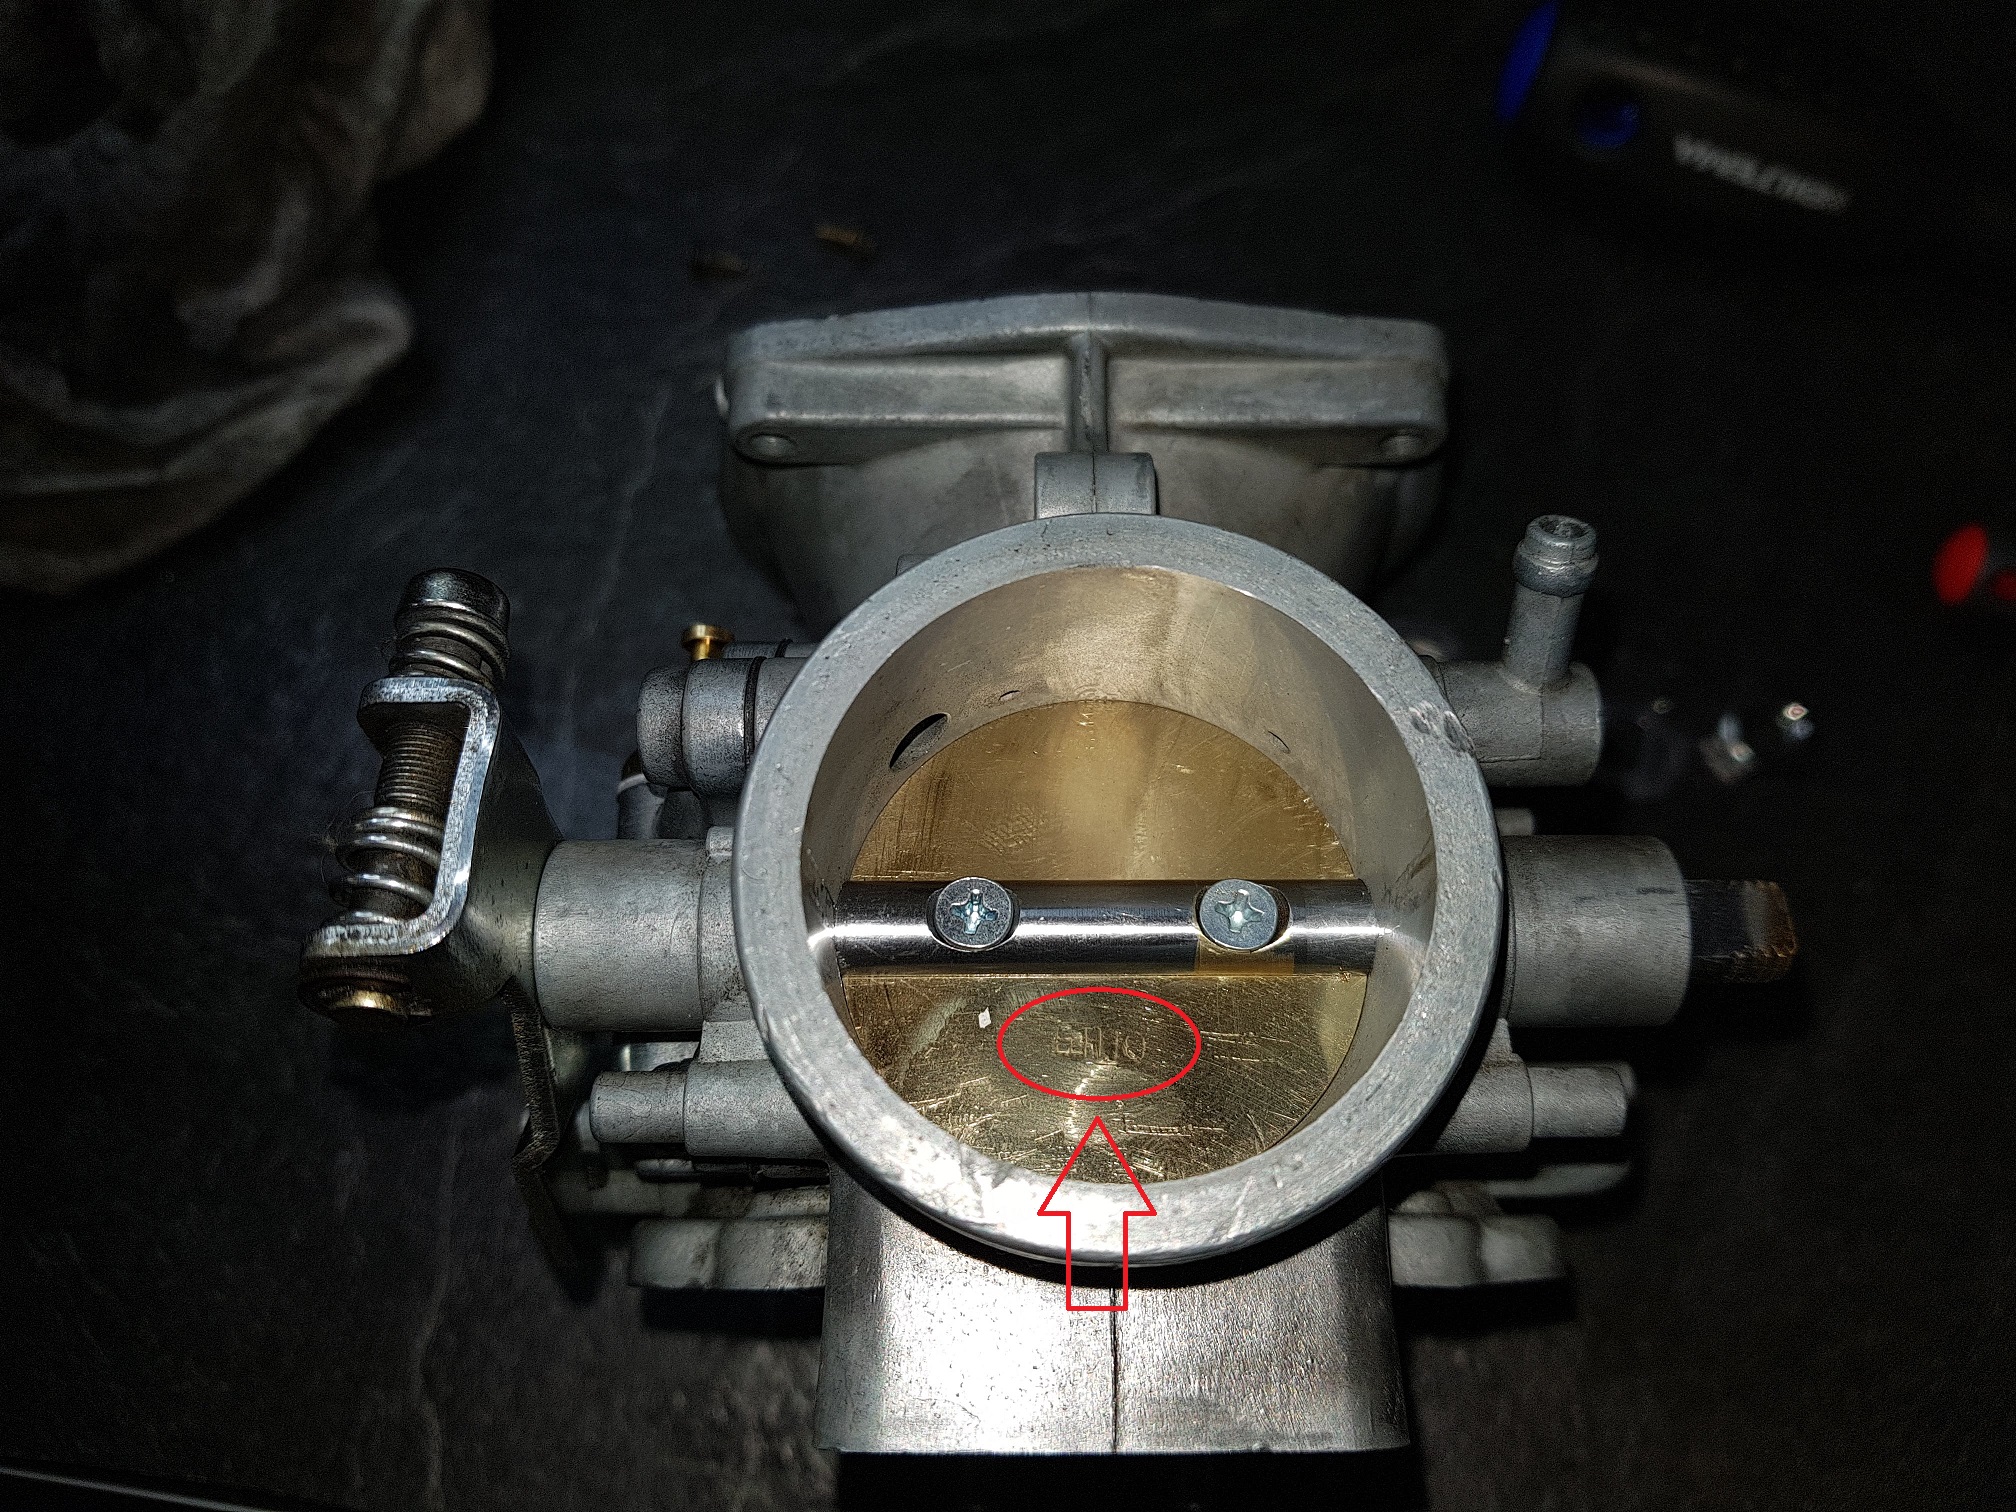
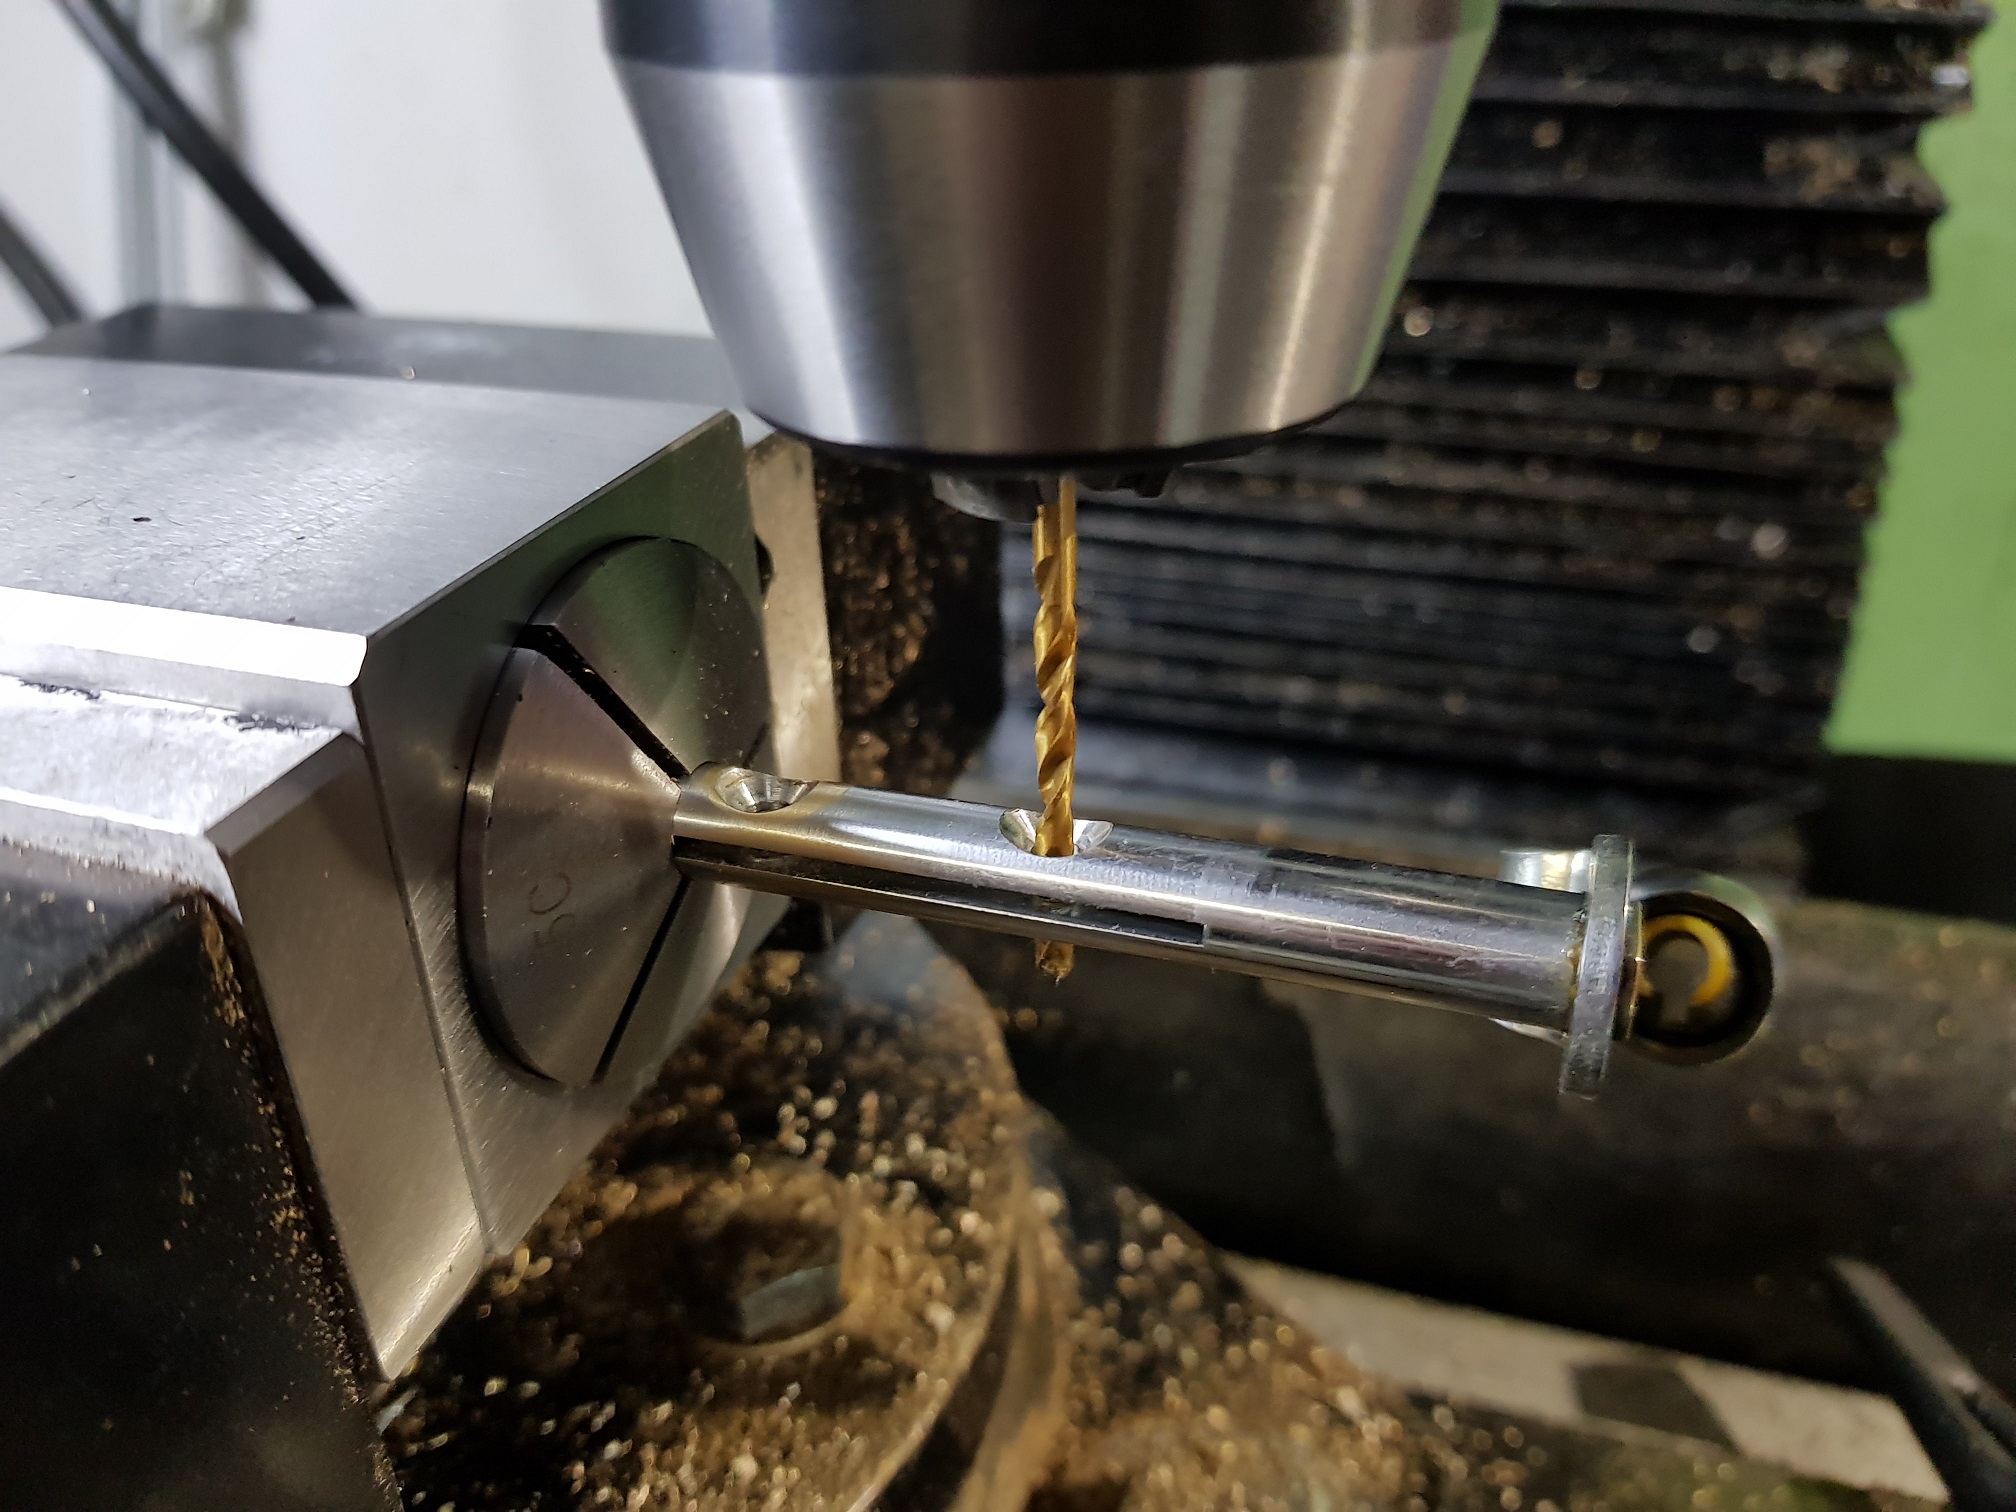
Use the second hole as alignment to get the right angle before you drill out the new part using a 2,5mm drill bit.

Make new 3mm threads and you are done. Good luck 🙂
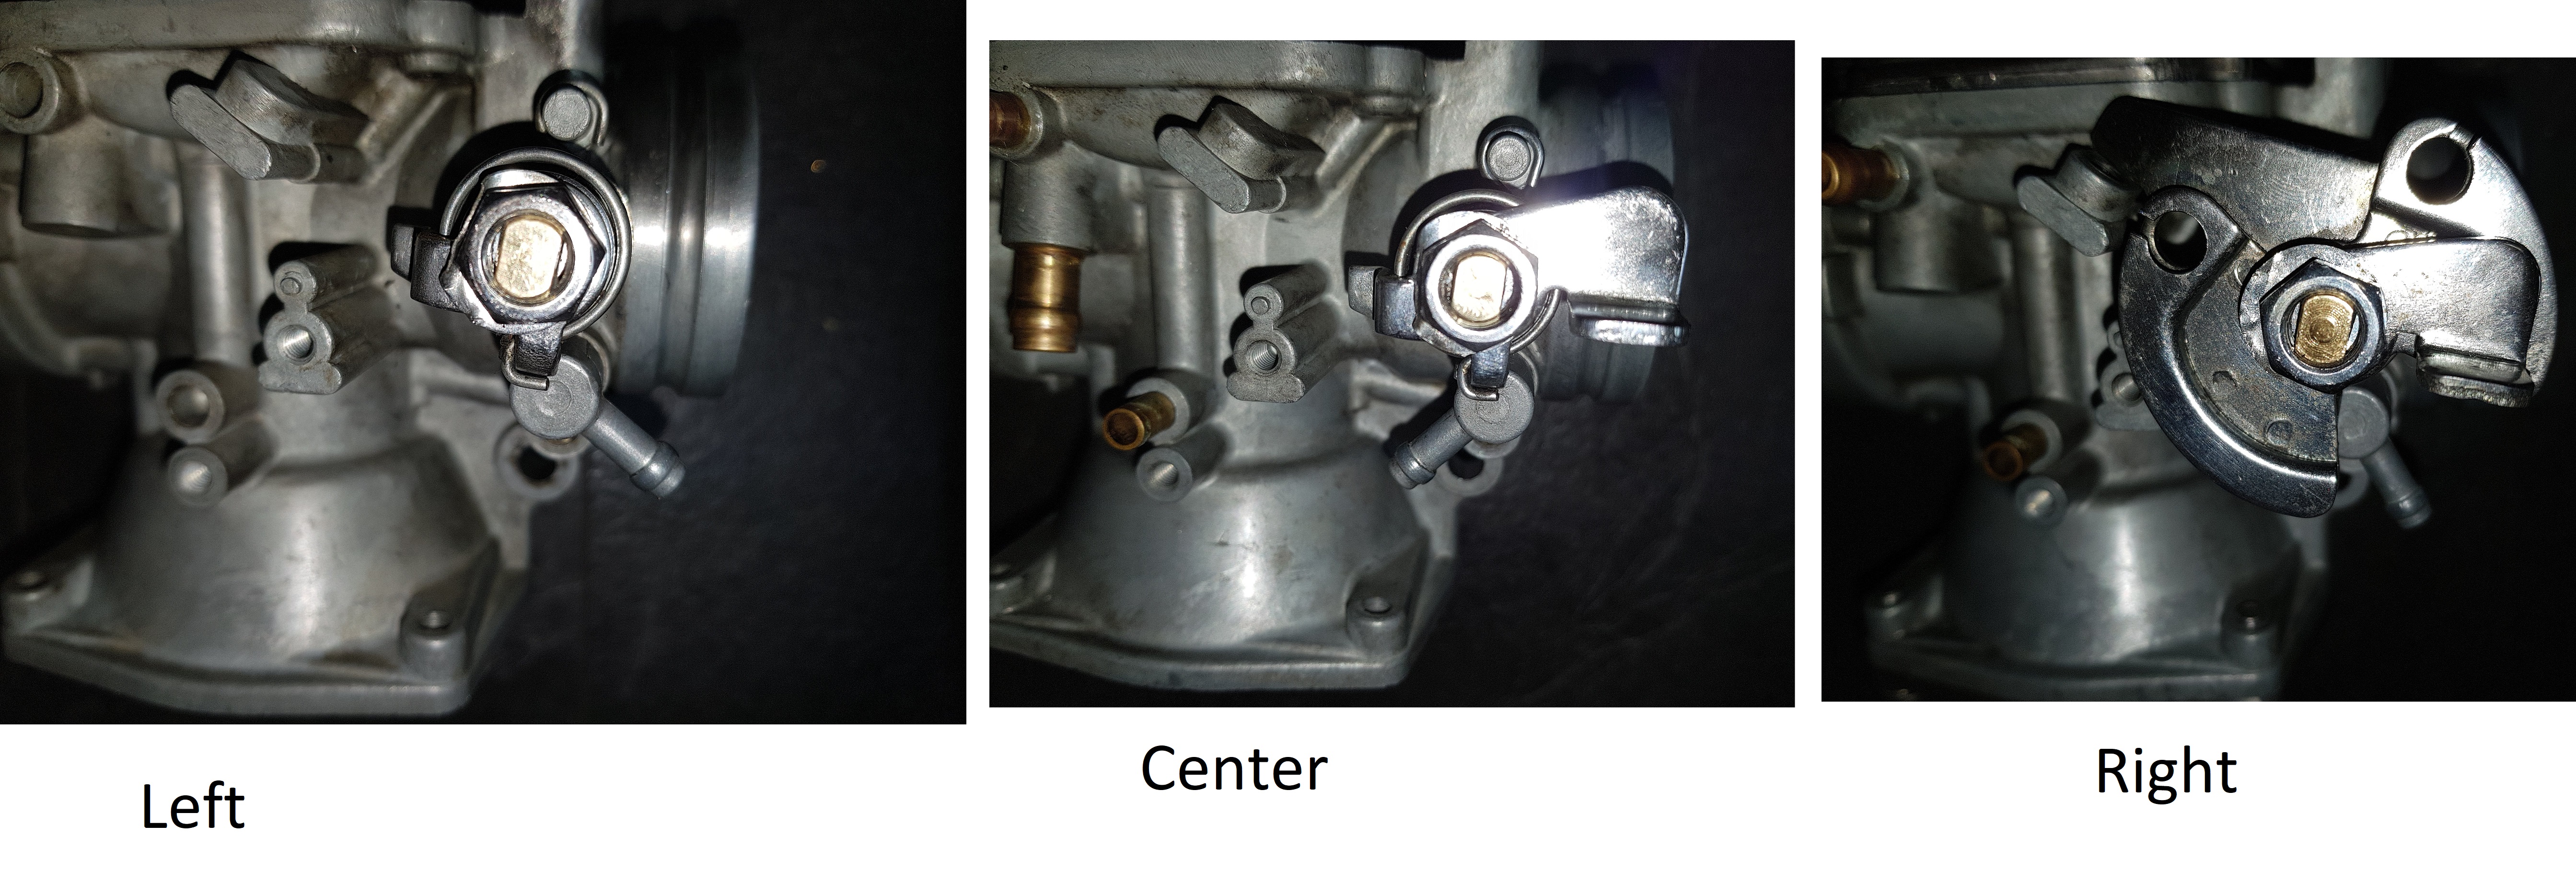
Mounted back into the carburetor