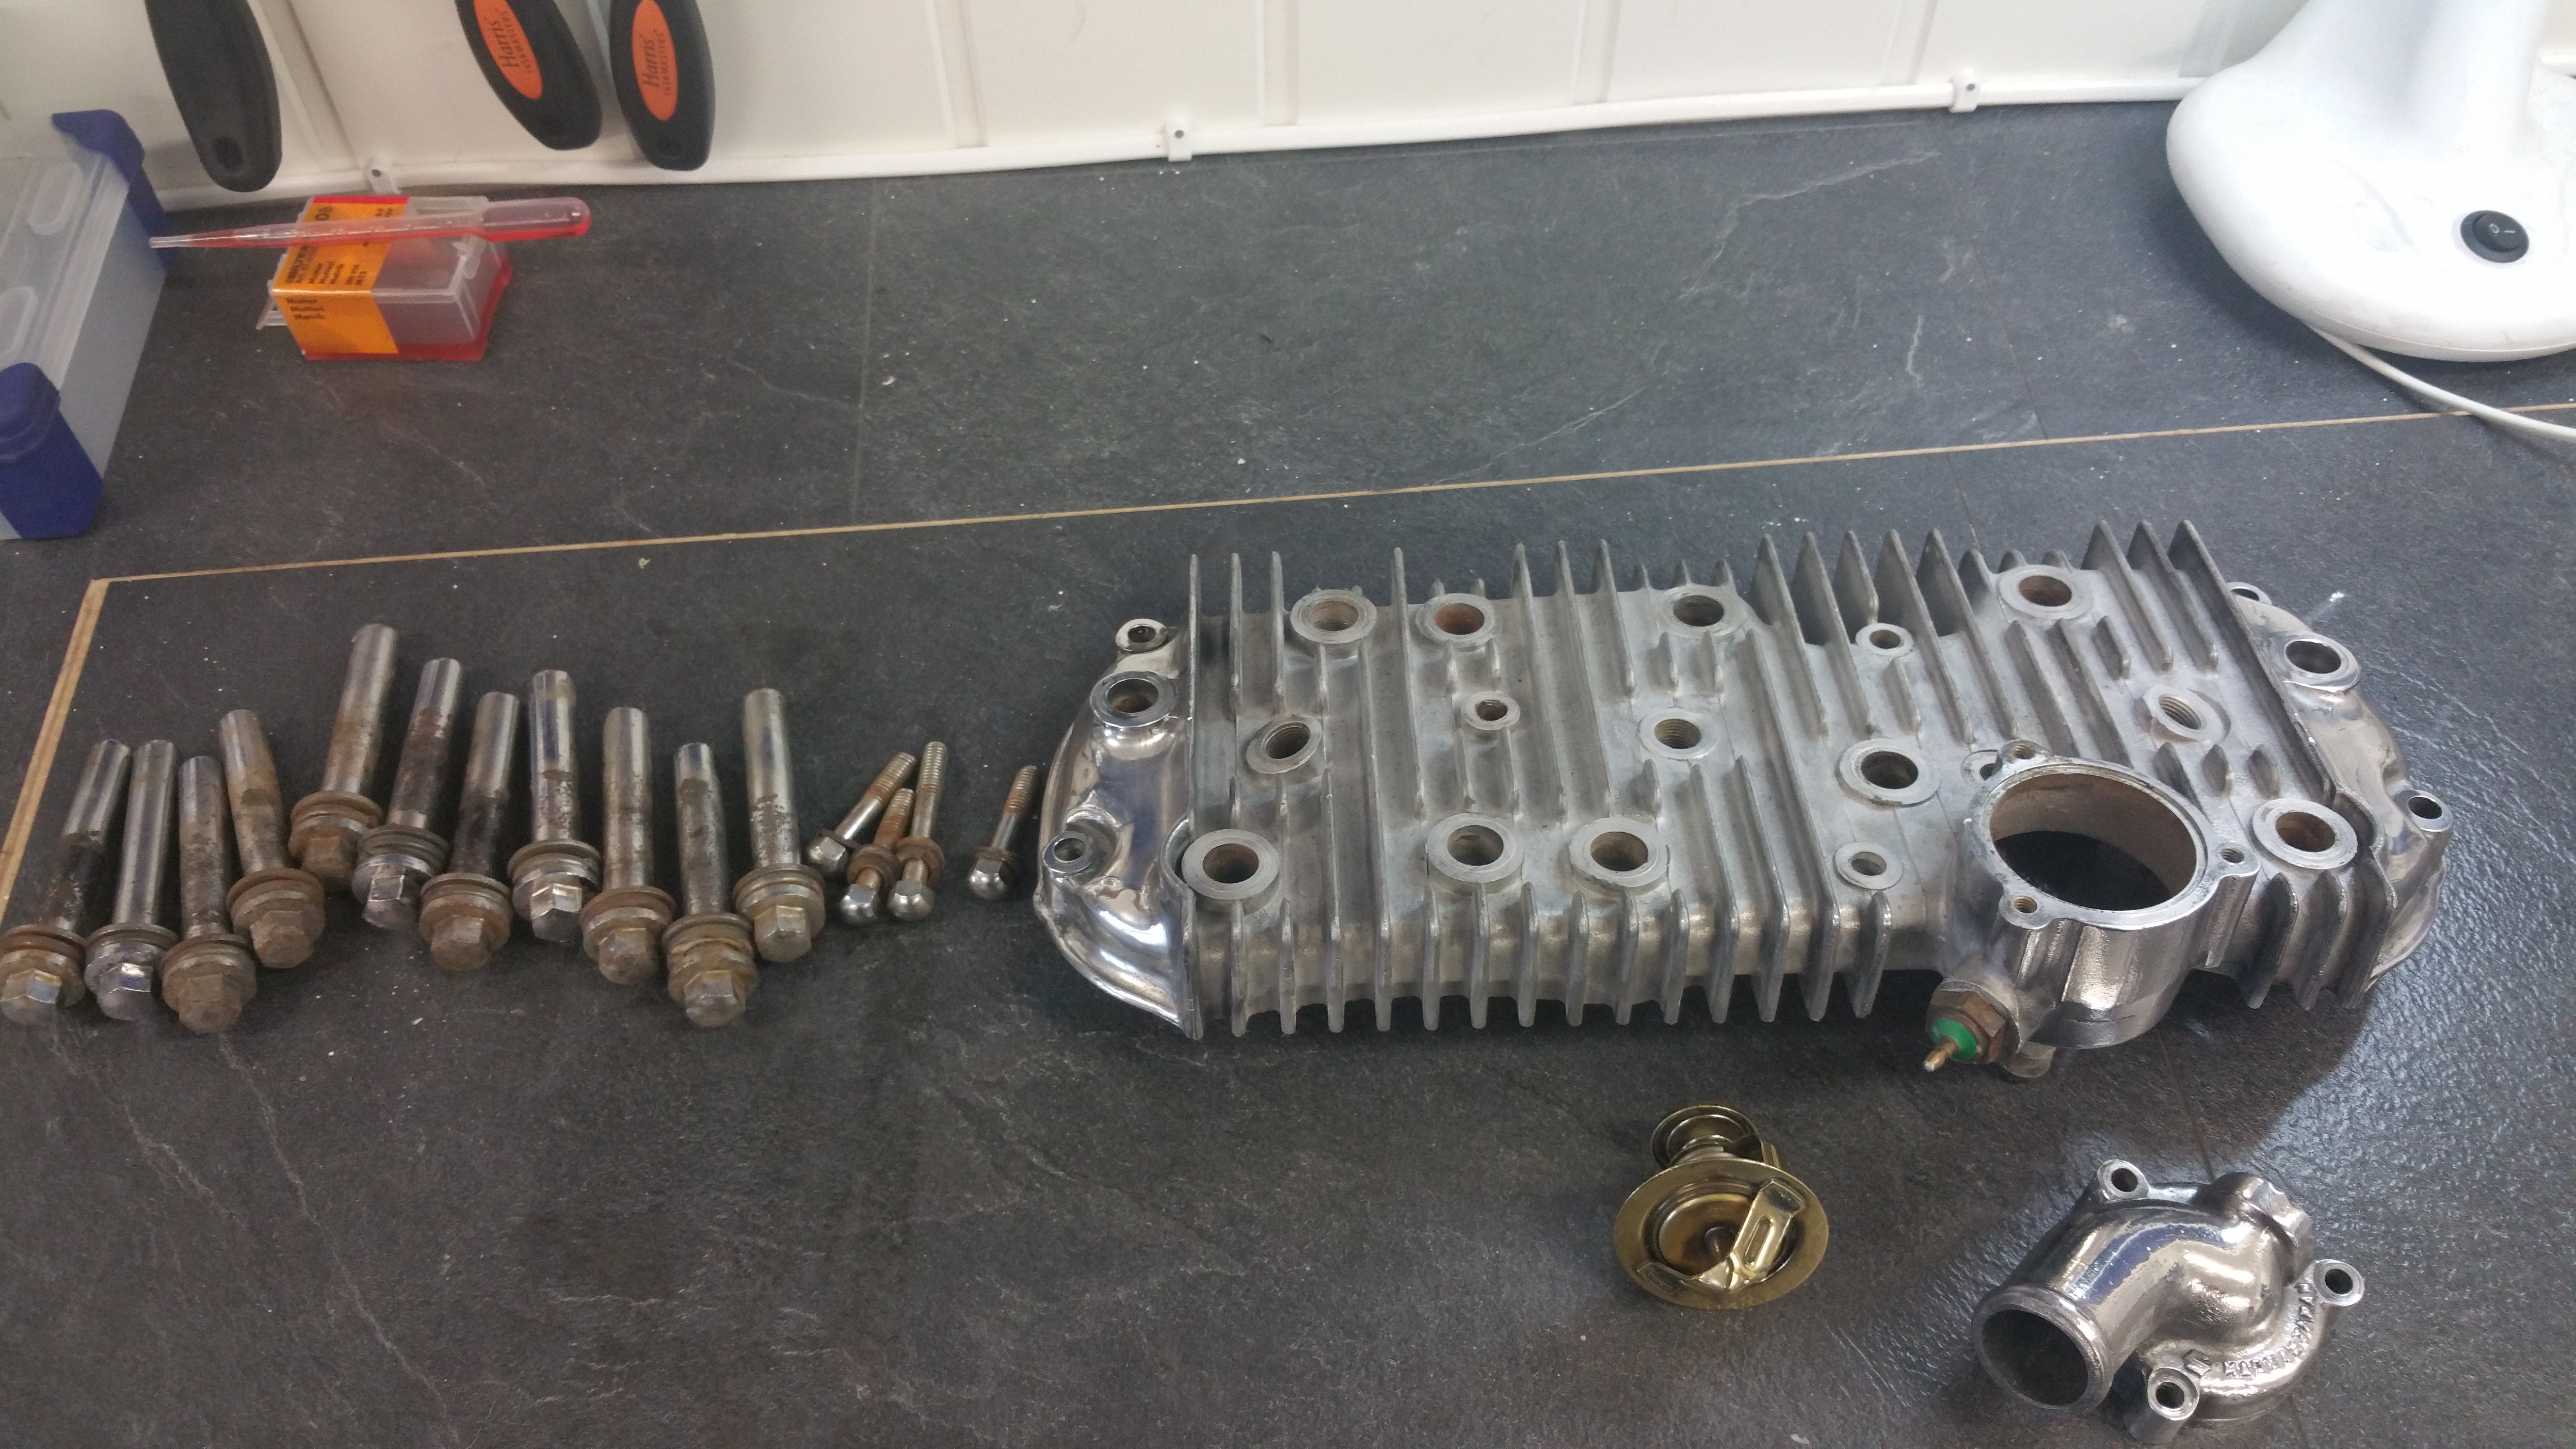
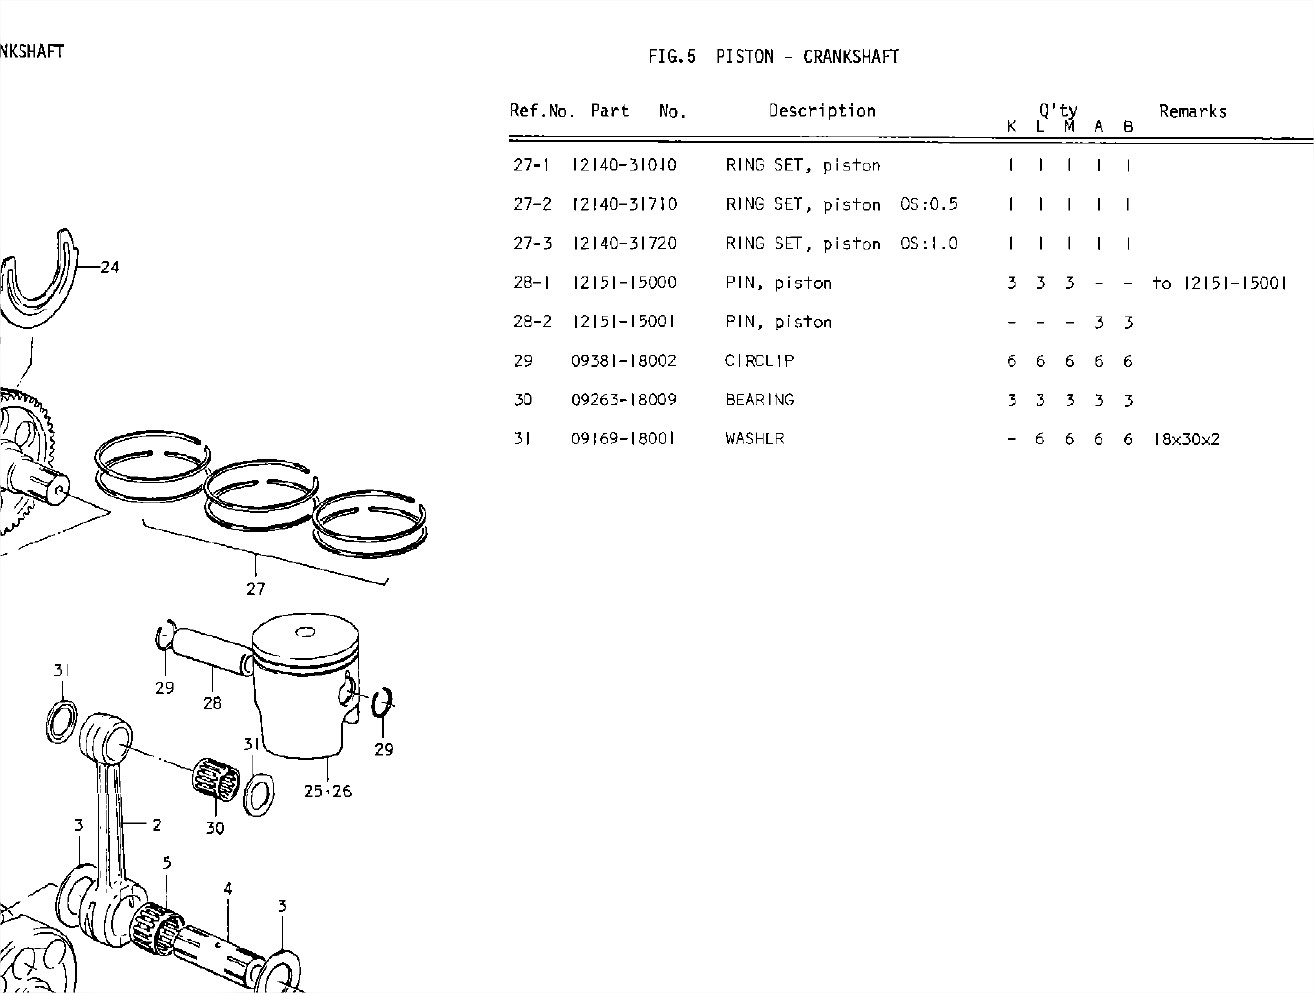
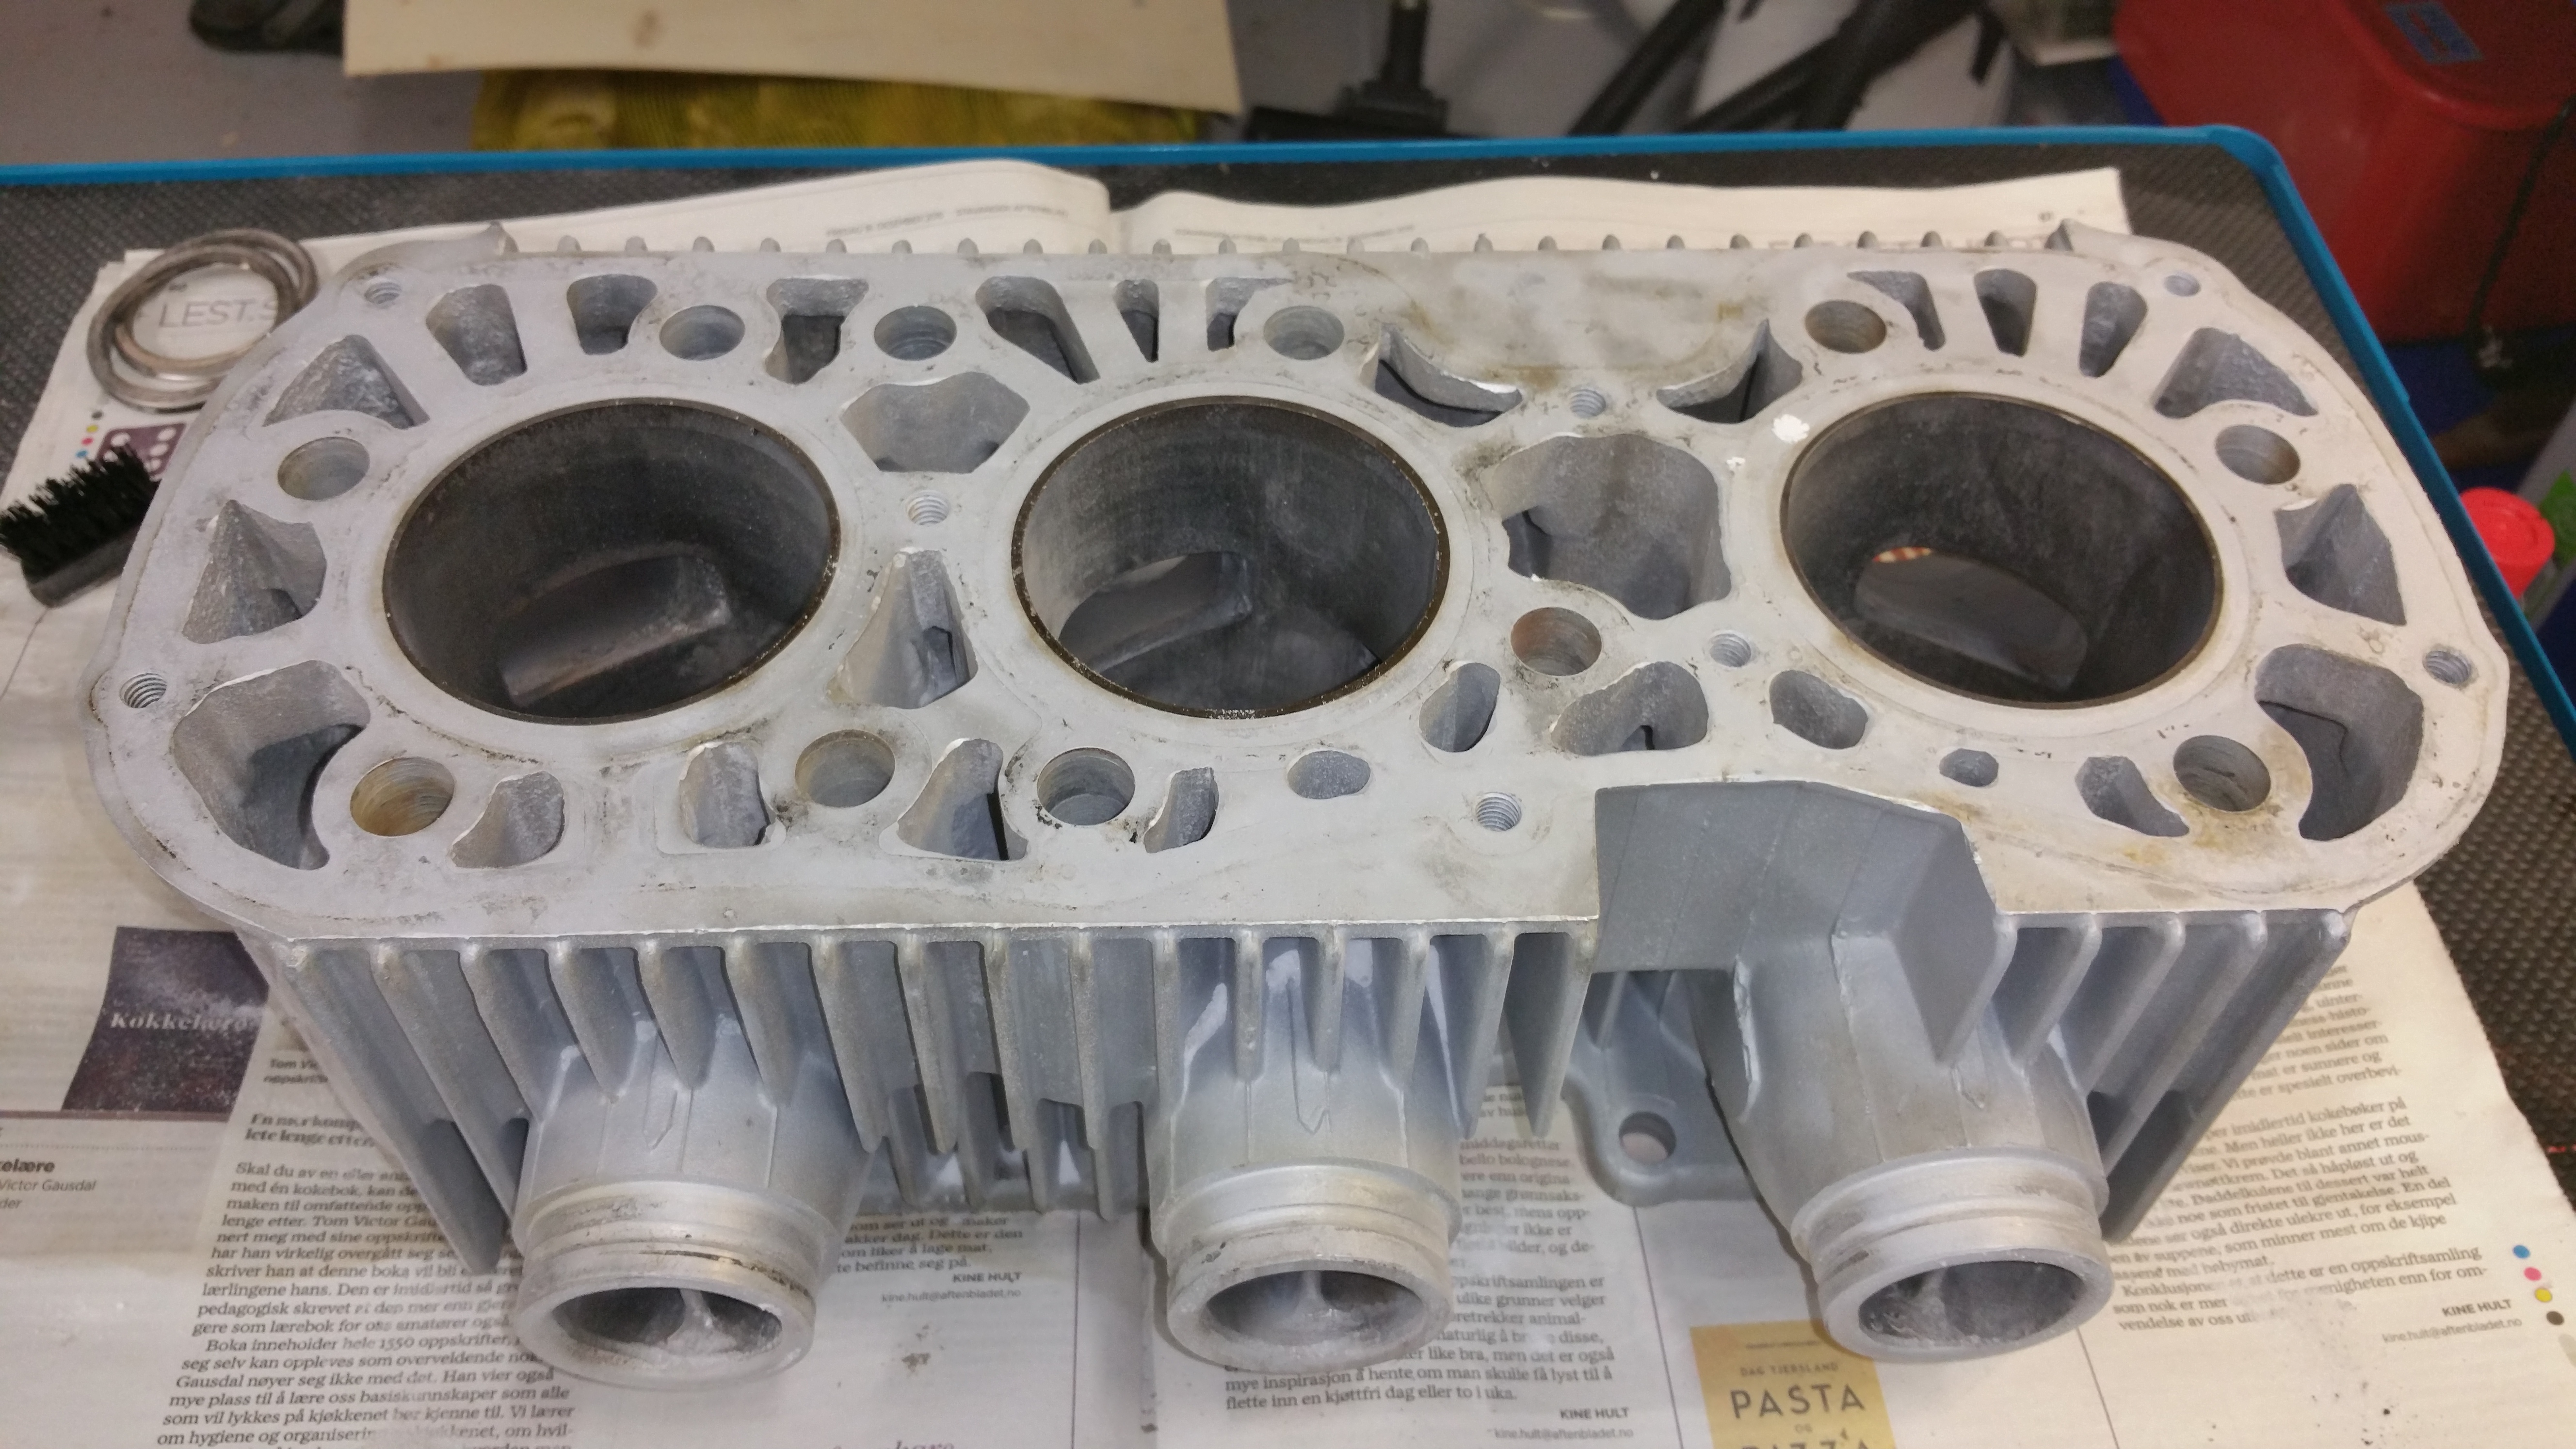
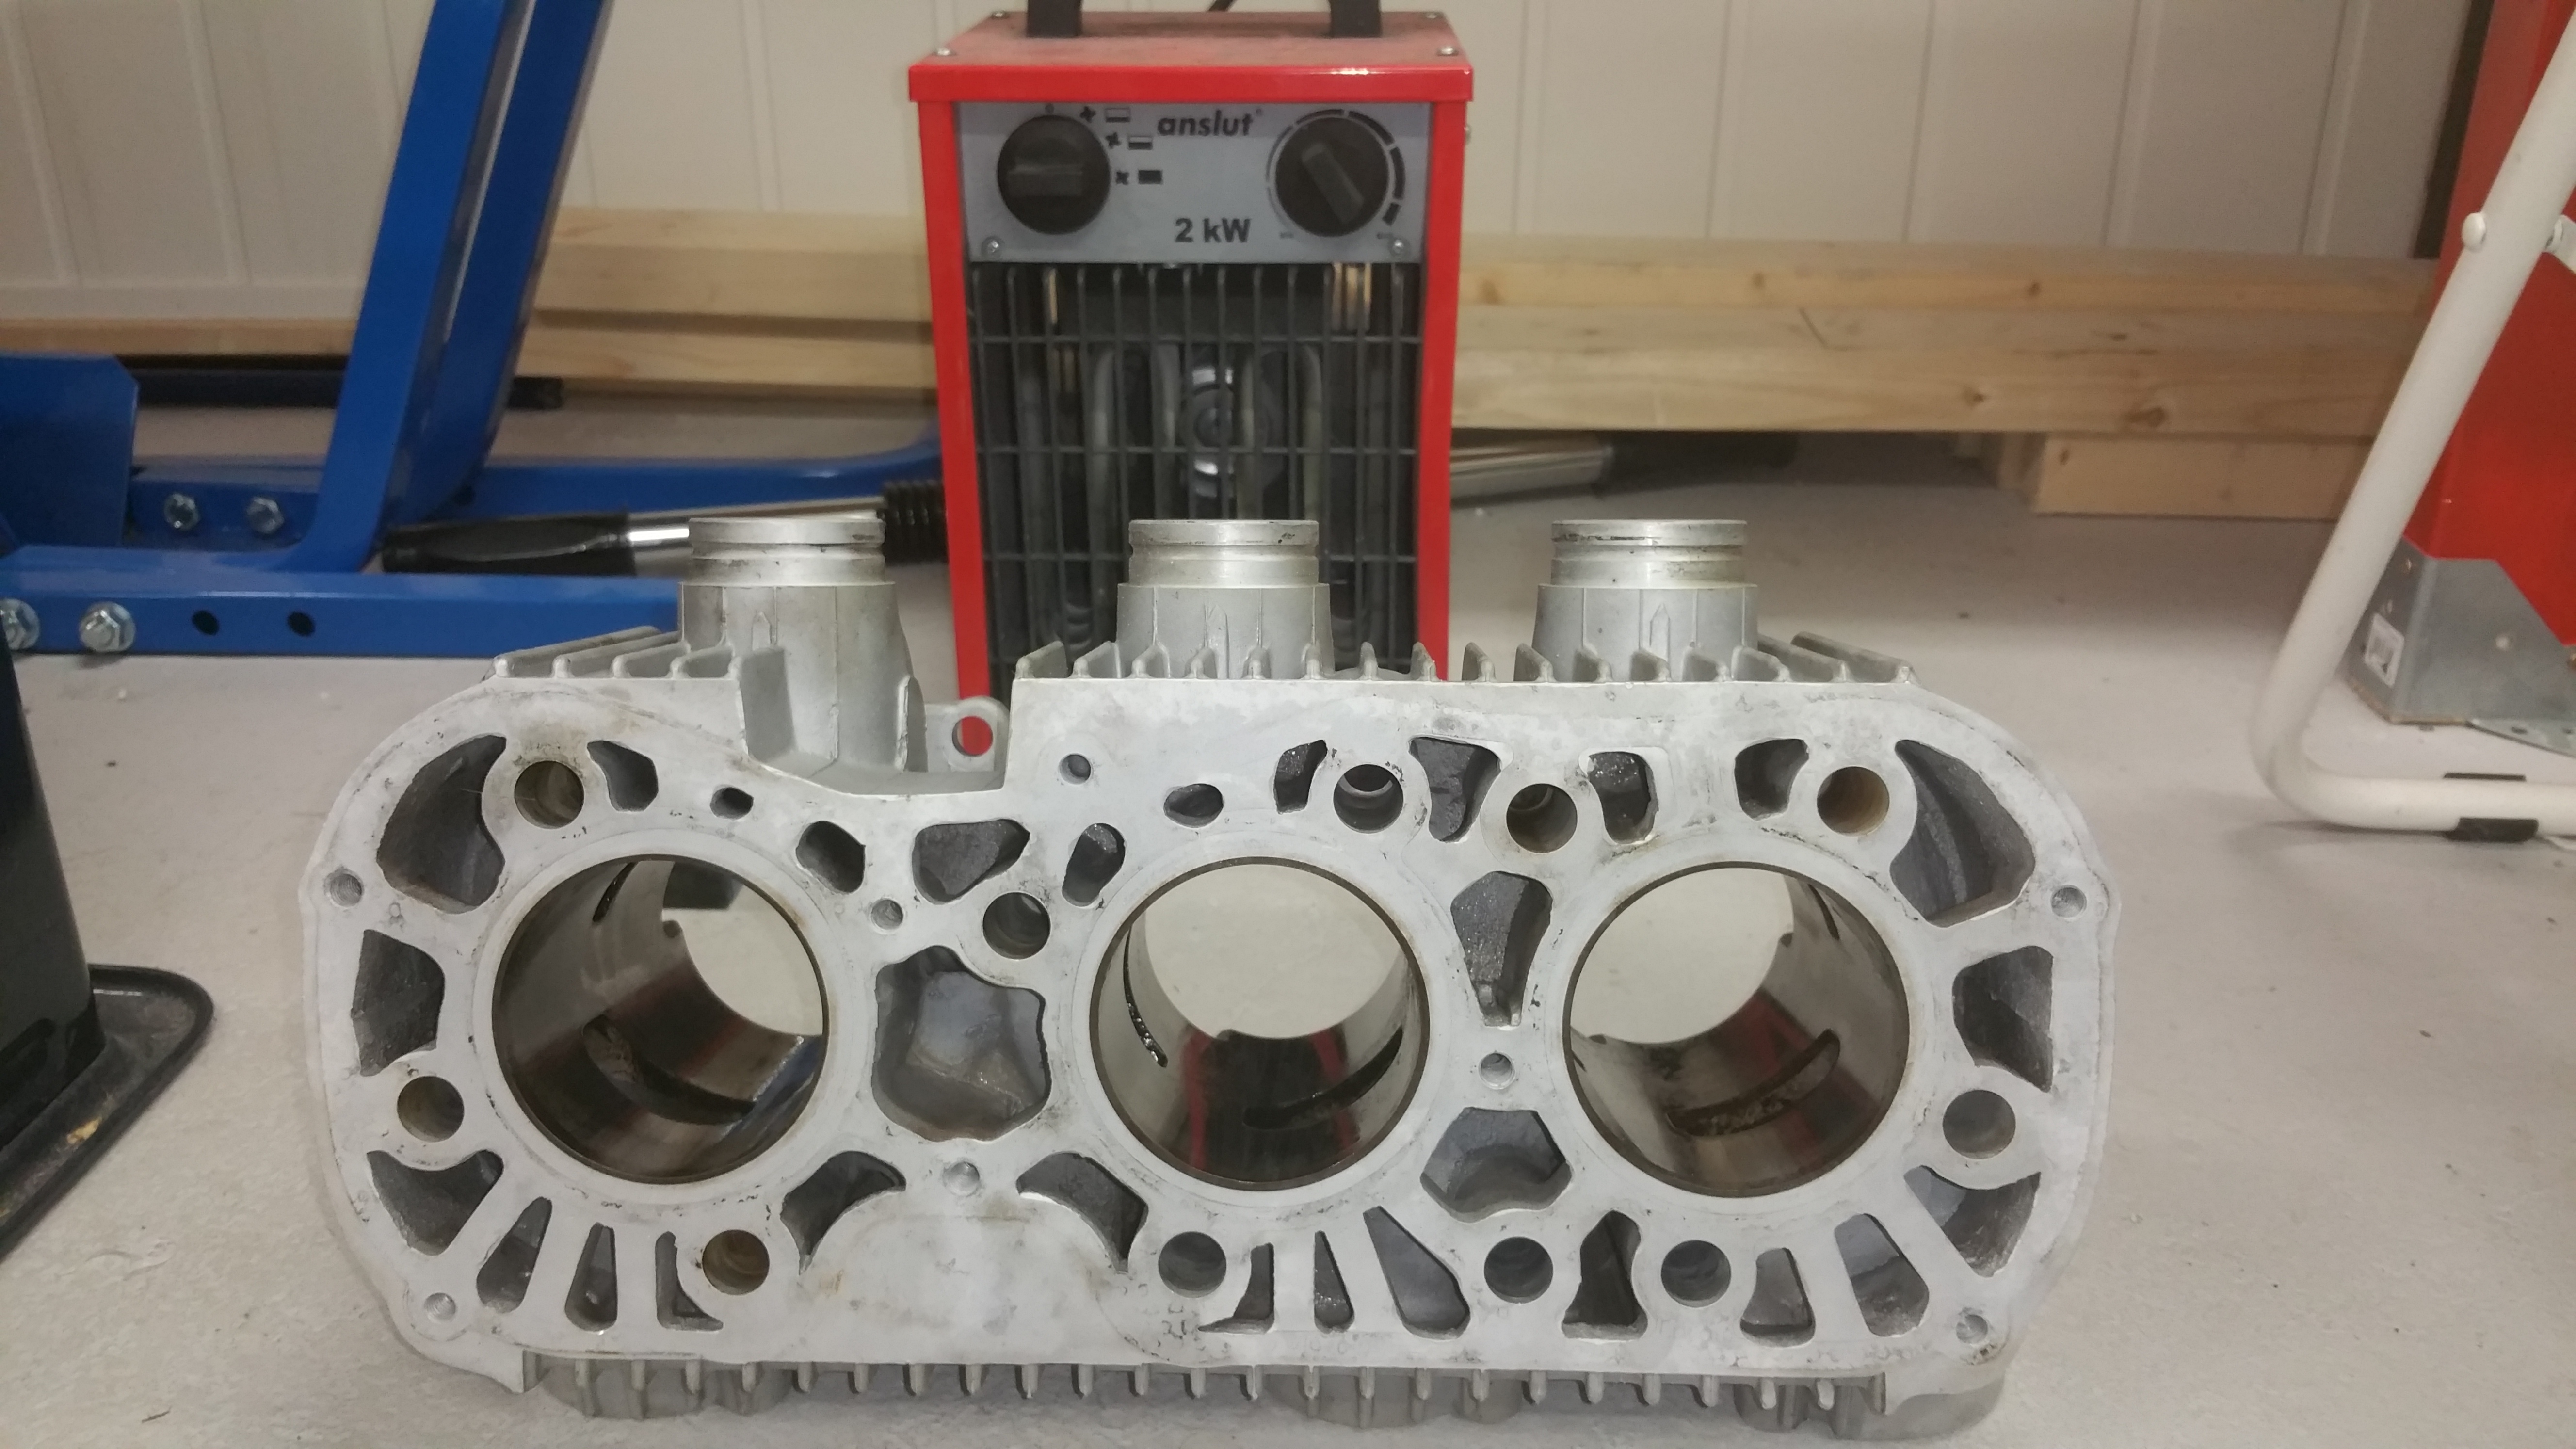
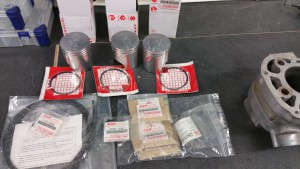
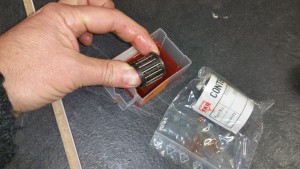
New parts to be mounted

Step 1: Circlip

Mount one circlip in all three pistons. Move the end position away from the cutout. Be gentle and don’t bend the circlip too much. Use a screw driver as a tool to flip it into the position in the groove. Always new circlips, never reuse old one.
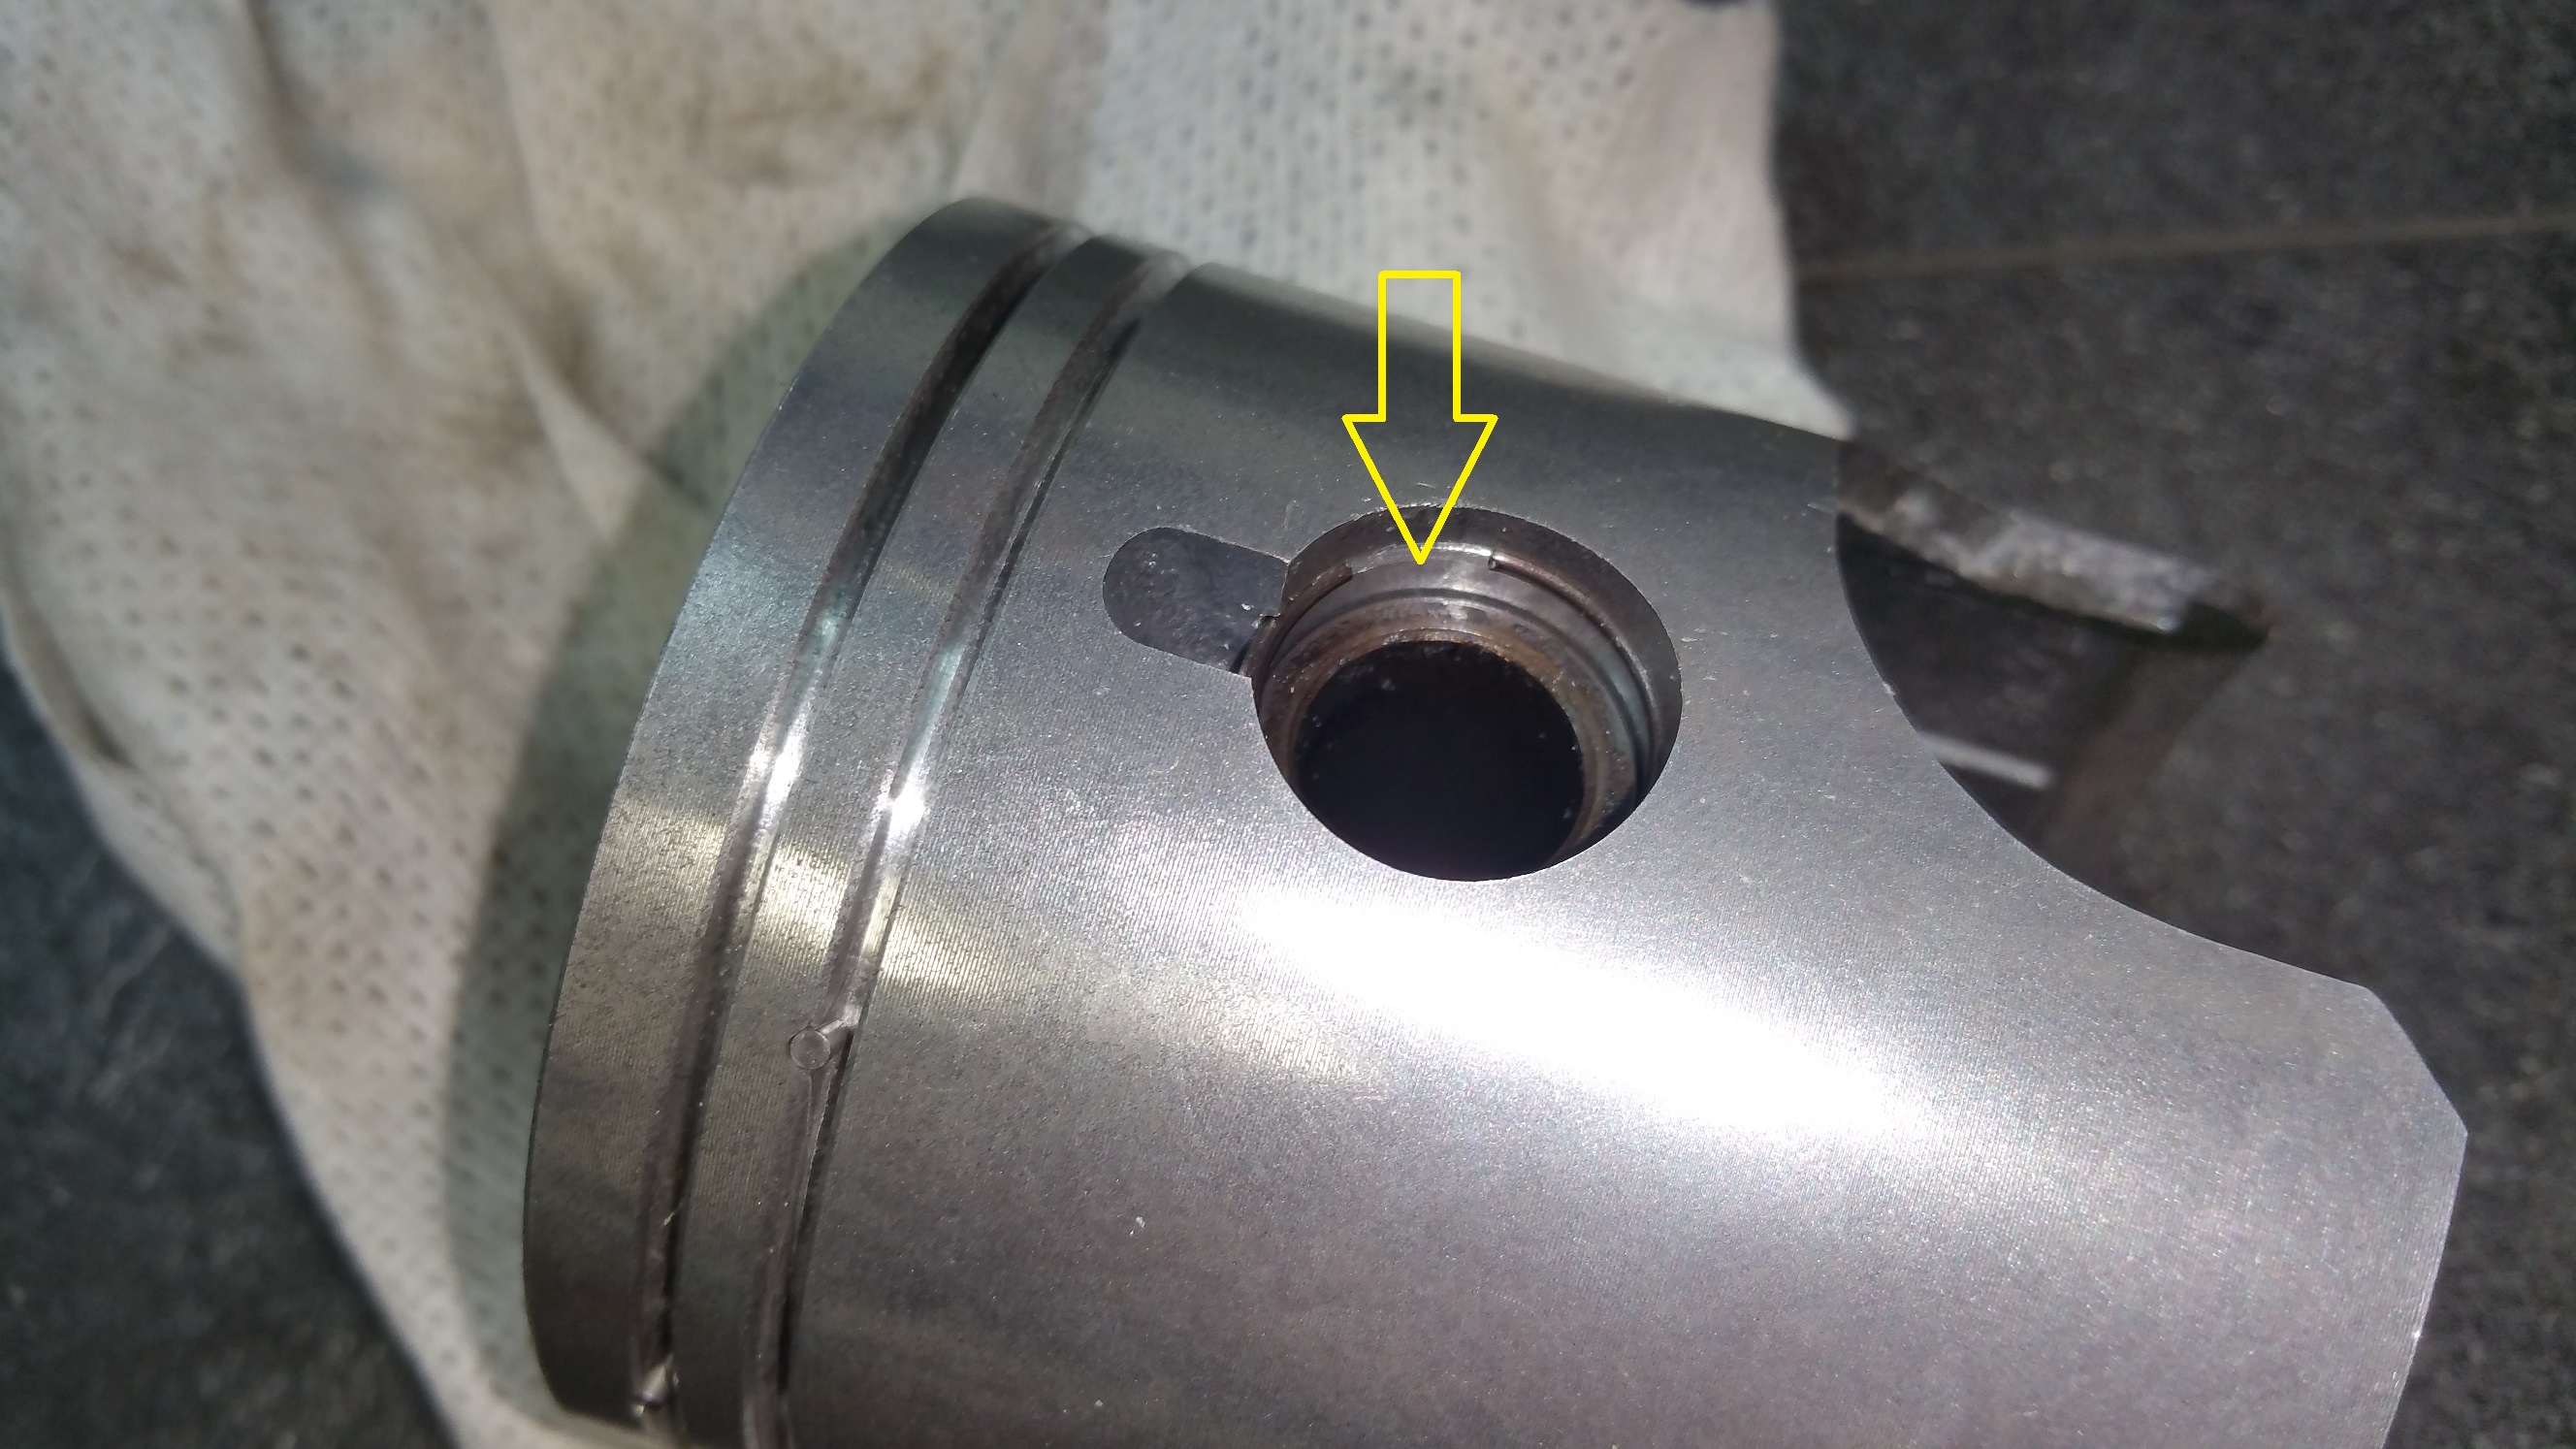
Step 2: Piston rings
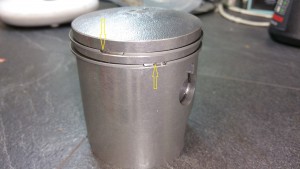
Mount the piston ring as shown on the photo. Be aware of the pin locking the ring, see the arrows. You don’t need any special tools for mounting the piston rings. They are quite expensive an if you are afraid of braking any of them, drink a beer before you start 🙂
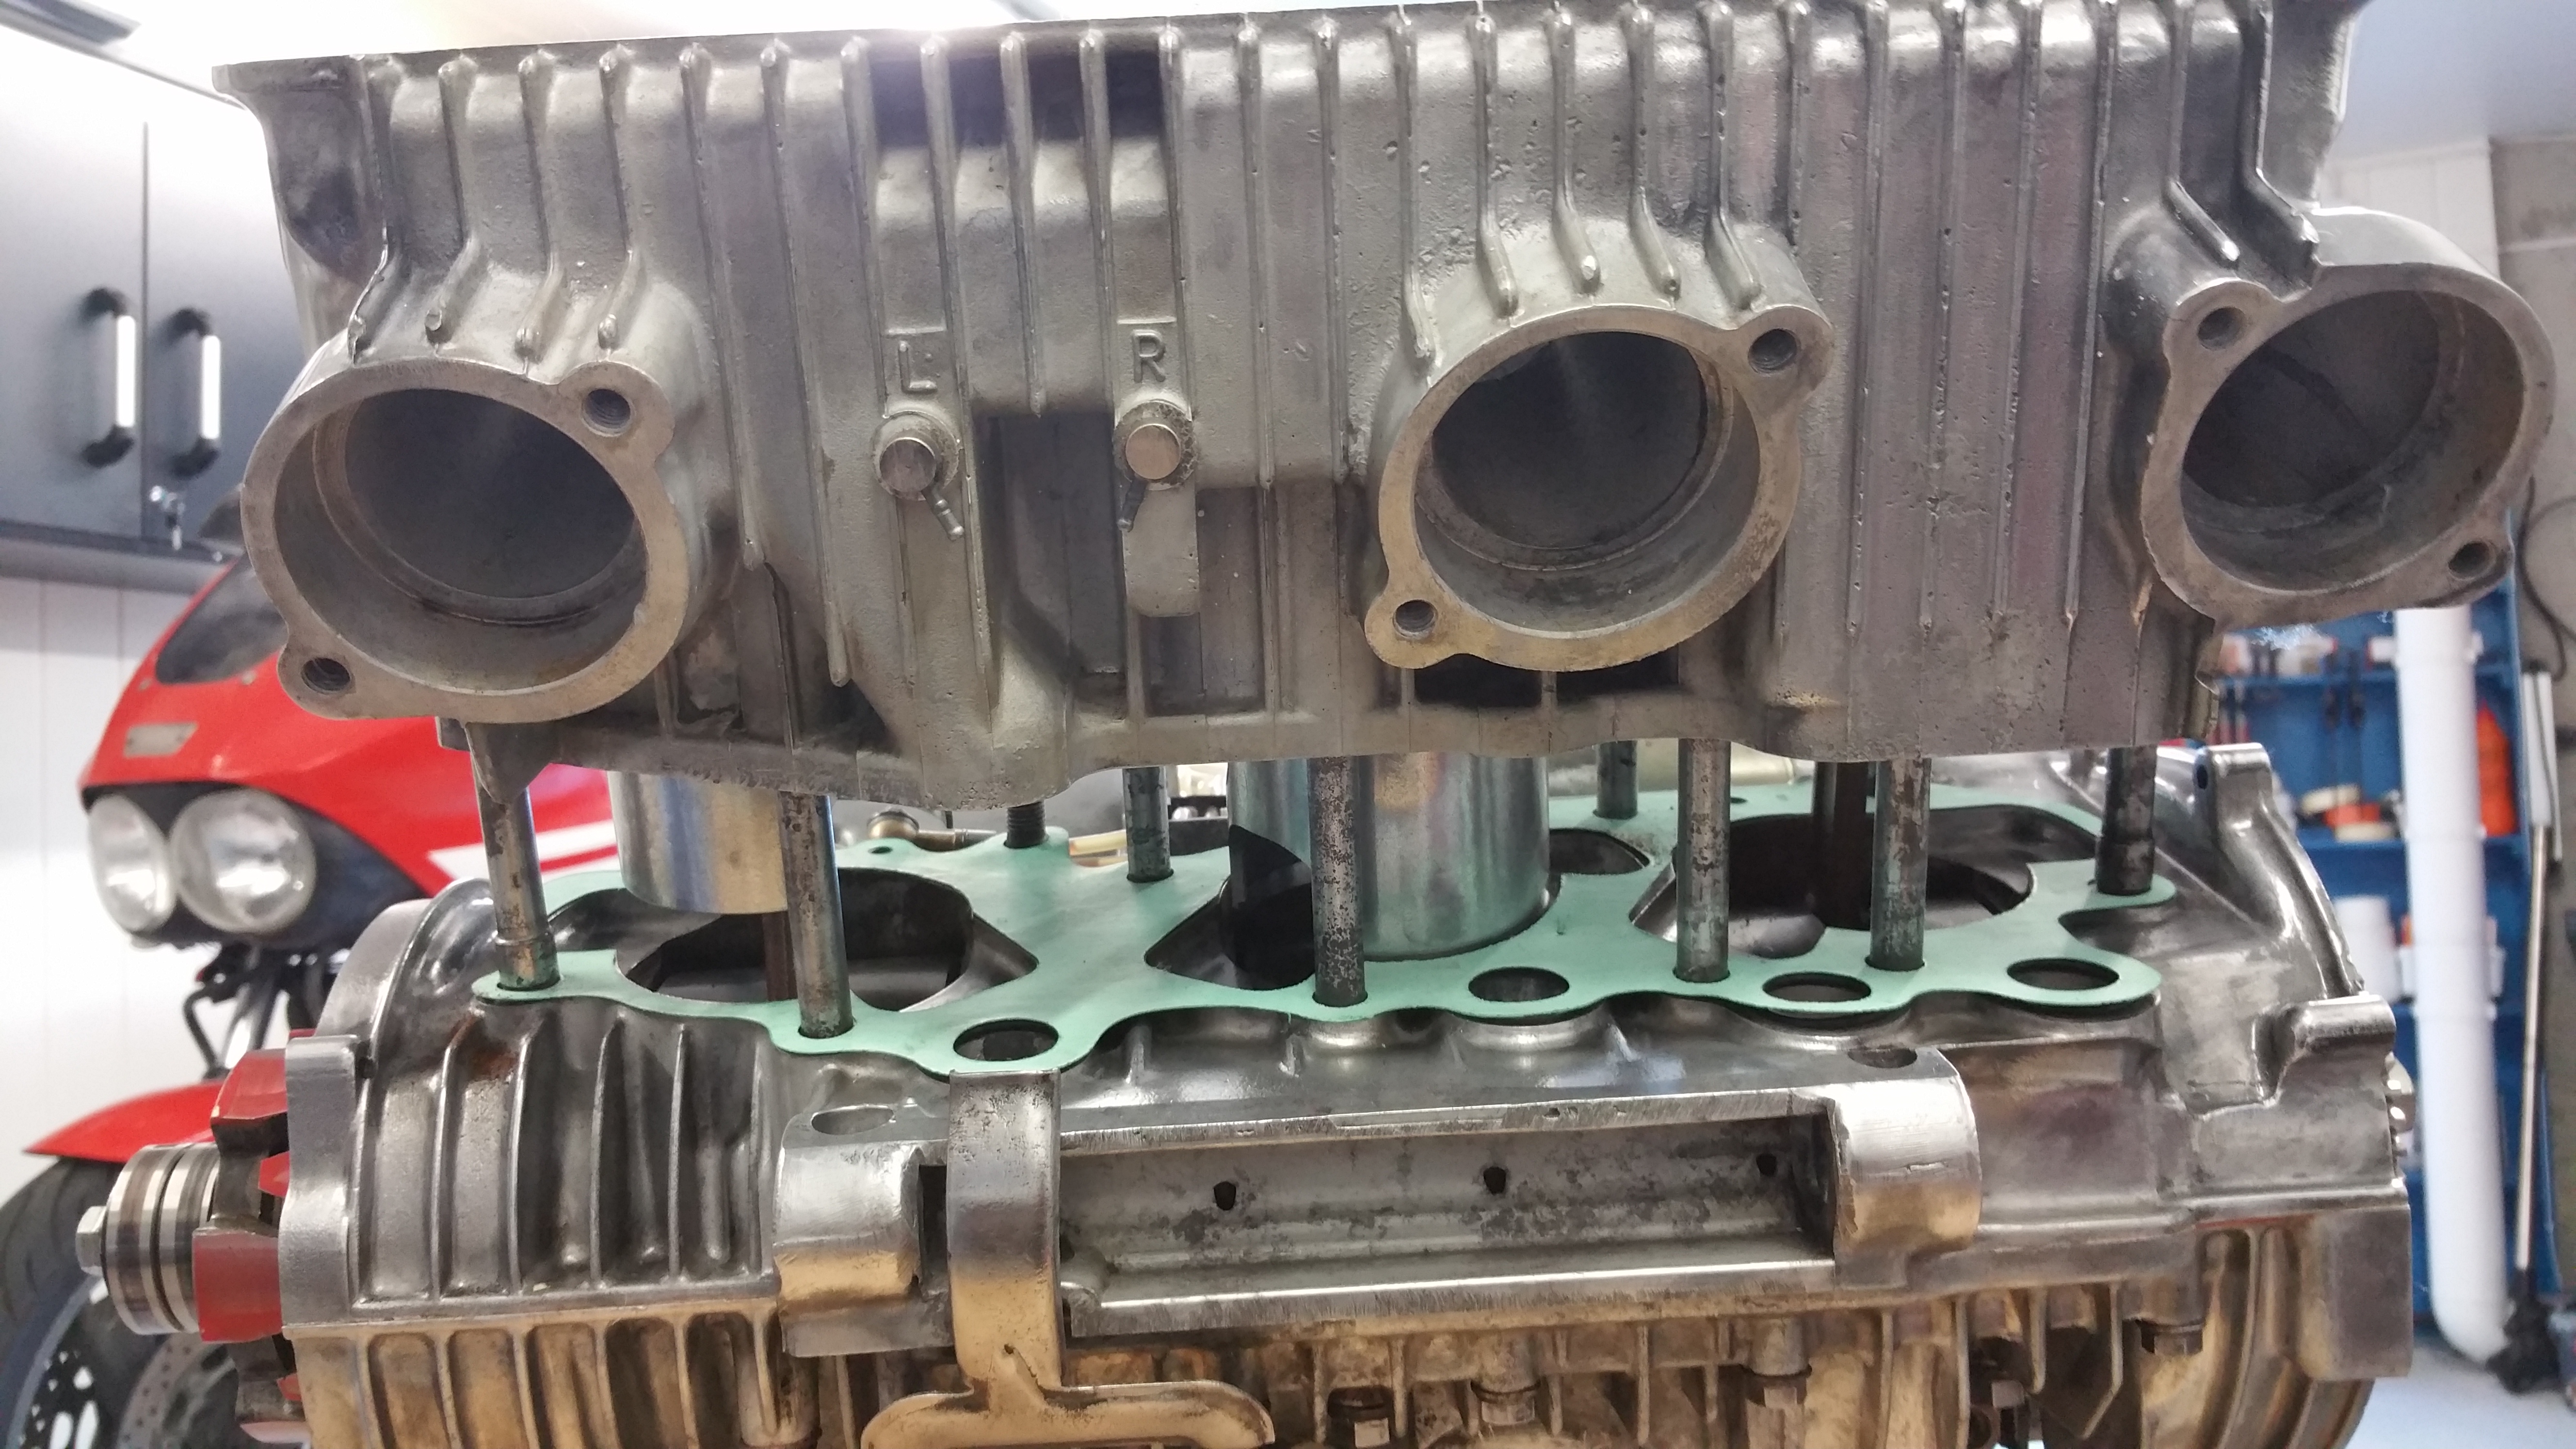
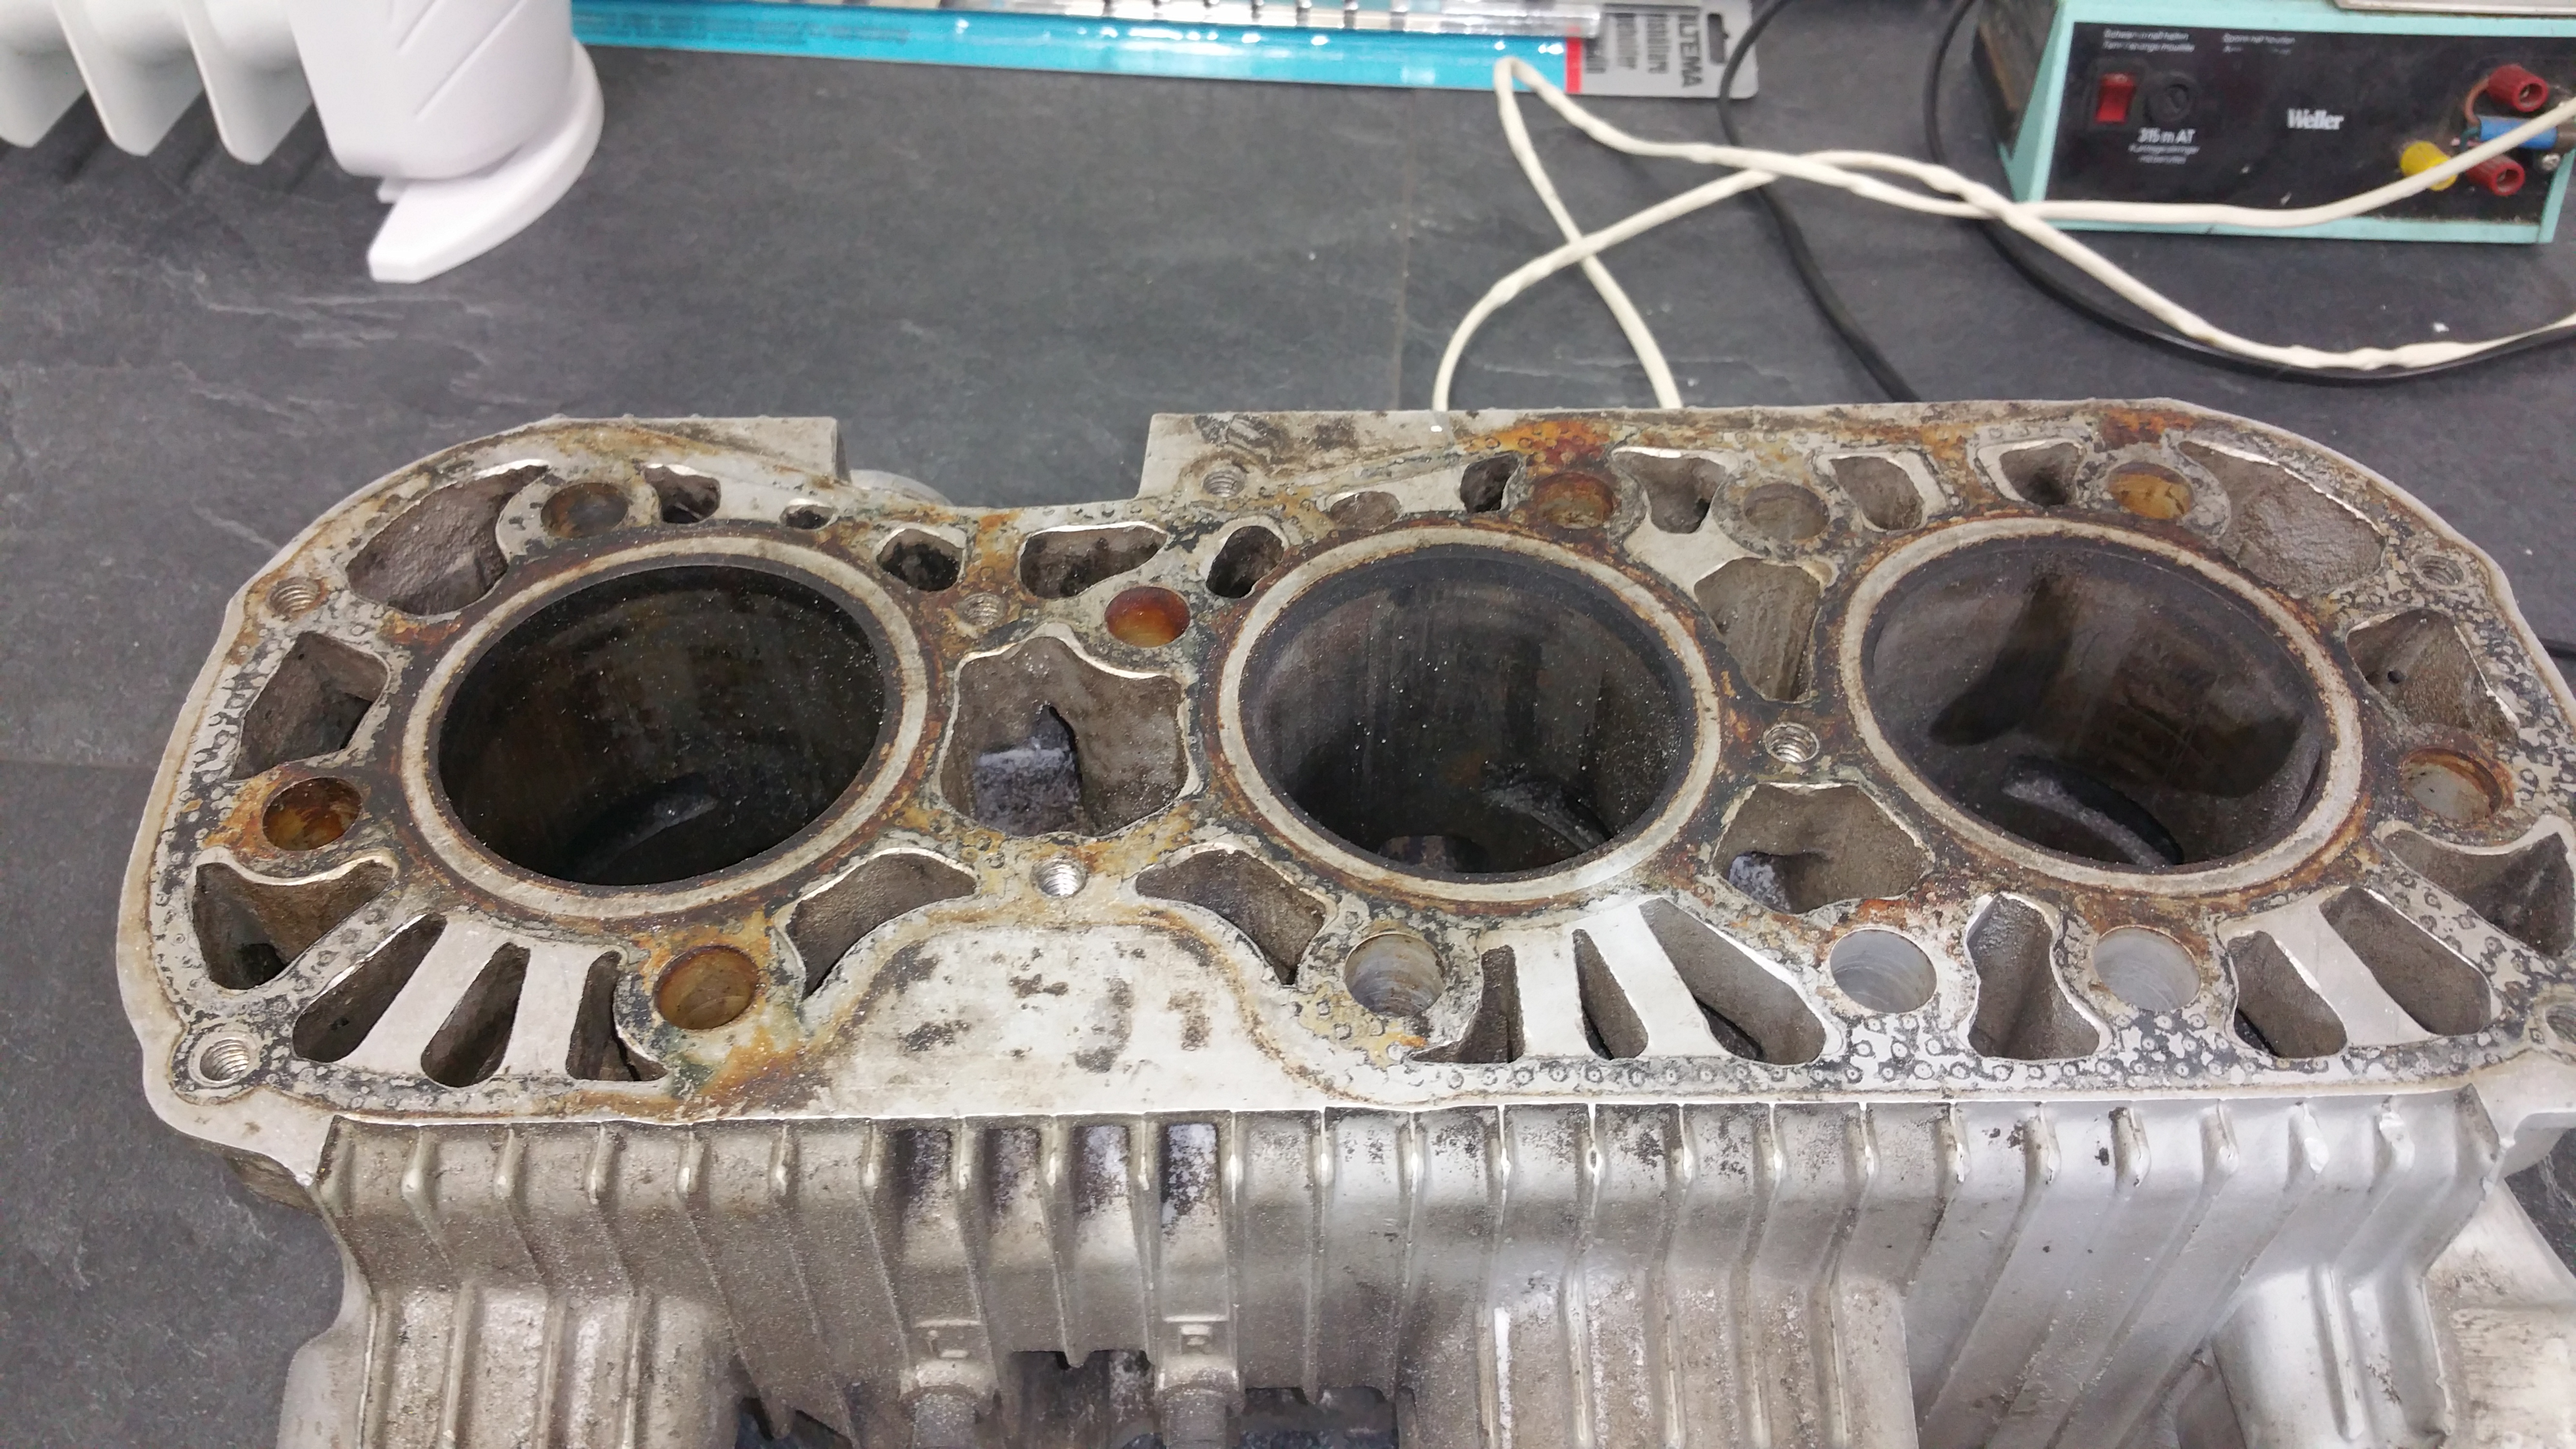
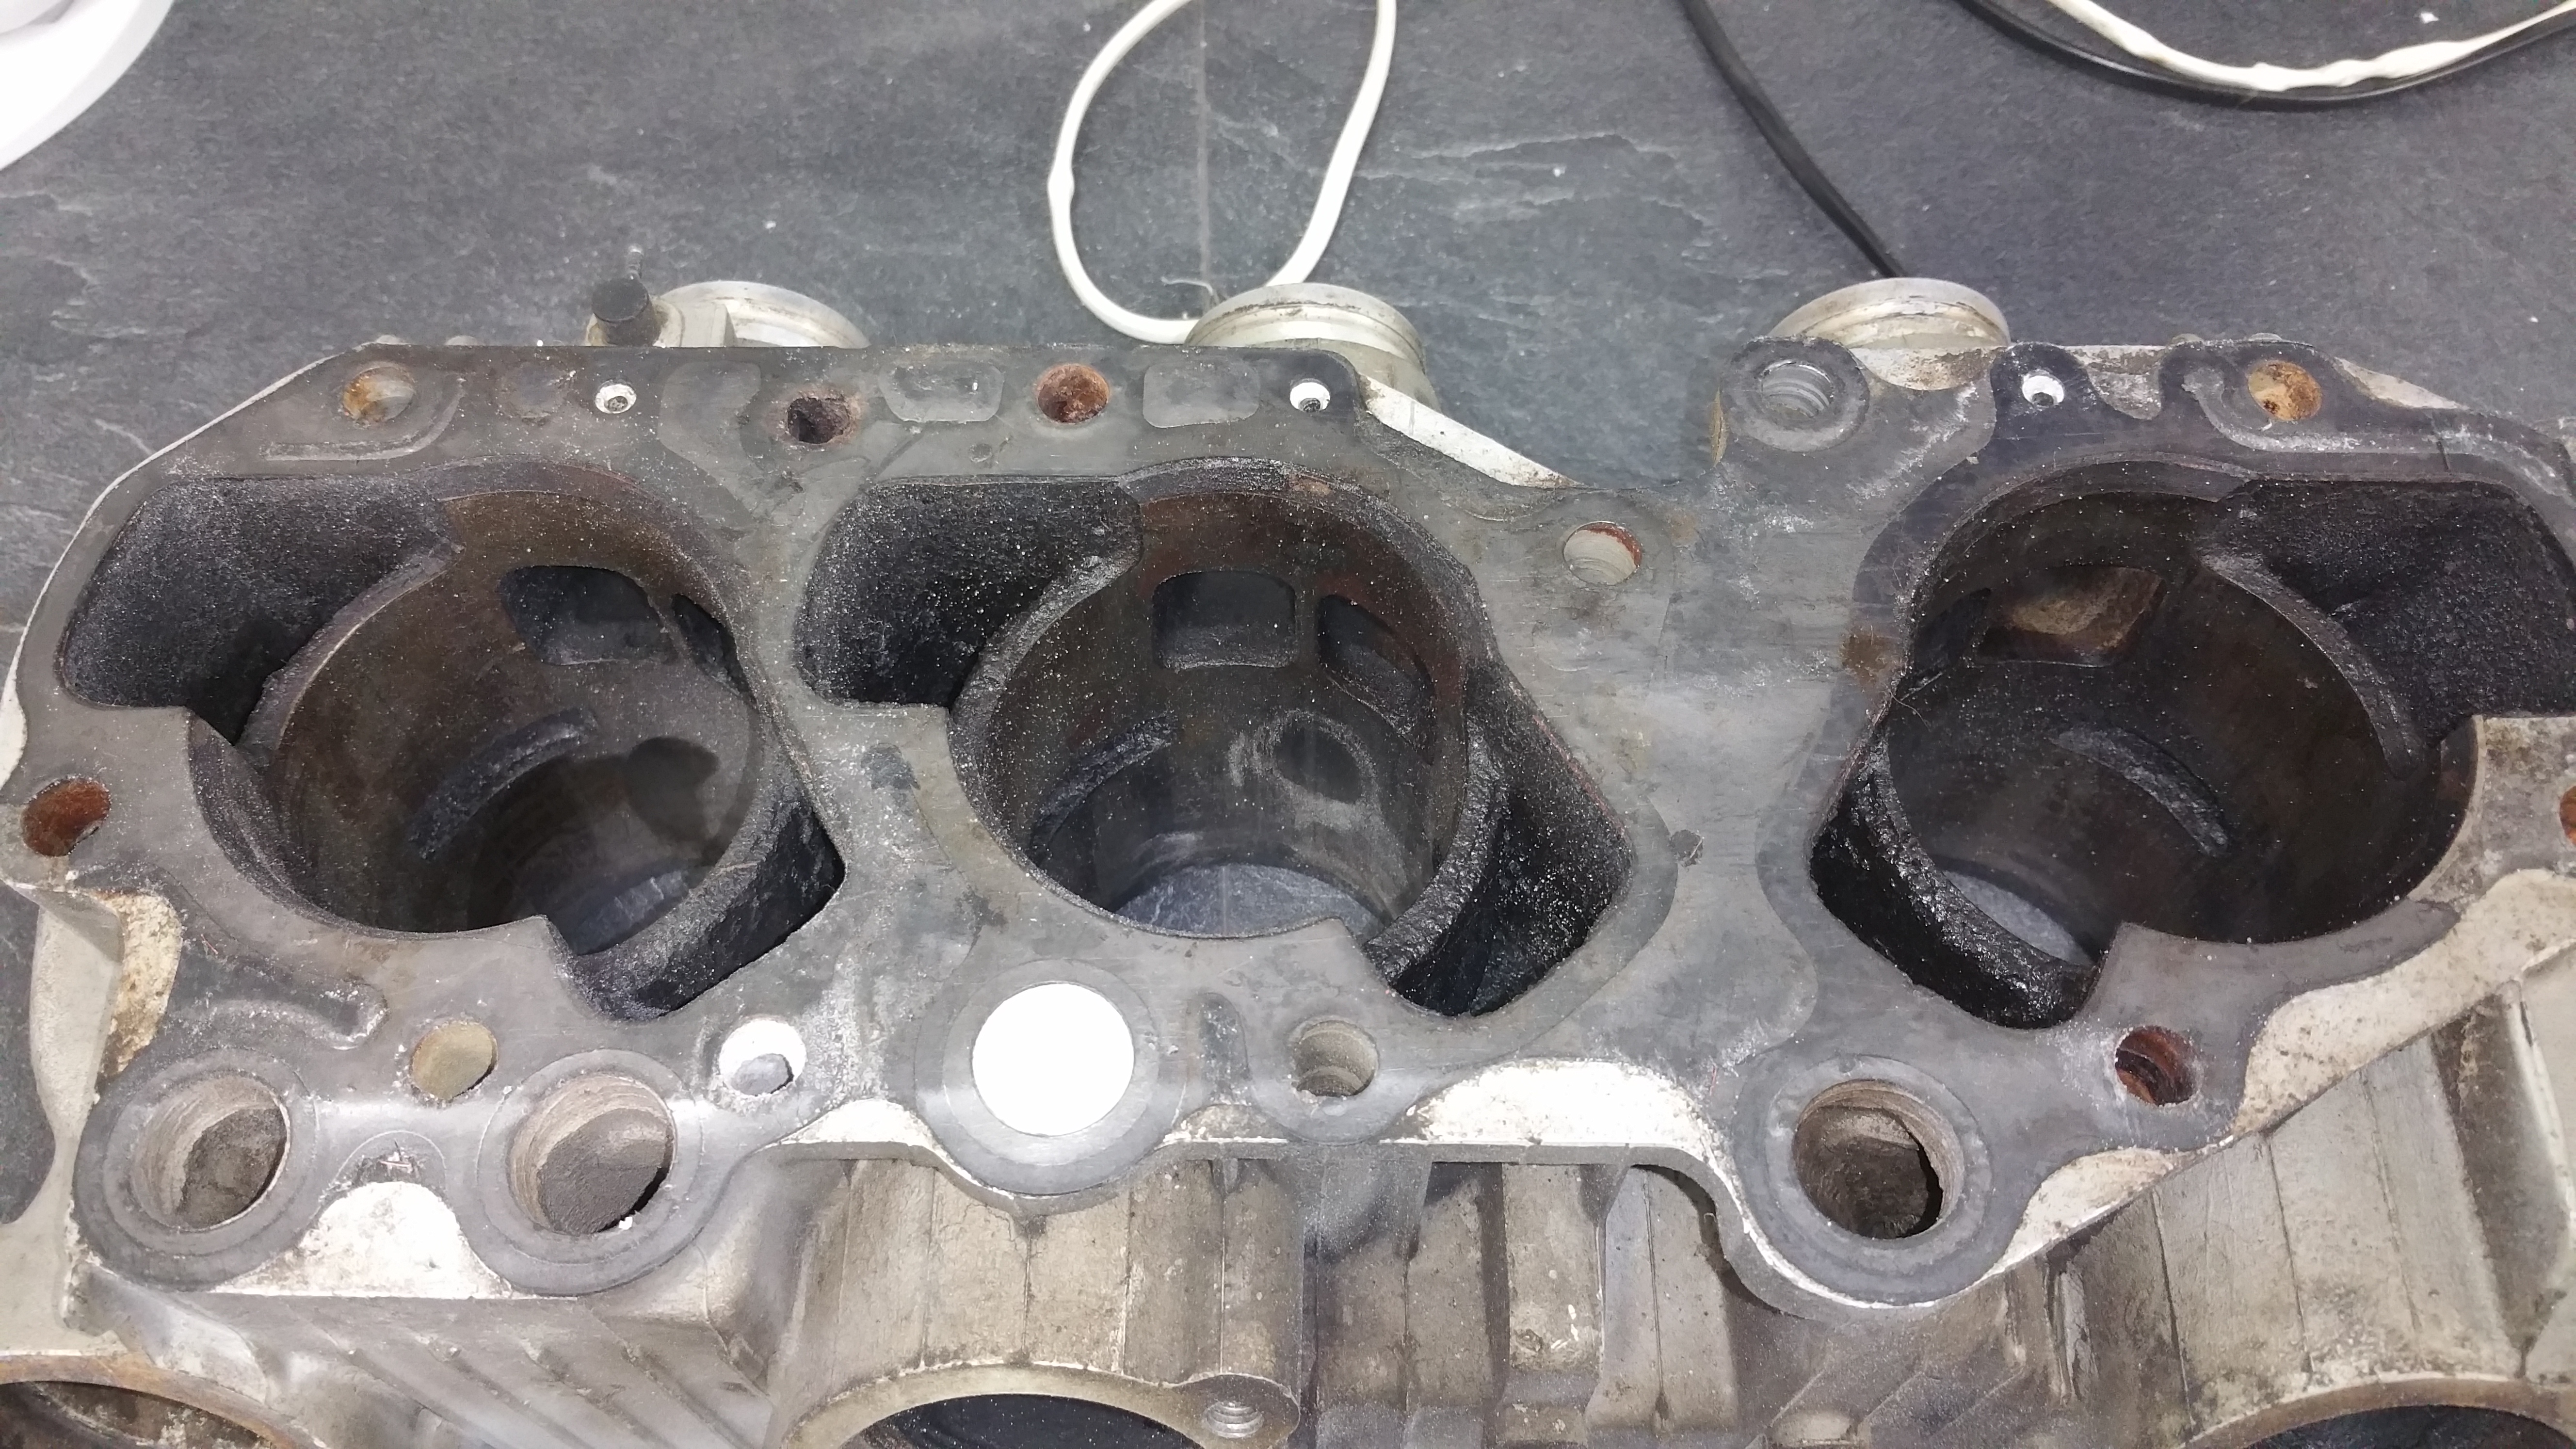
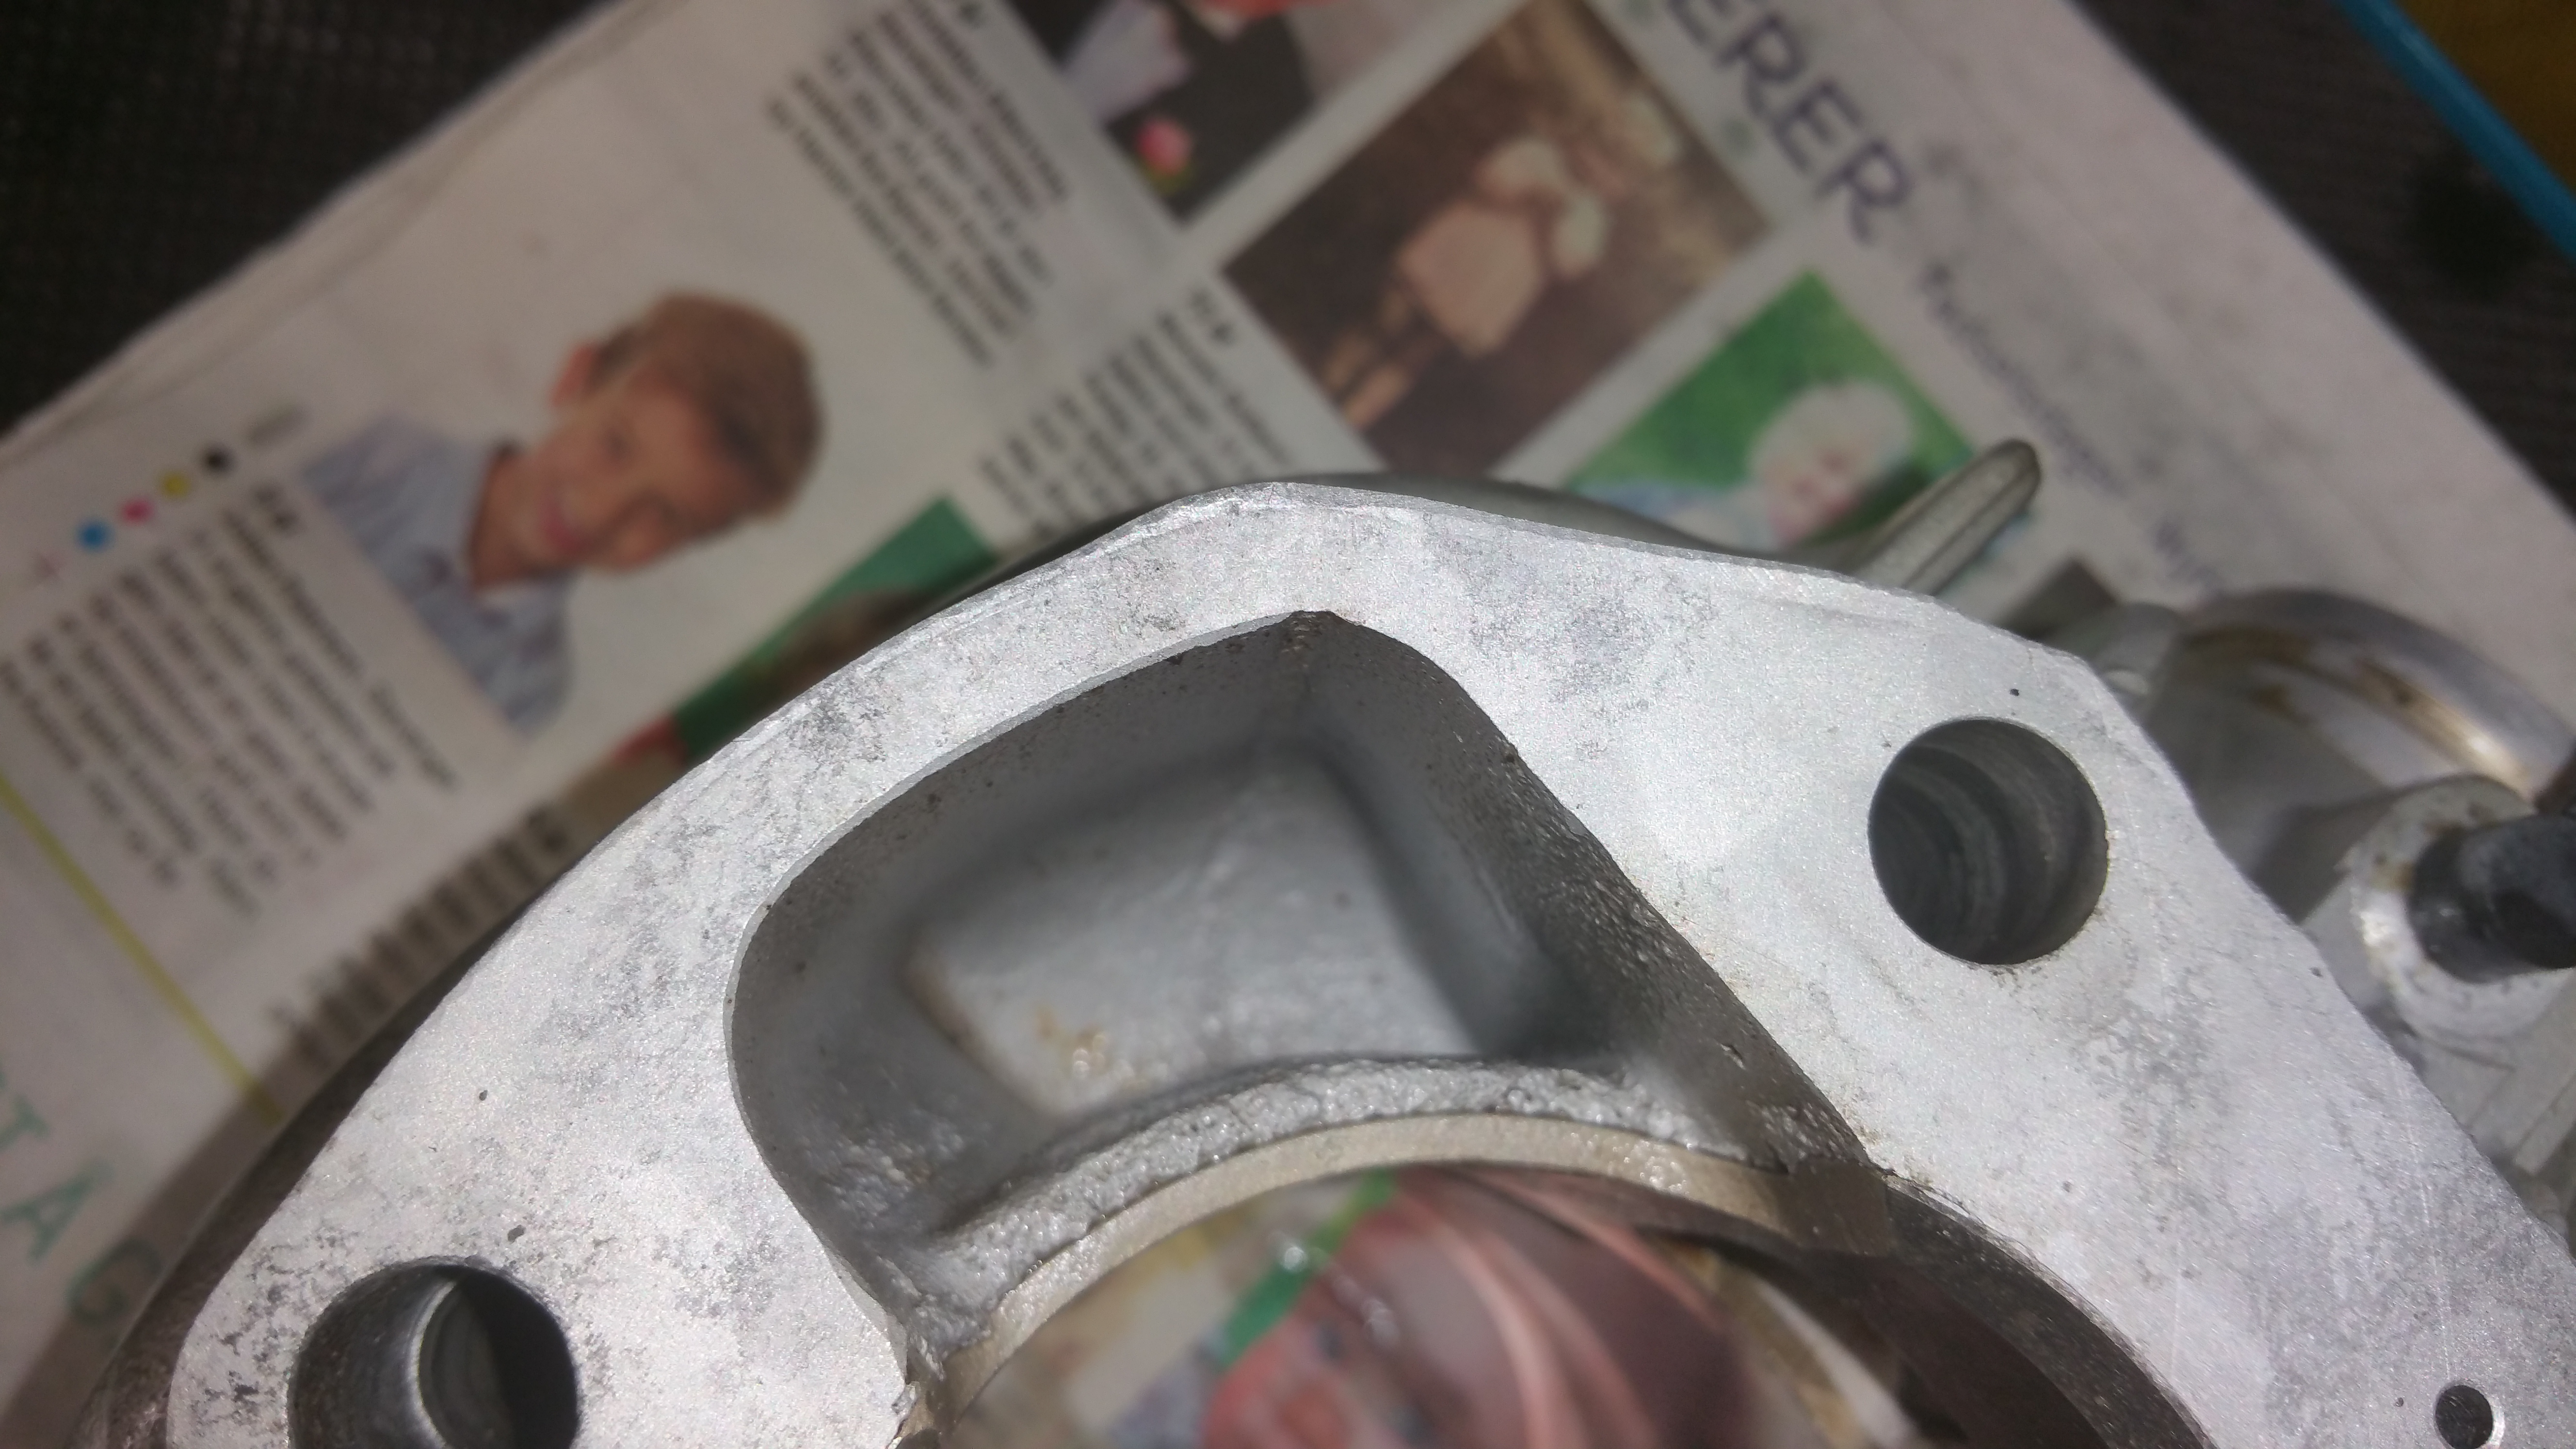
Step 3: Gasket and O-rings
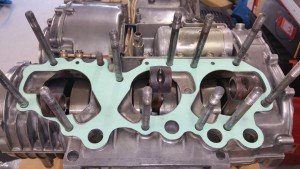
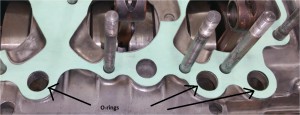
Mount the gasket, don’t forget to mount three O-rings underneath the gasket.
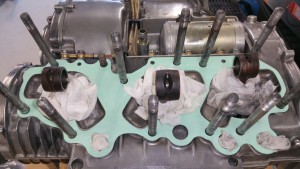
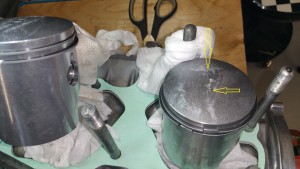
Before you continue, cover all holes so you don’t drop any parts inside the engine. Can be difficult to retrieve.
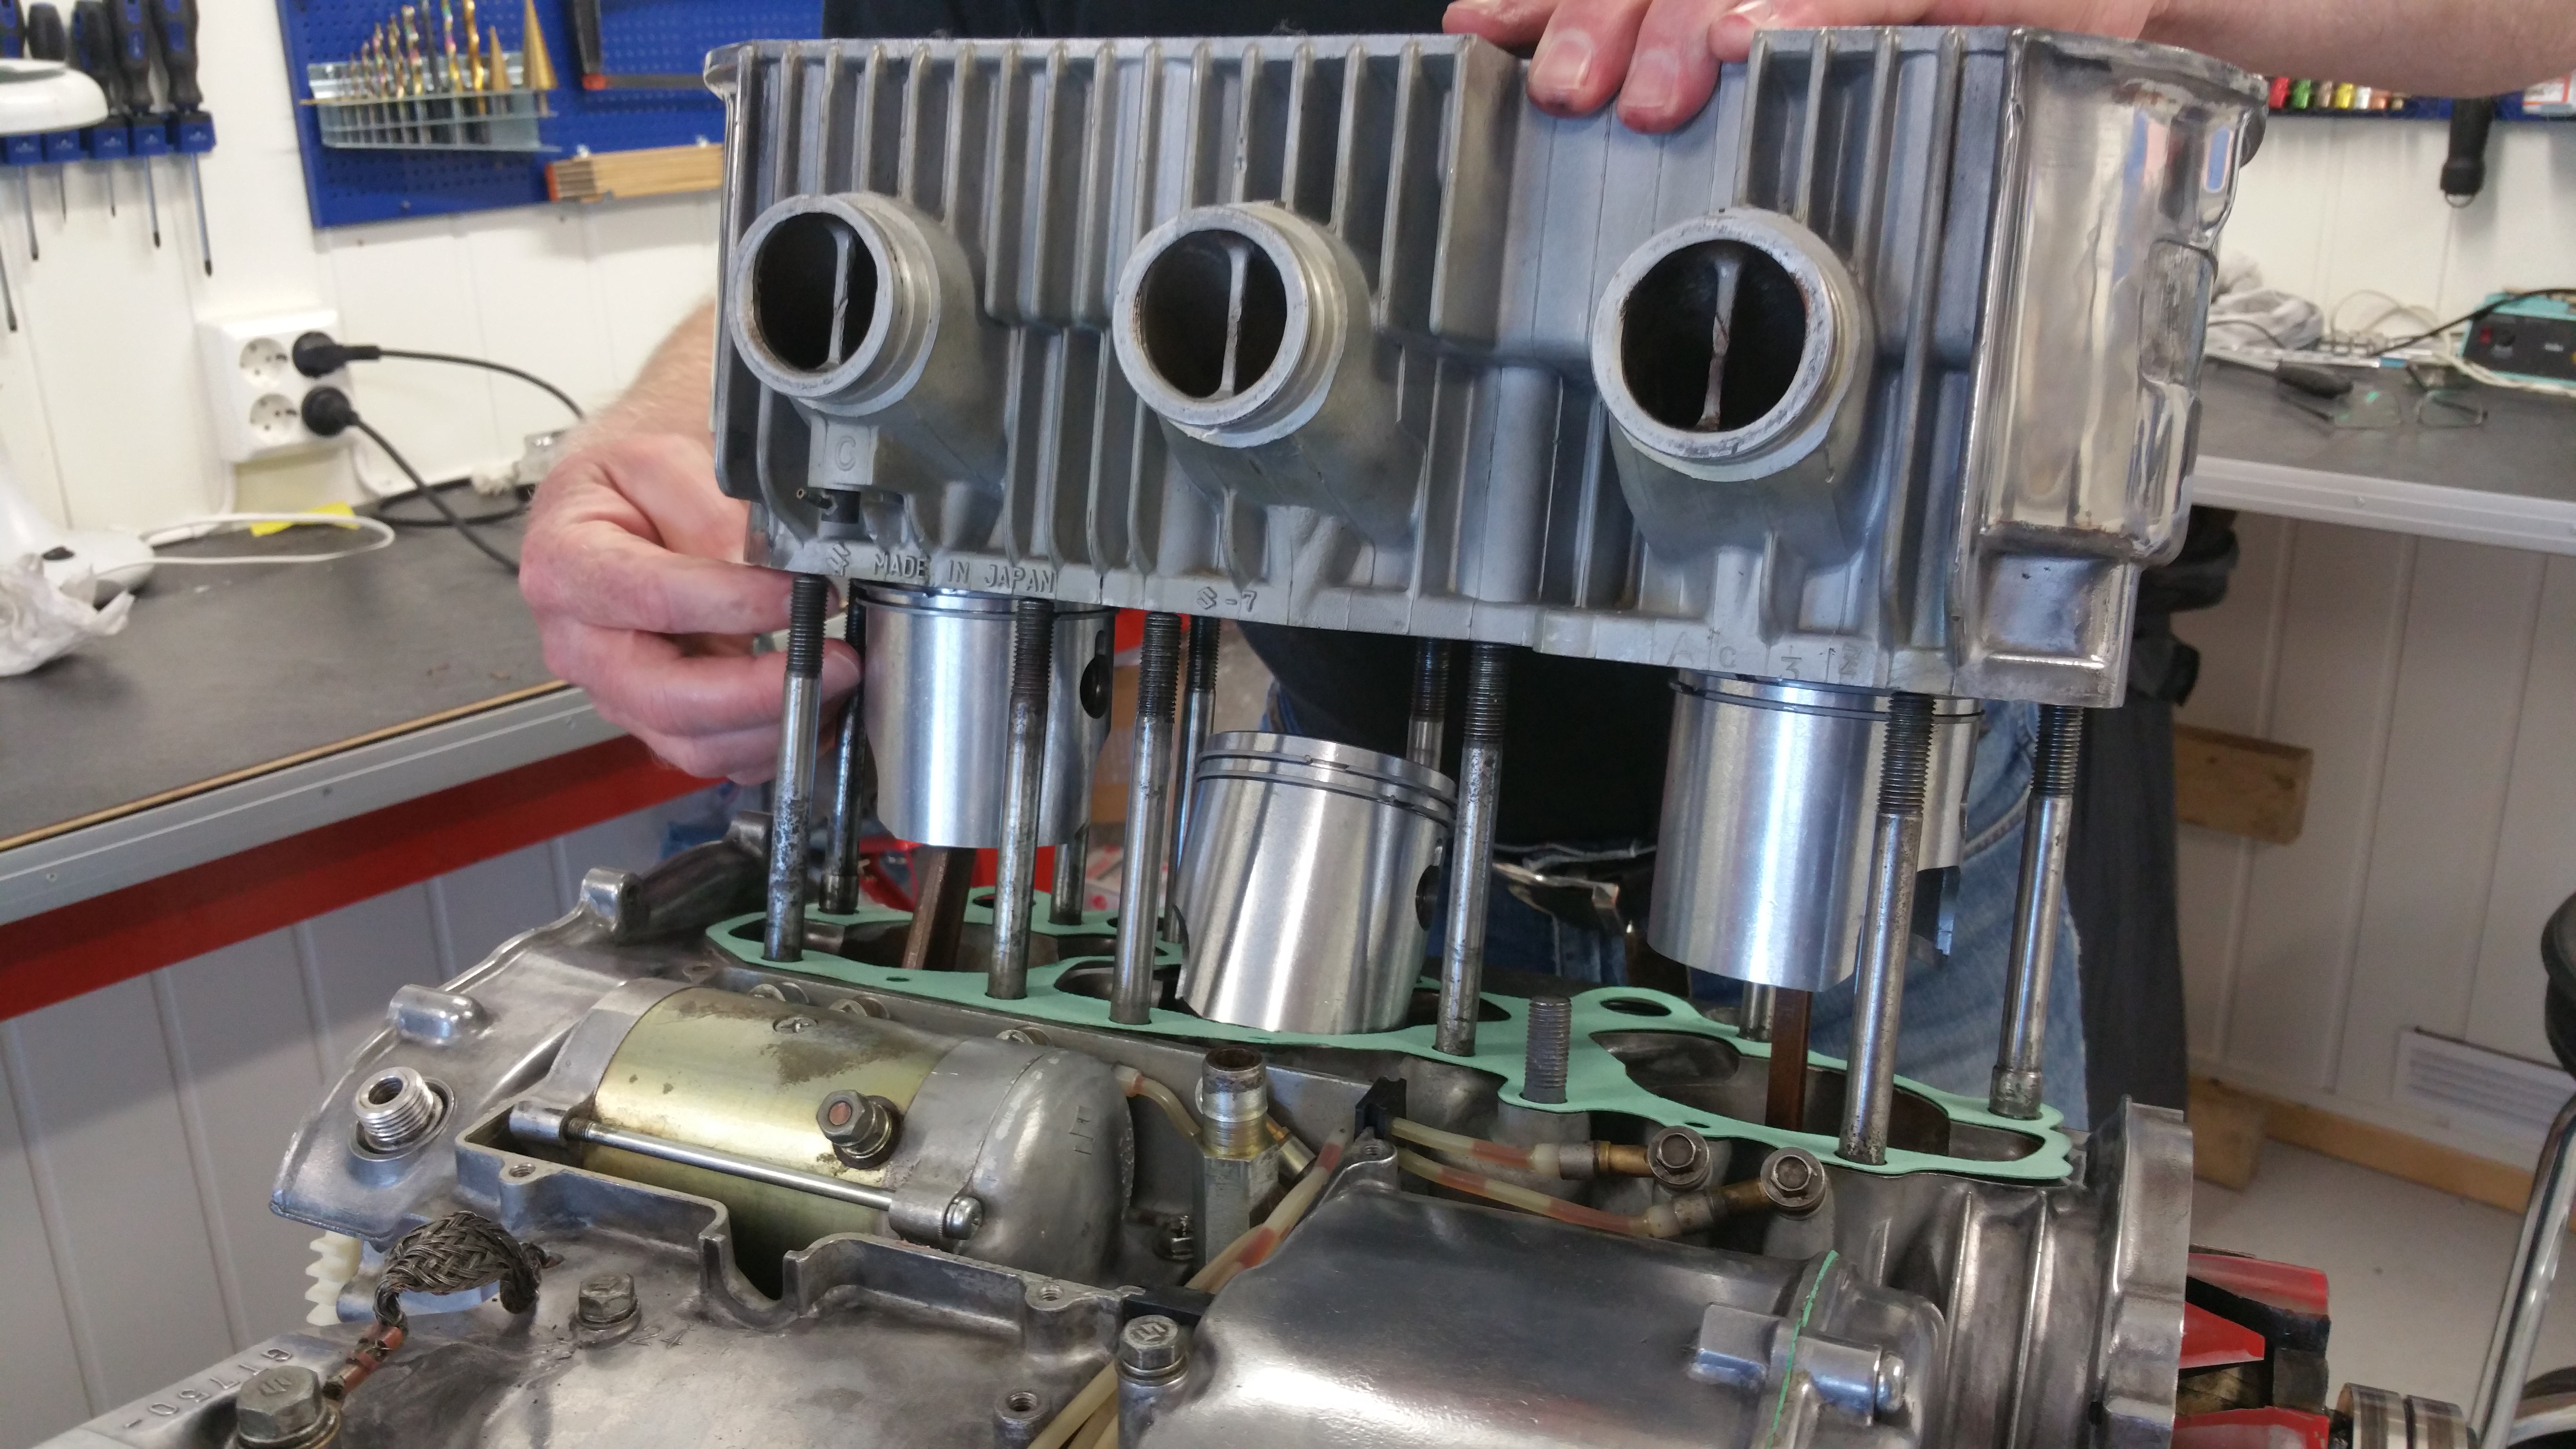
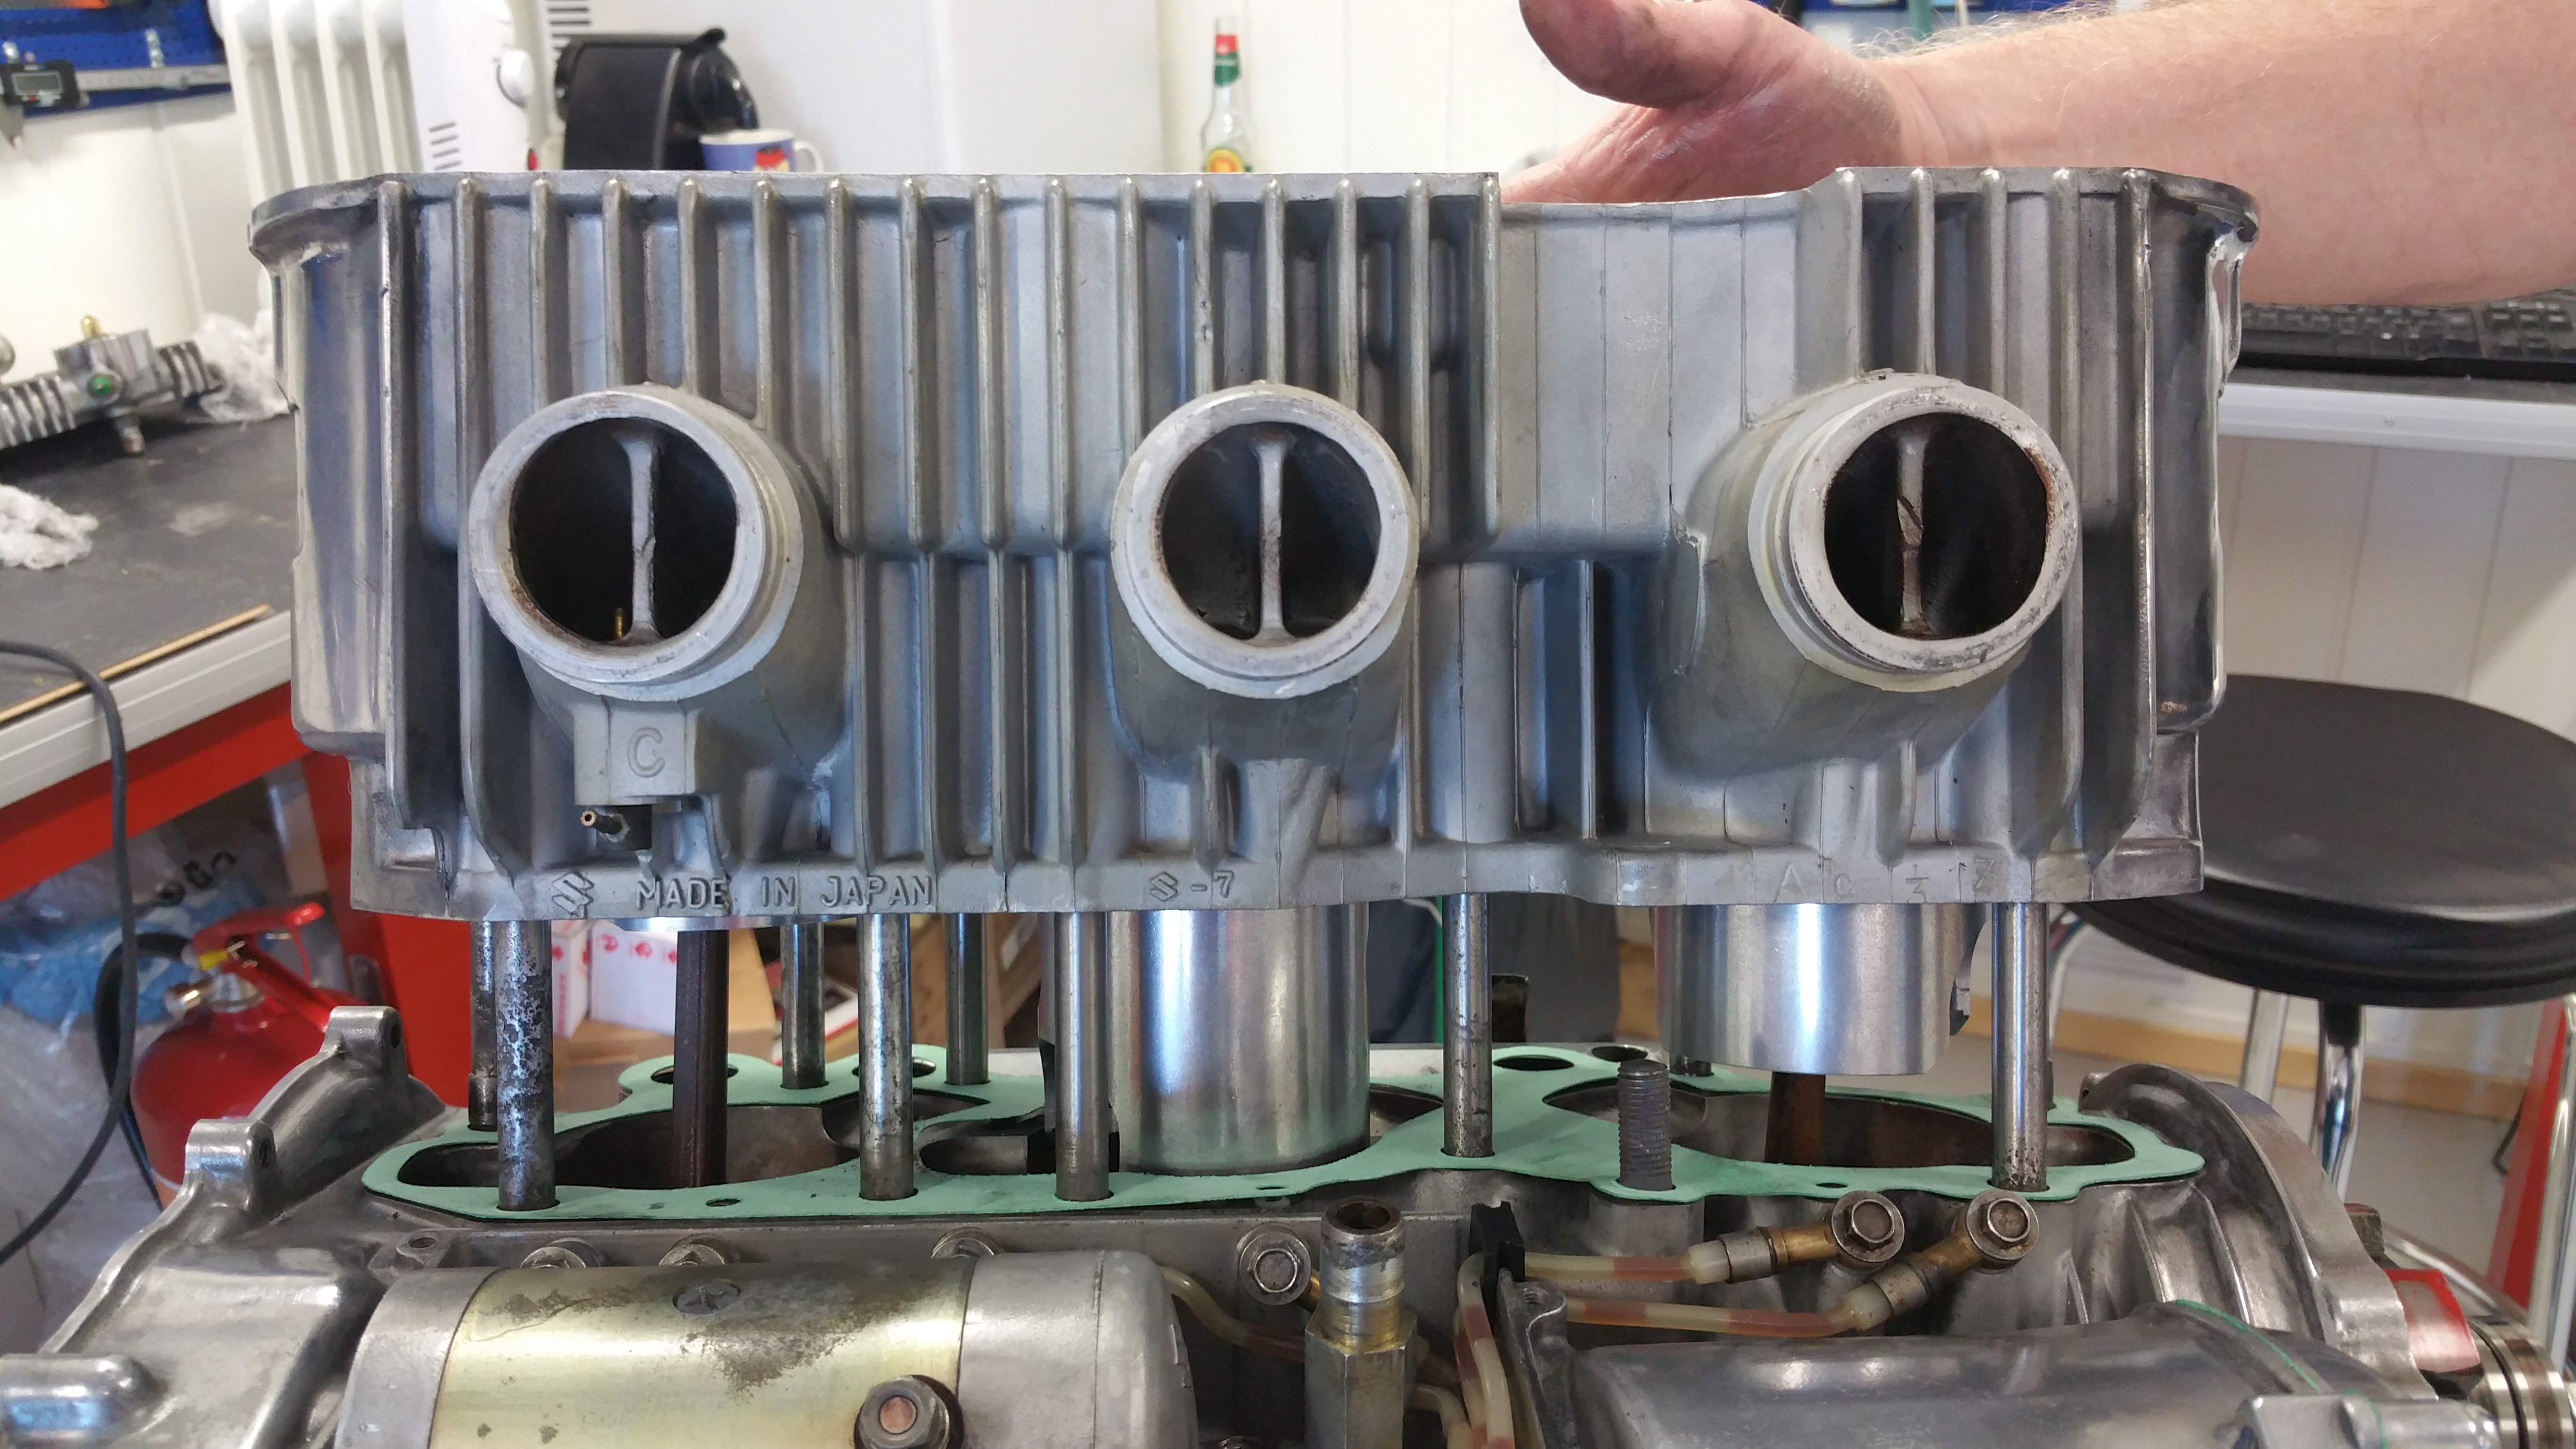
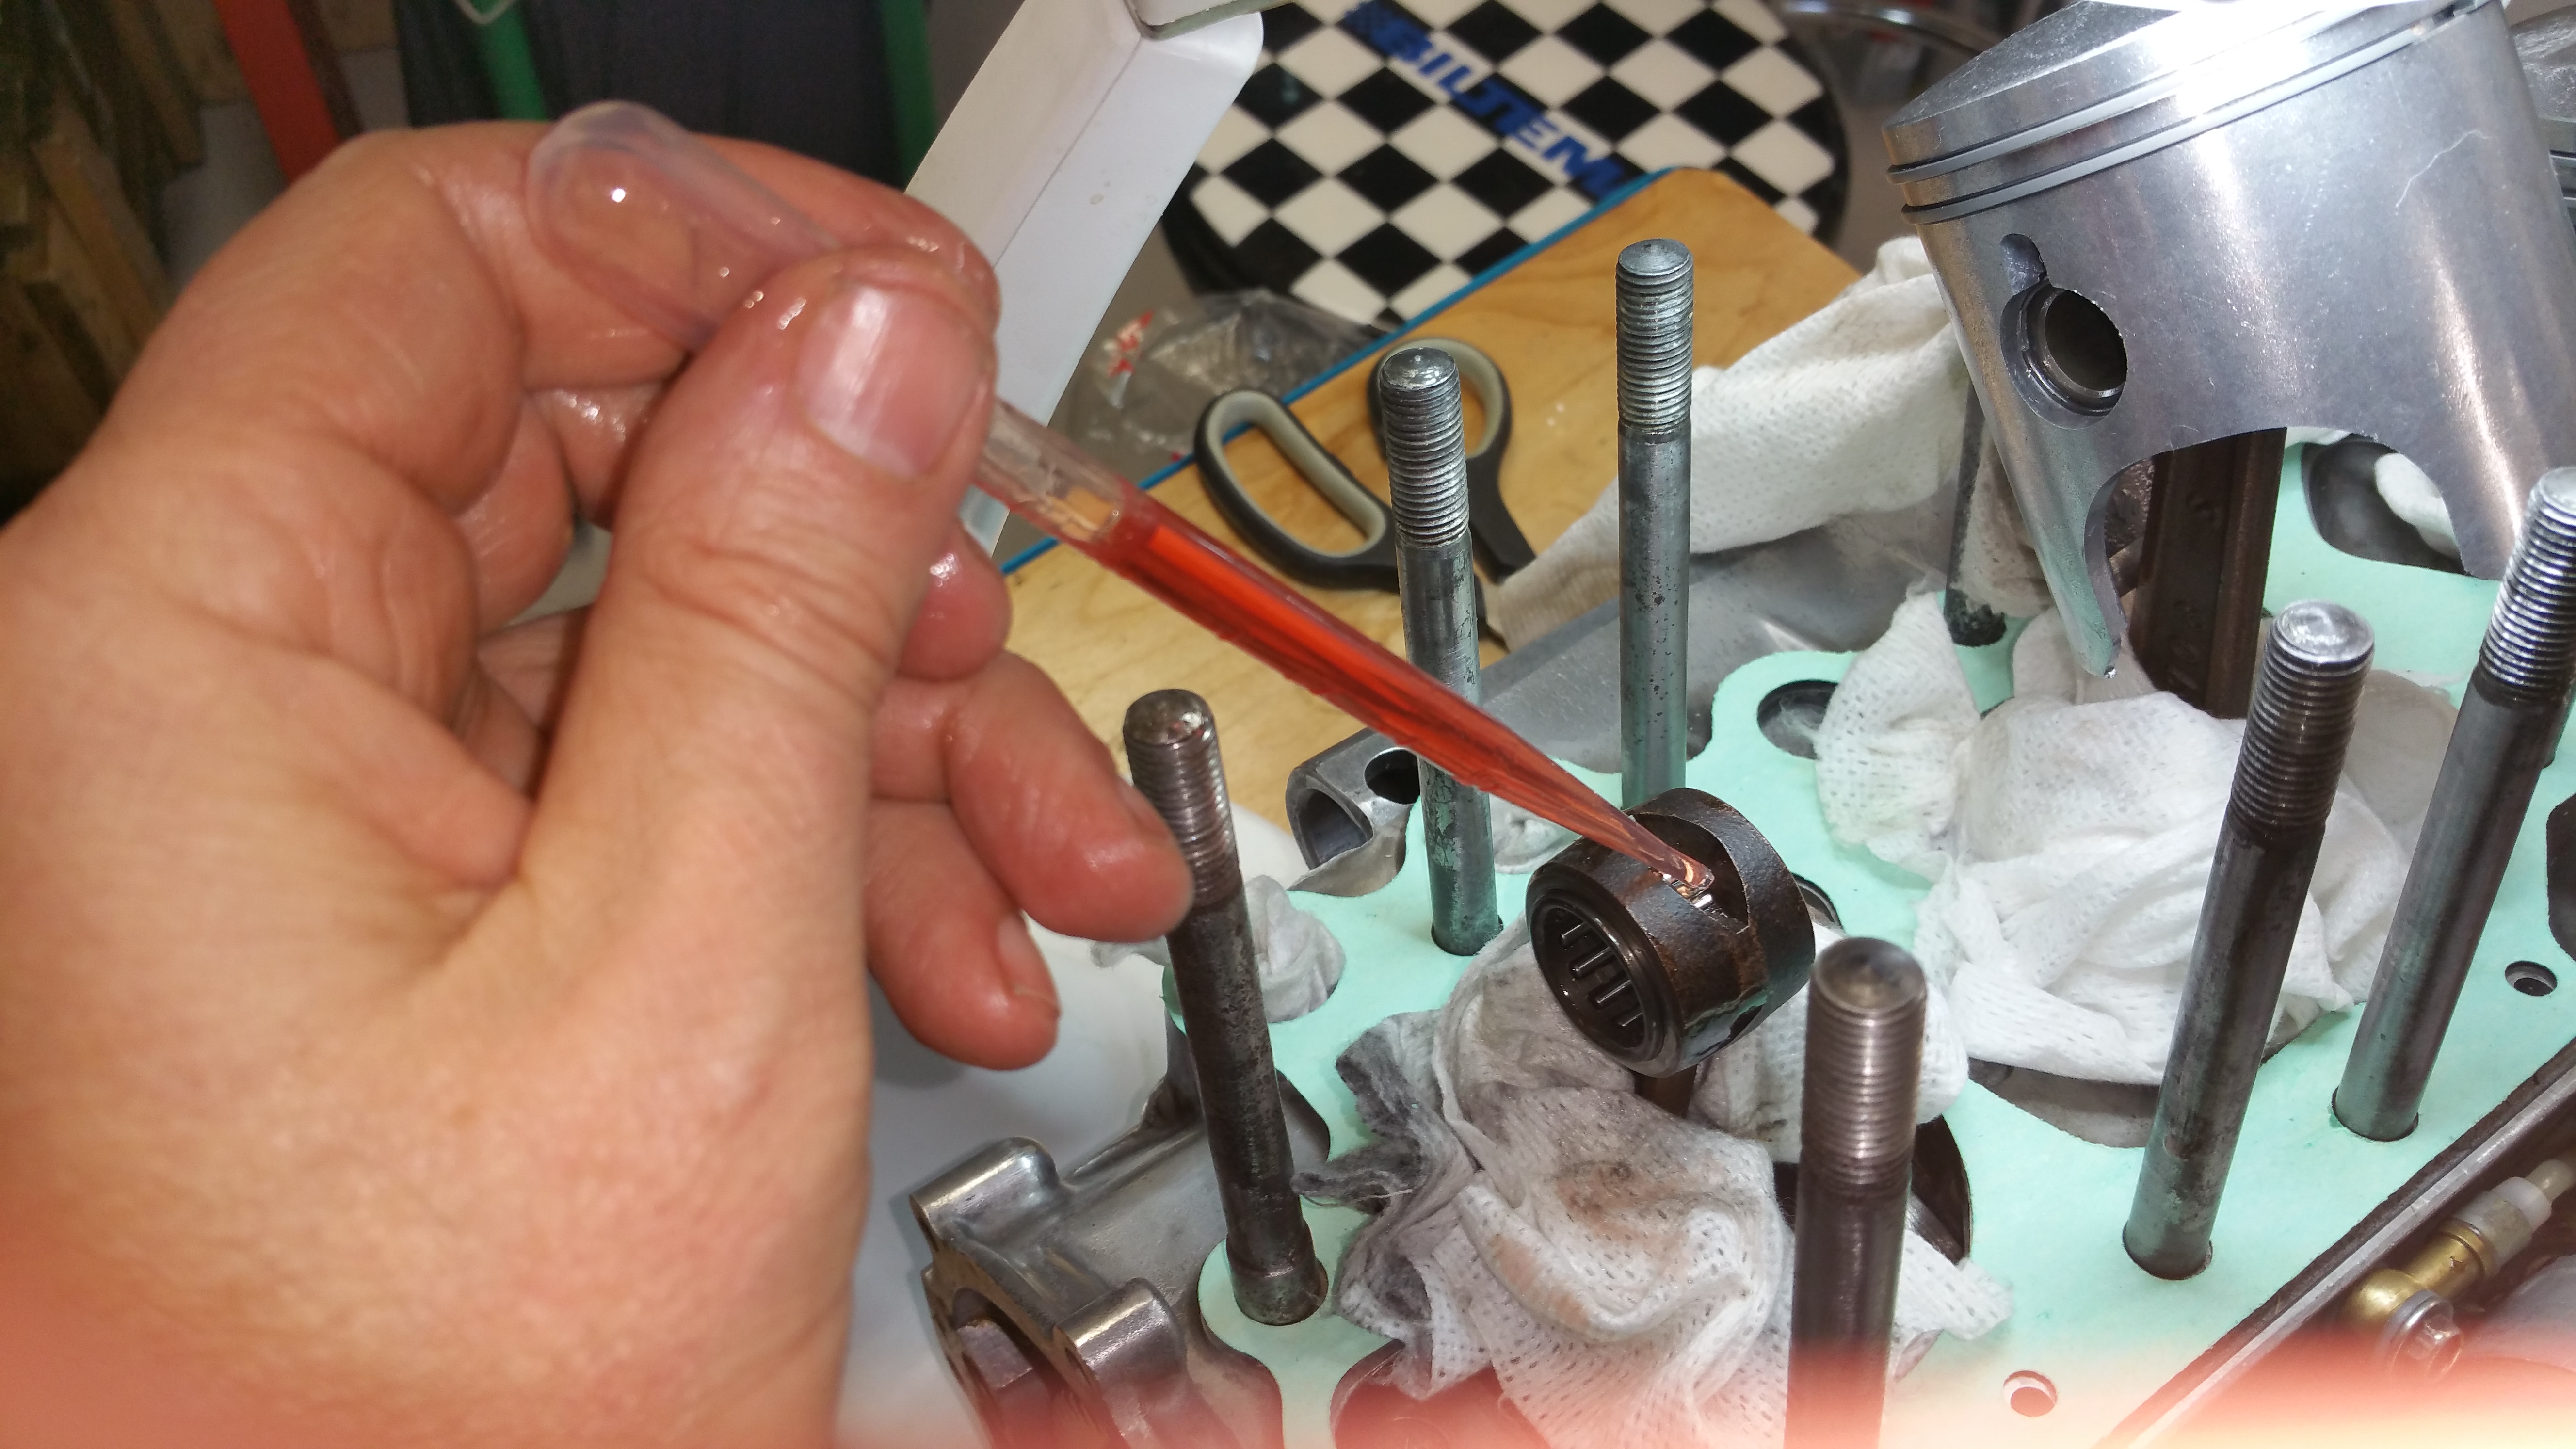
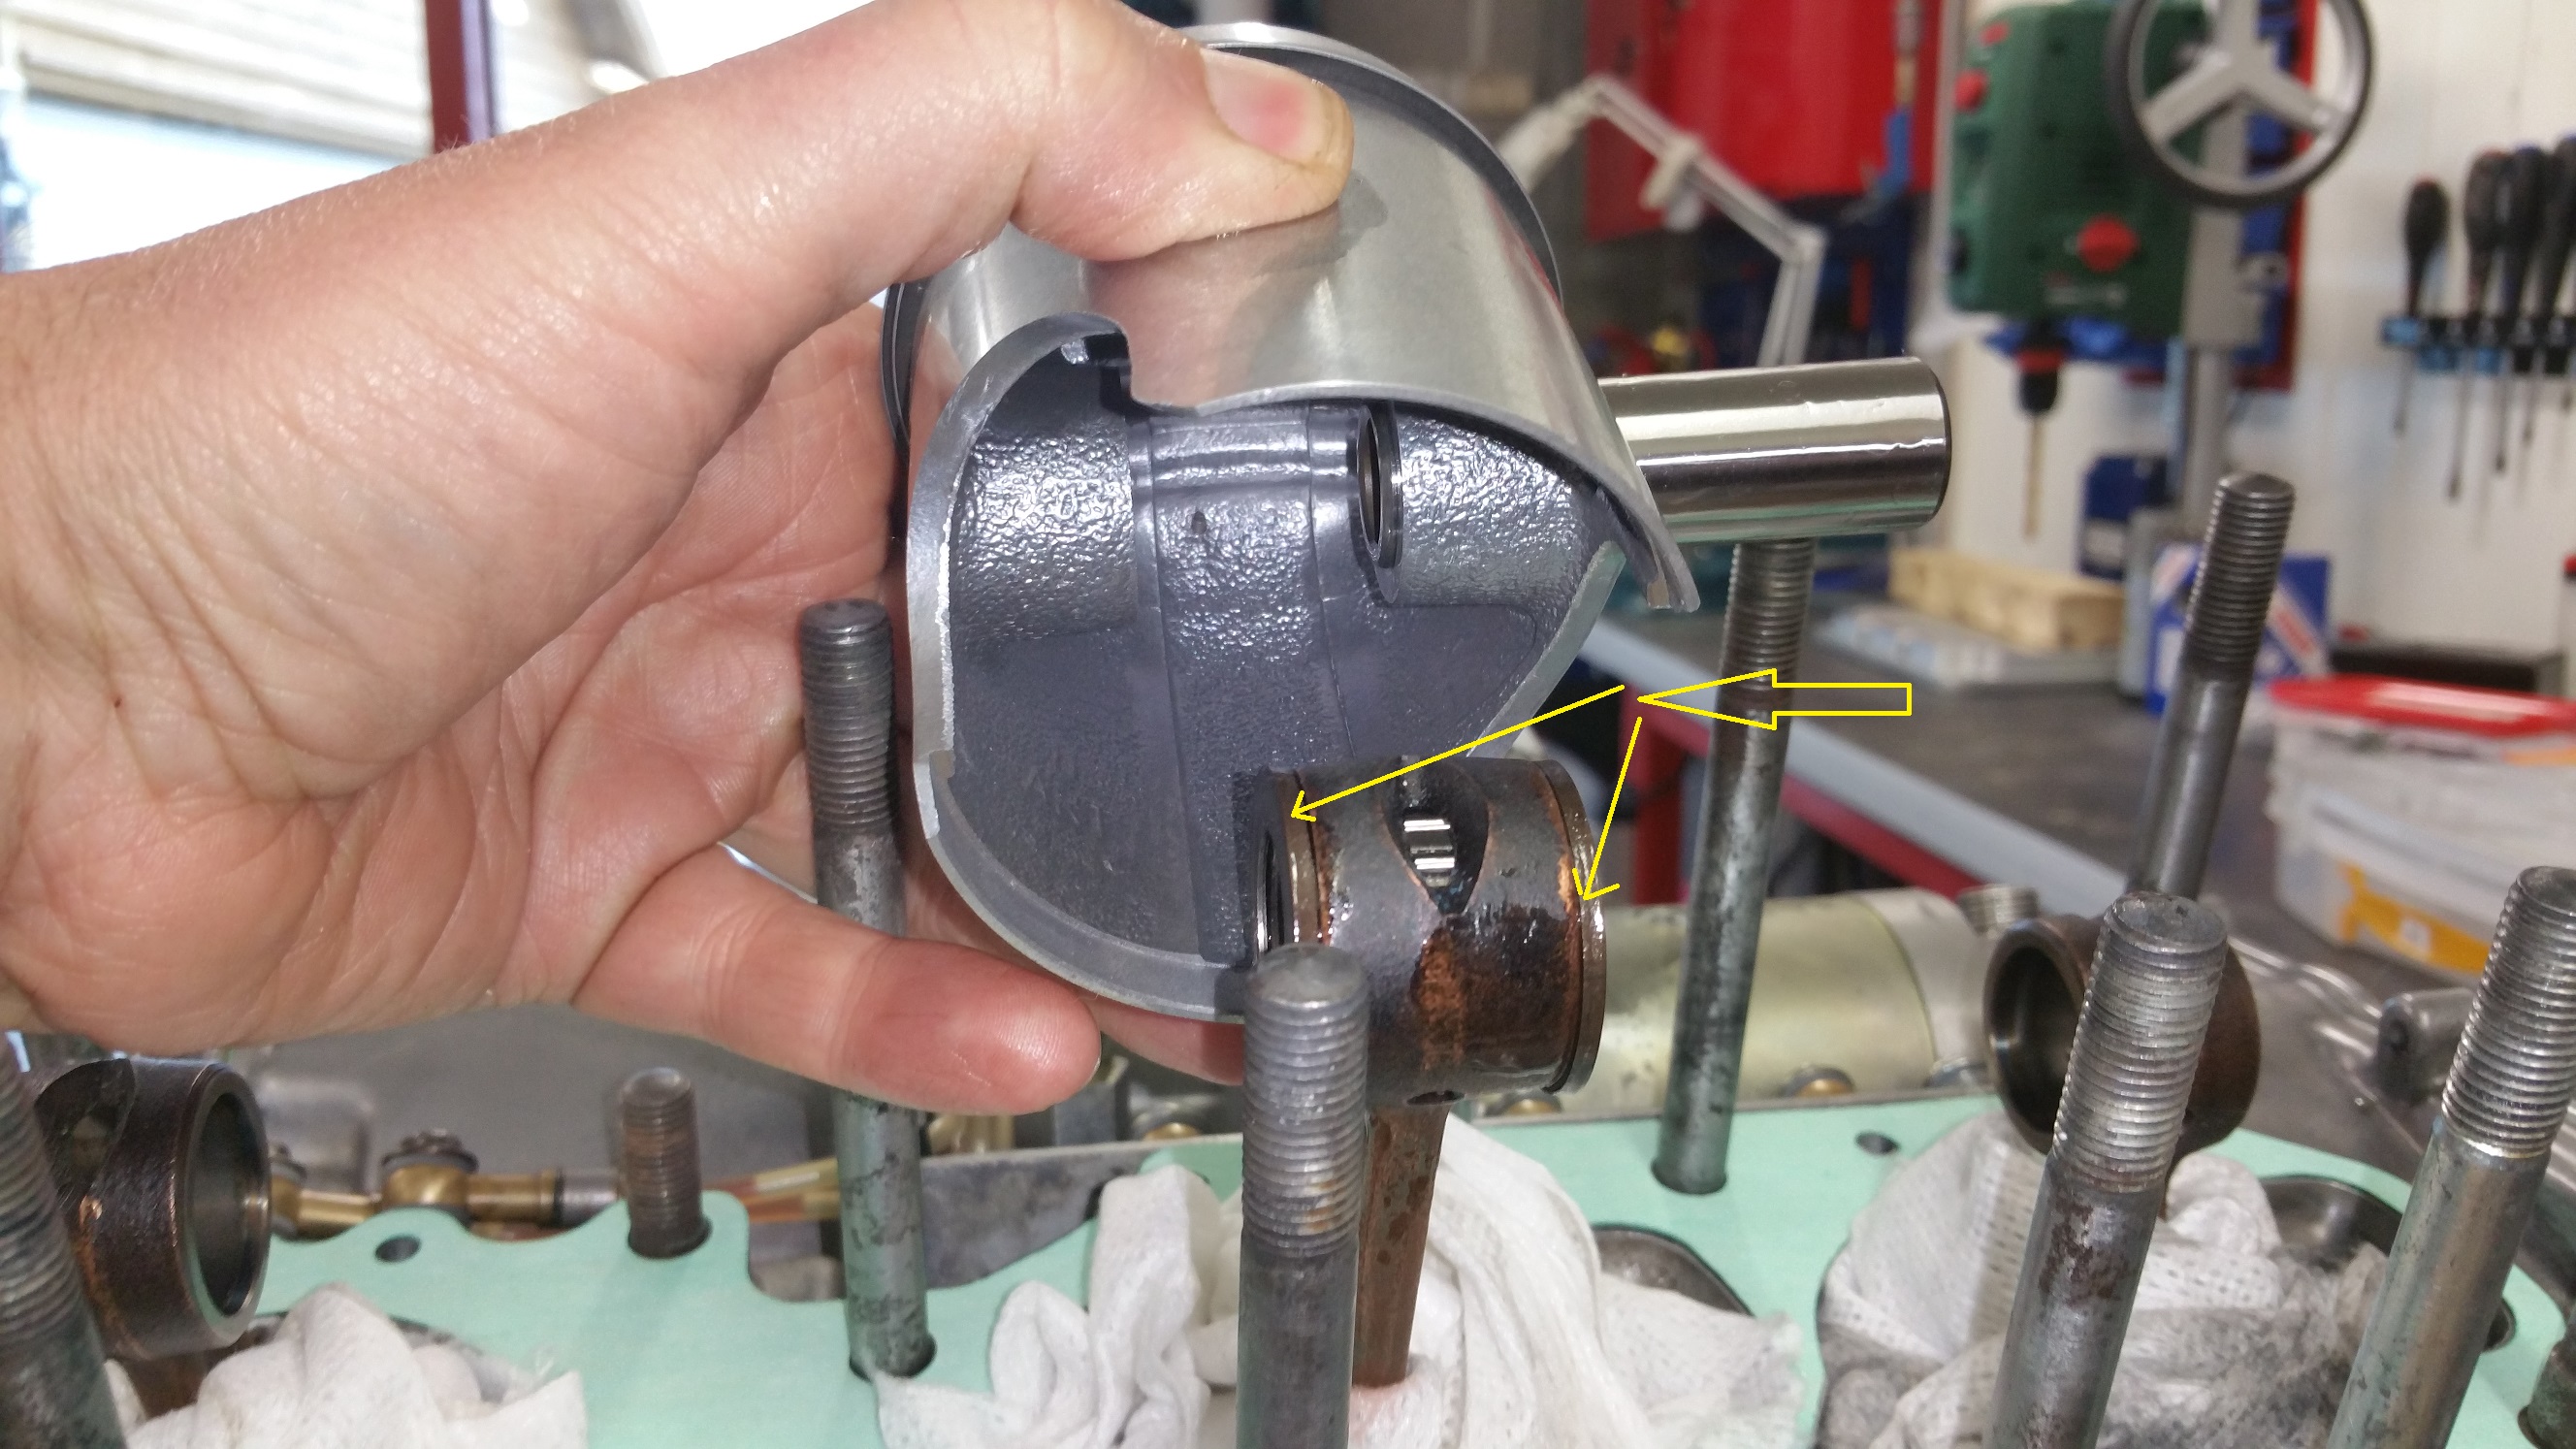
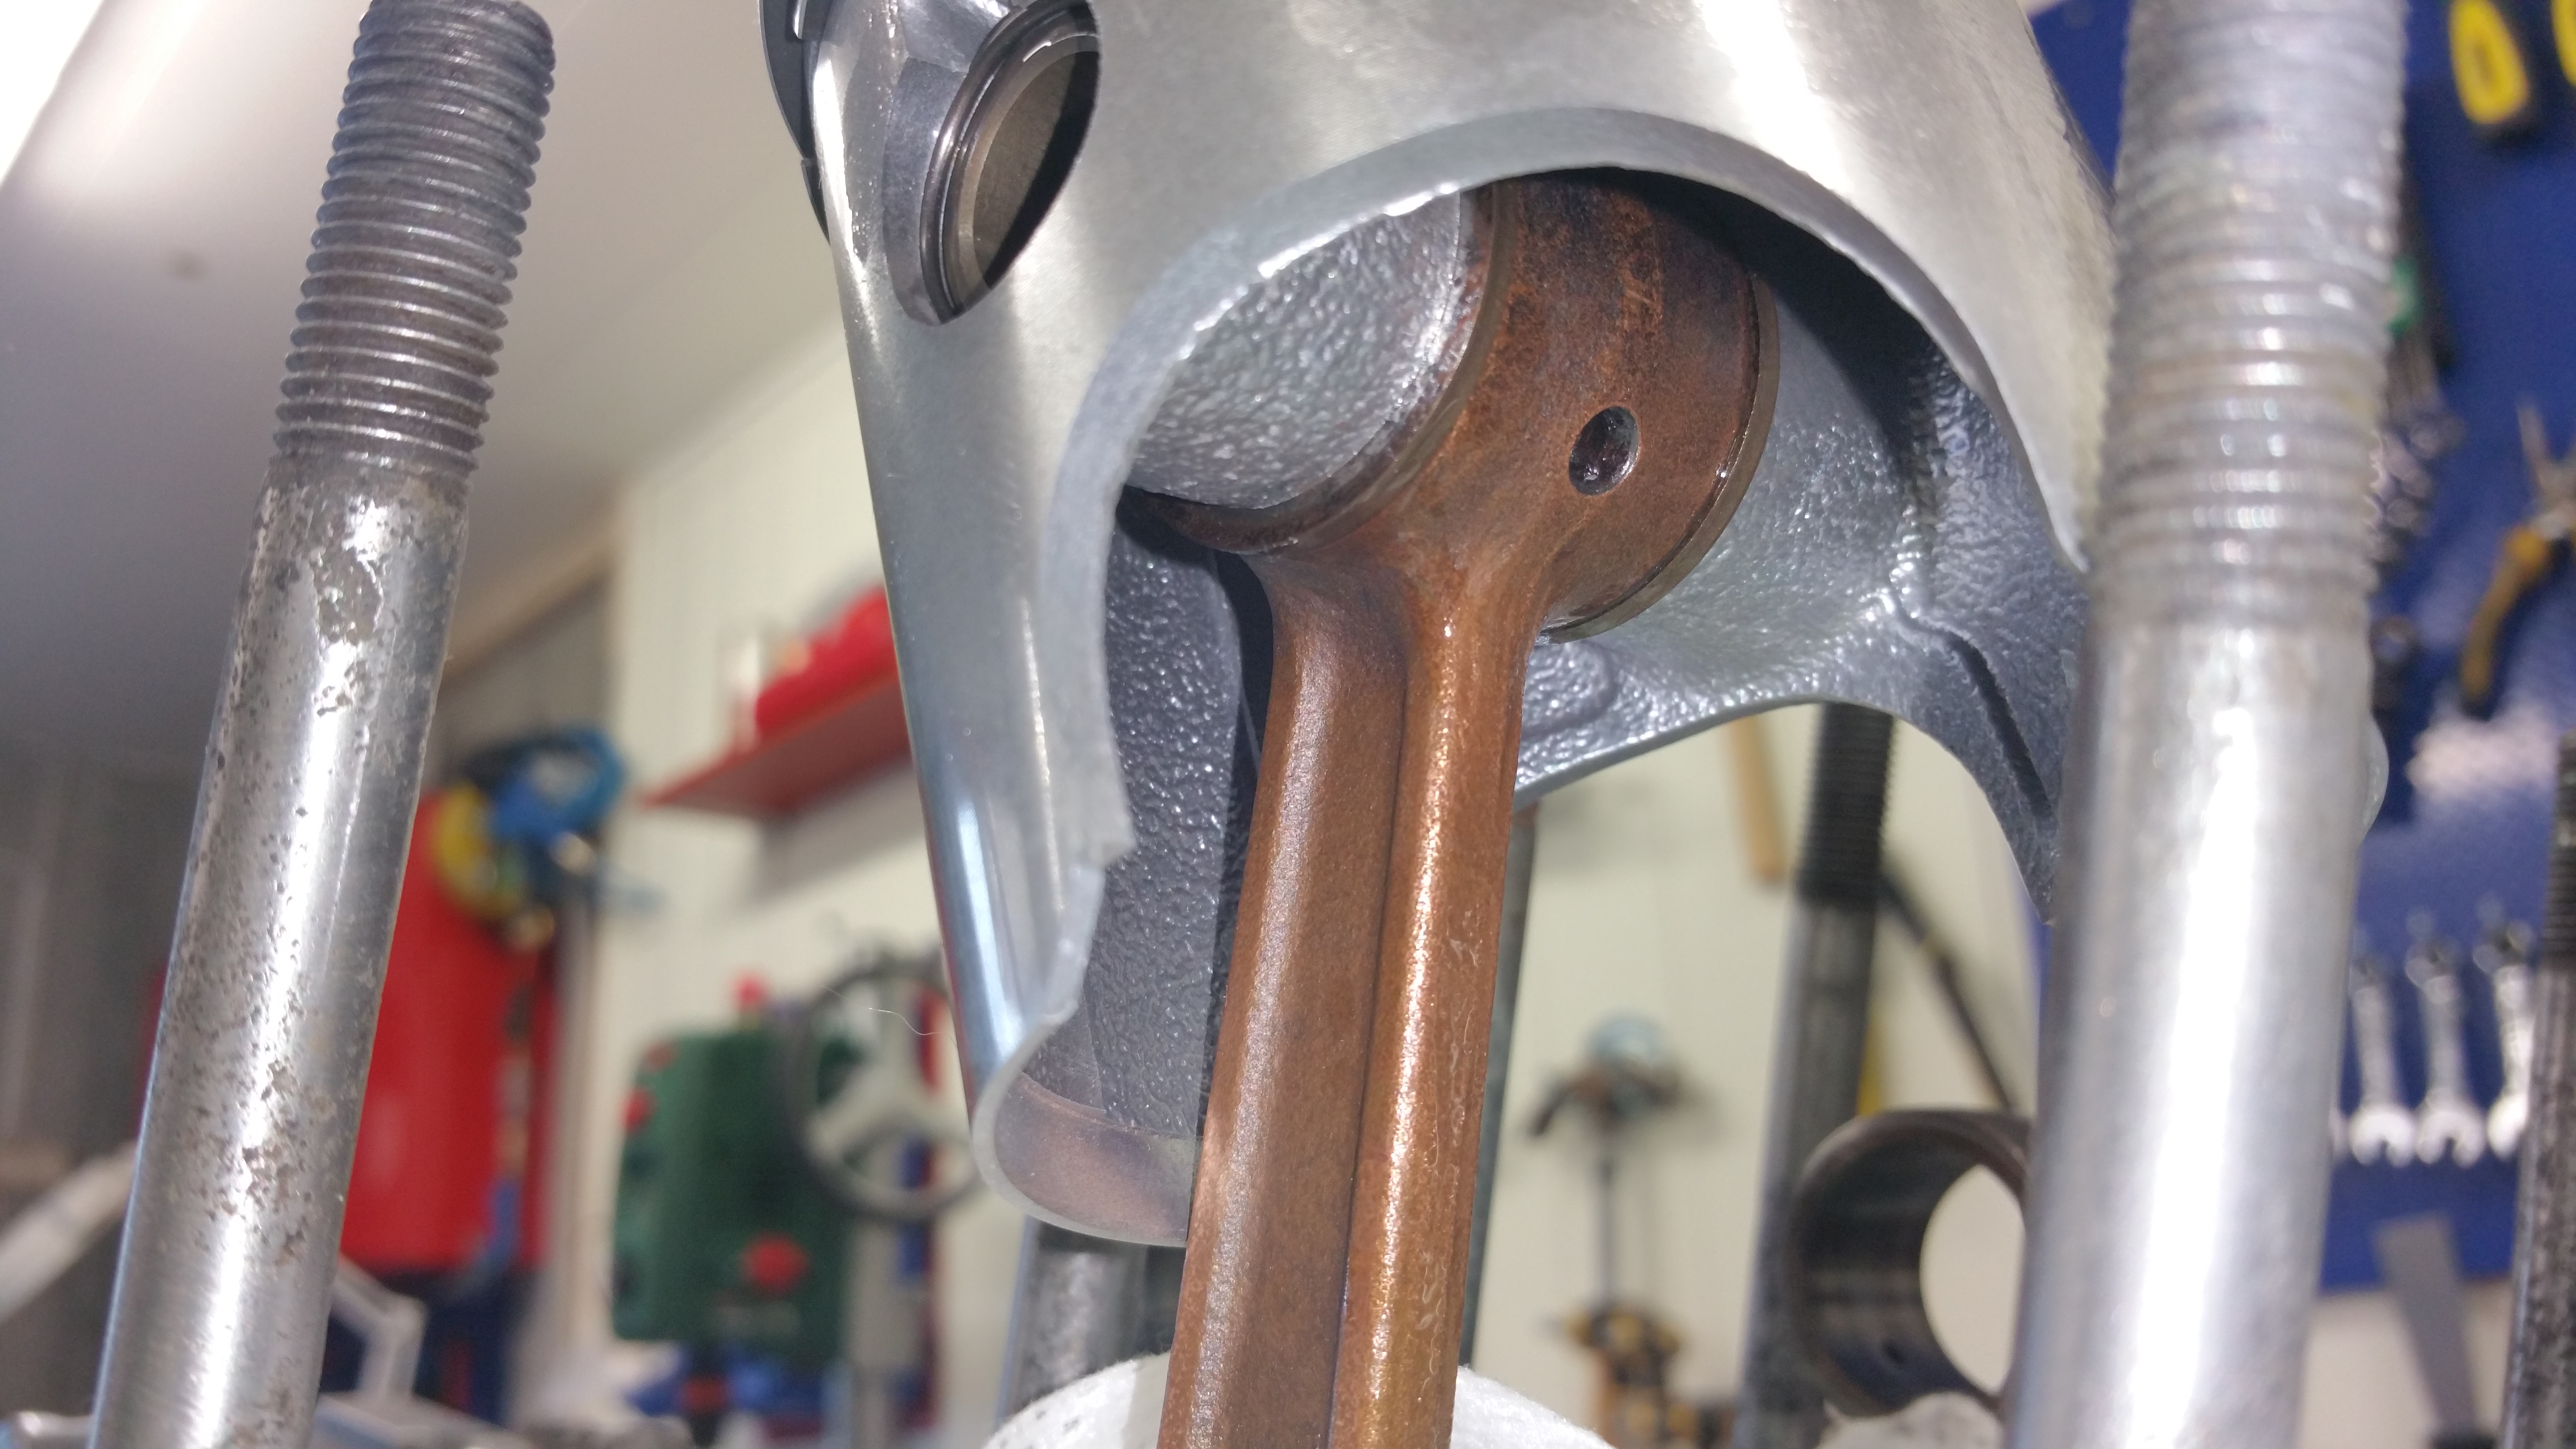
Step 4: Pistons

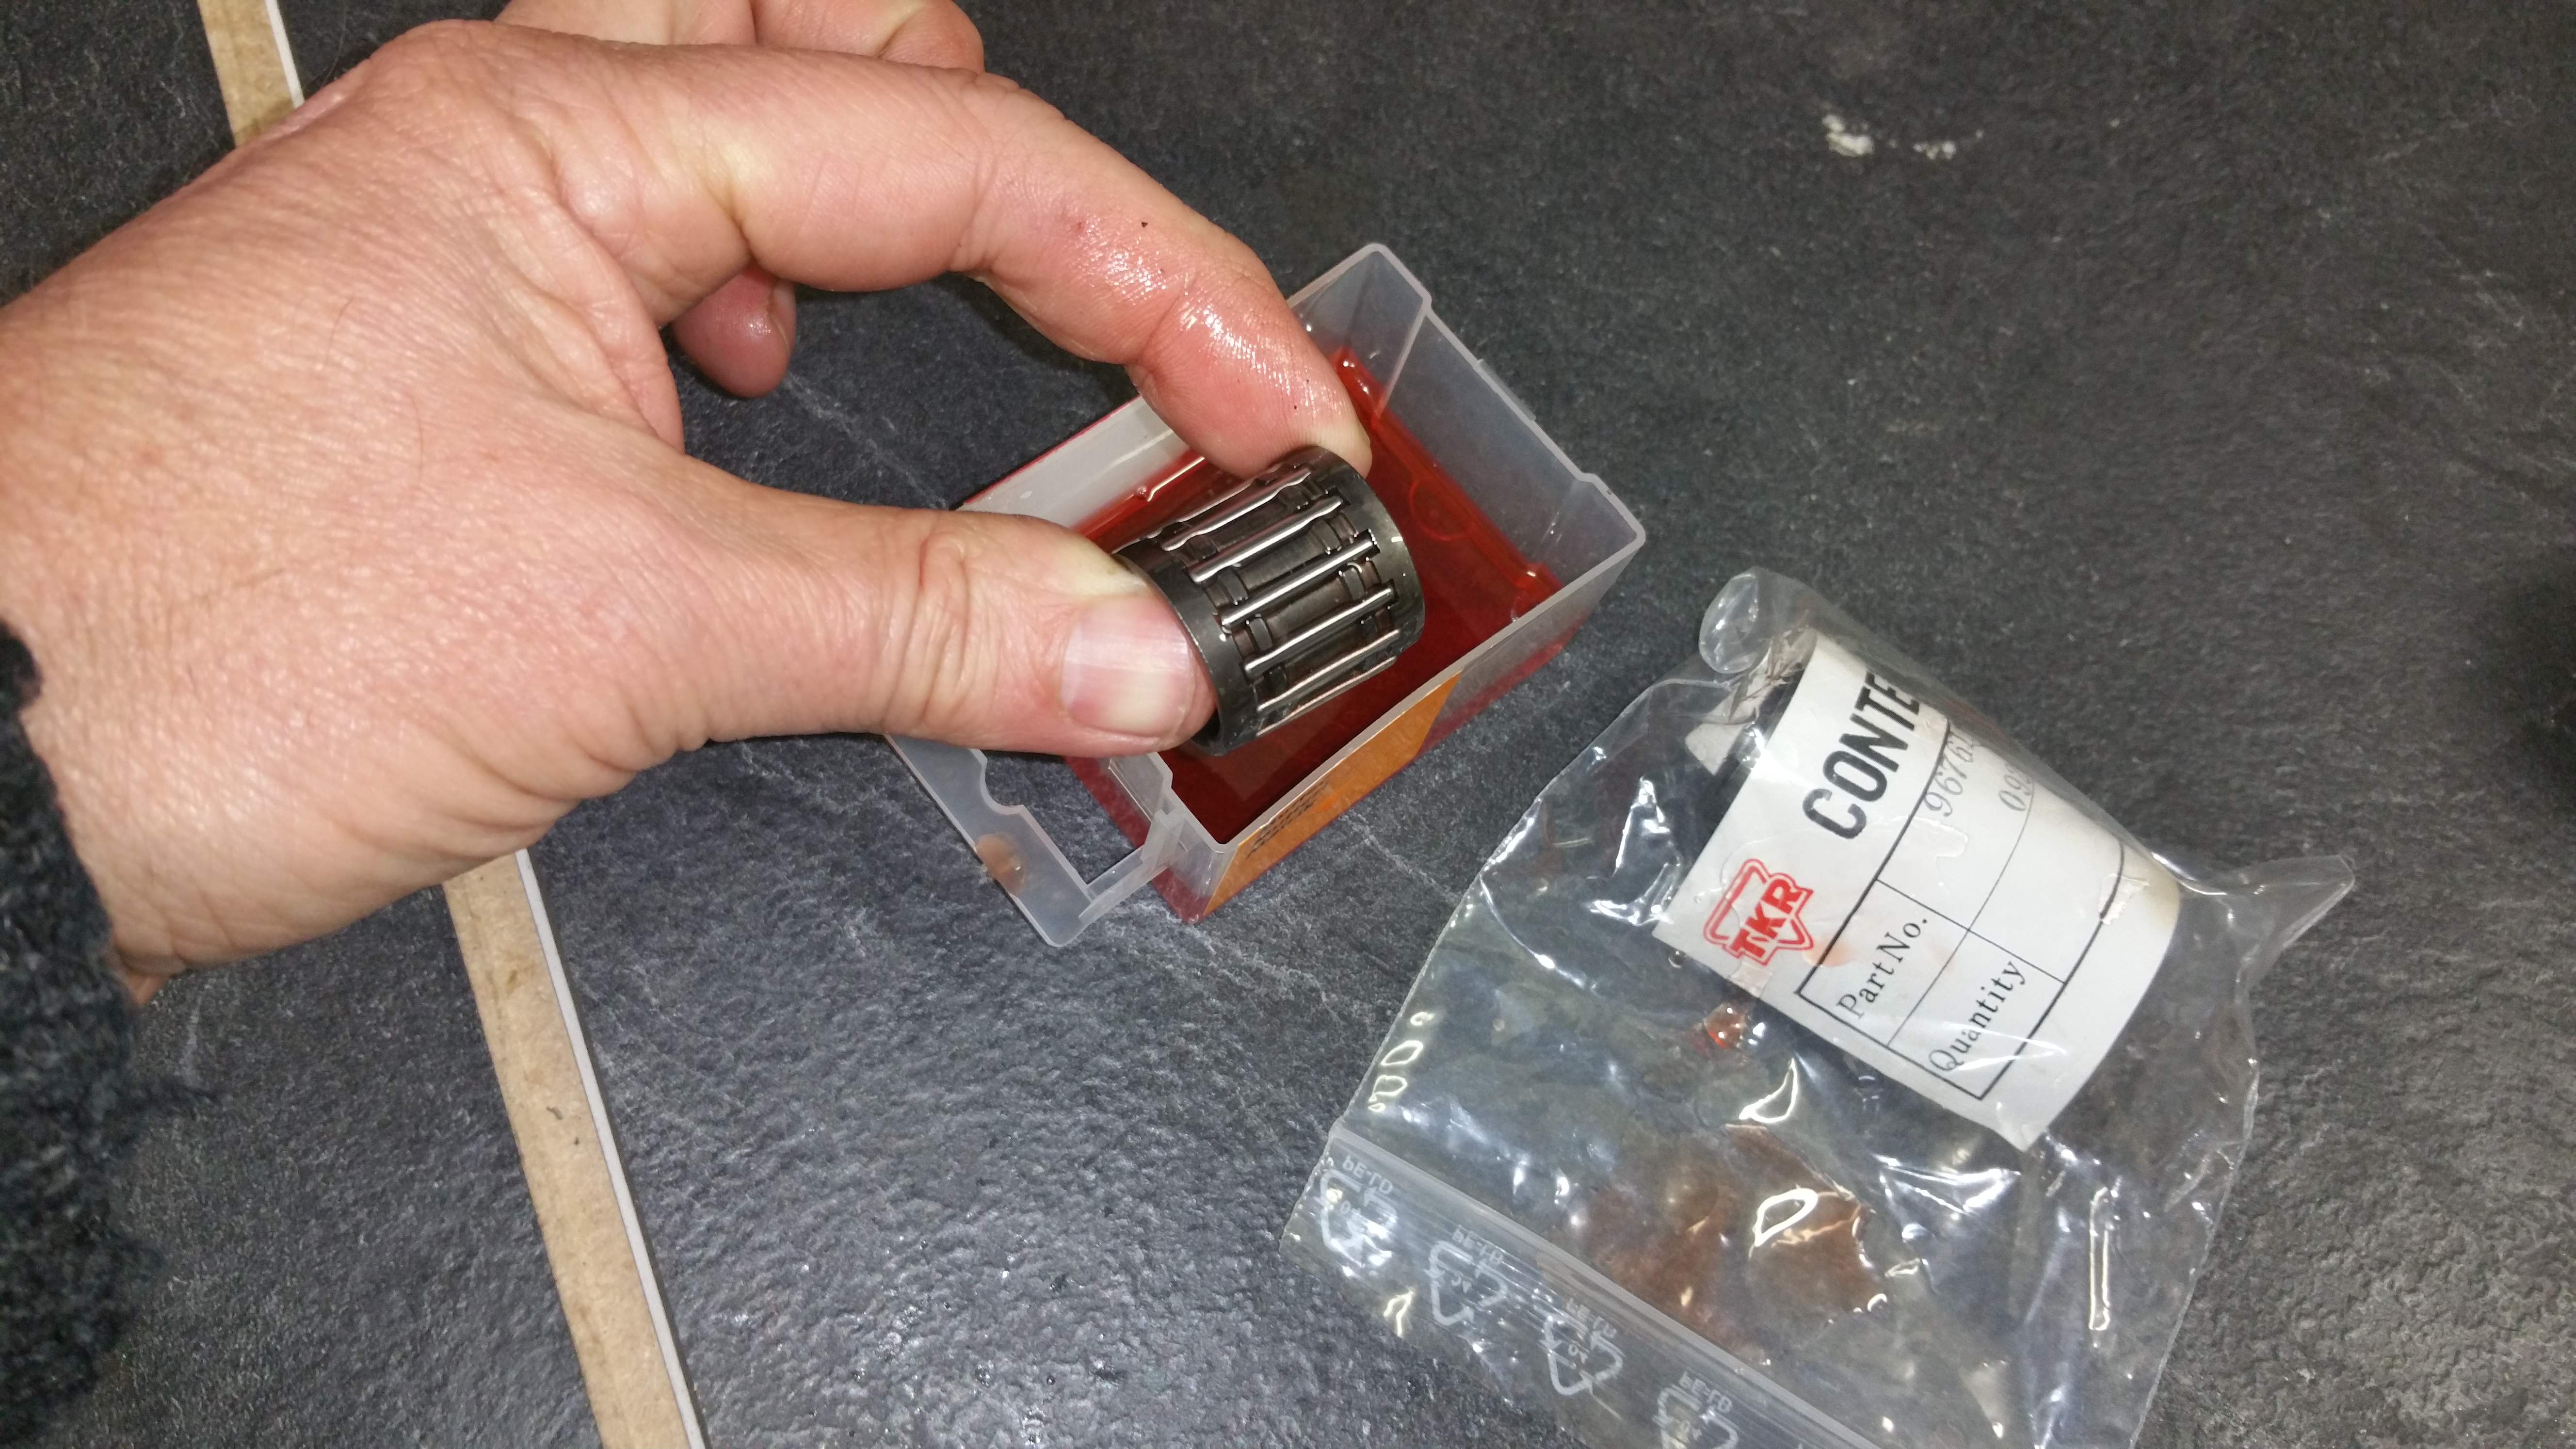
Oil the bearing before and after it’s installed in the rod.
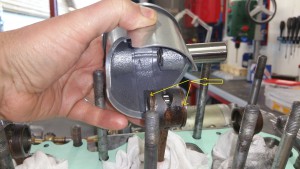
Remeber the washers (31)

Push in the piston pin and mount the last circlip at the end.

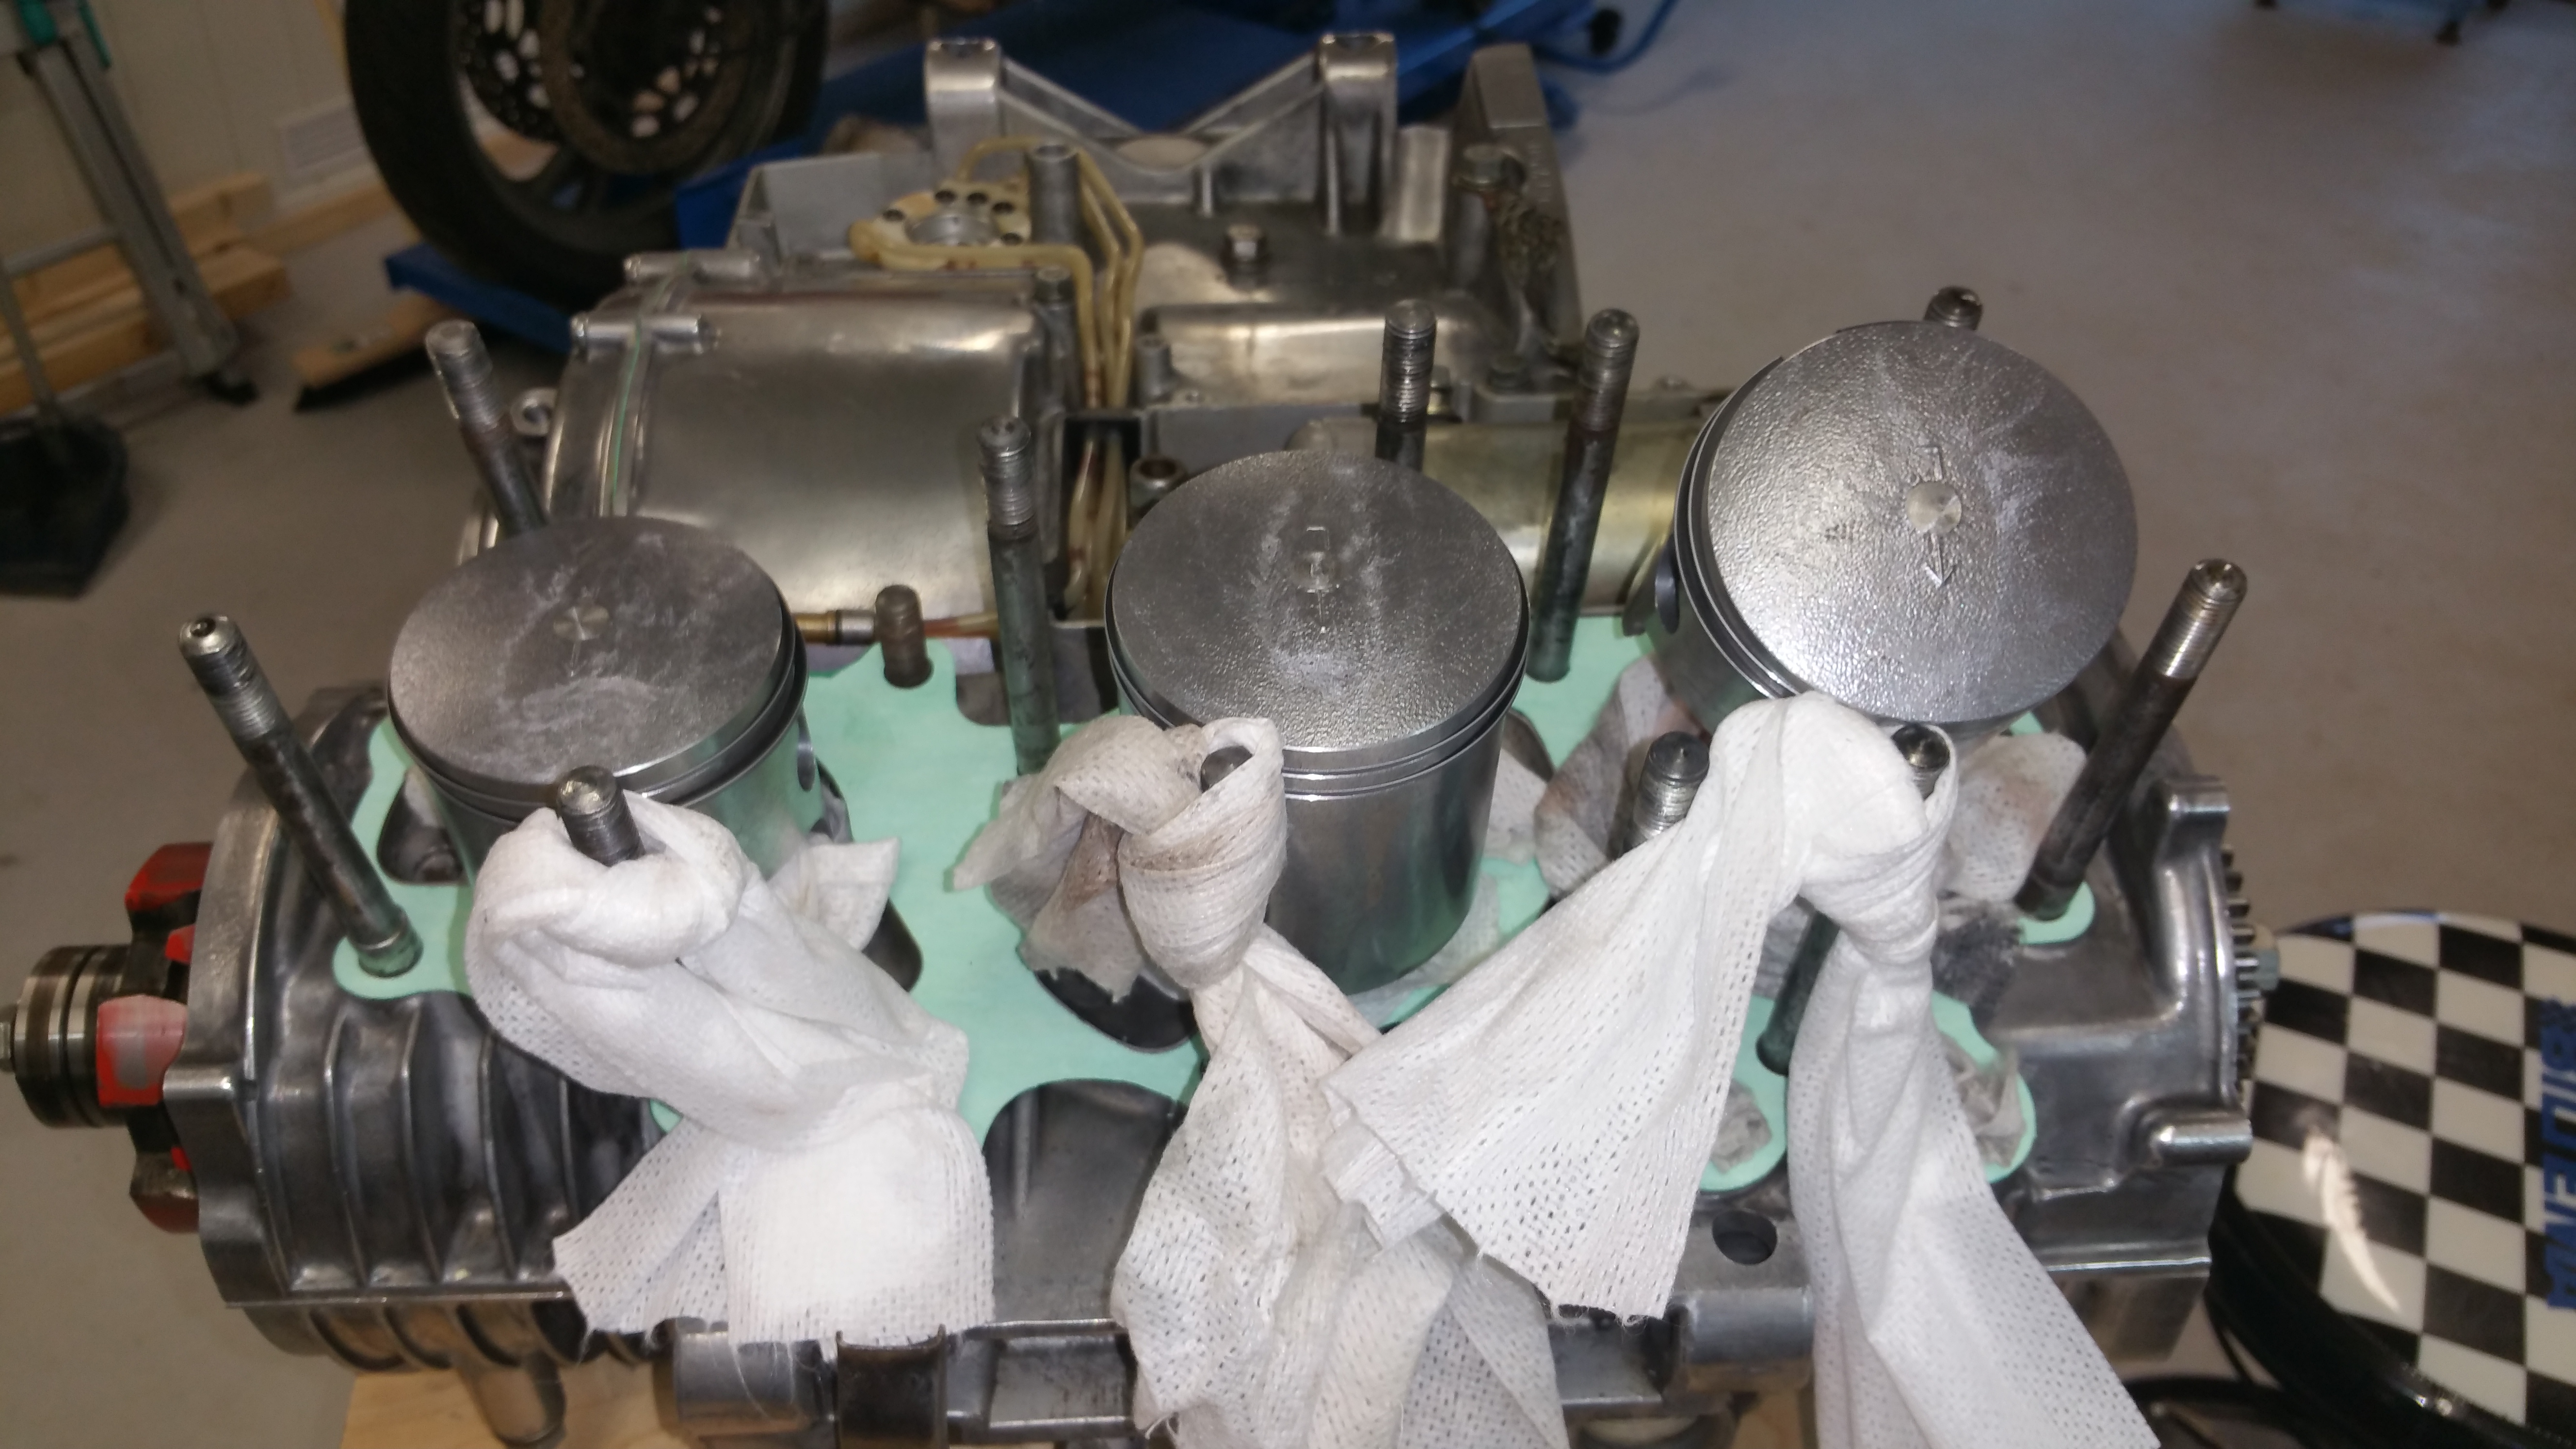
Make sure the right piston (label R) is on the right hand side and the arrow is pointing forwards. The left and center piston are identical and are both labeled L