GT 750 Front wheel, spokes mounting
For the frist time I’m going to build the front wheel with new spokes. Will be the same for both GT750 and Gt380.
Click on the images for a close up view.
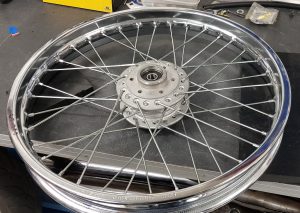
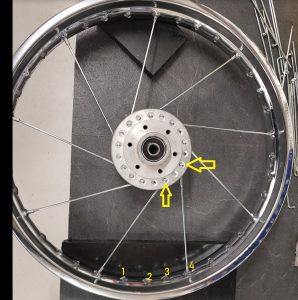
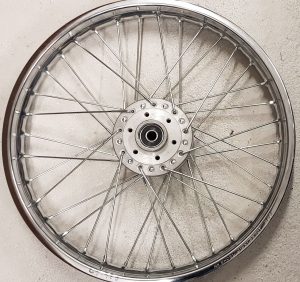
All spokes mounted, but how? Will try to give a detailed guidance below:
Step 1
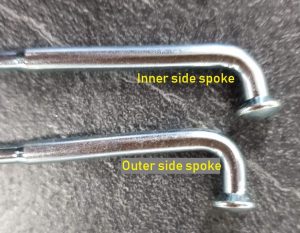
Sort the spokes. There are 18 spokes to be mounted on the inner side of the hub and 18 spokes for the outer side
The spokes for the outer side of the hub has more bending at the end, see the picture above.
Step 2
Study the rim:
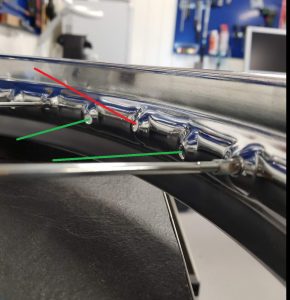
The mounting holes in the rim are aligned to left and right to fit with the corresponding side of the hub. The change in direction is done for every second hole. As the picture shows with red and green lines.
There is also angle pointing from the rim to the center of the hub. Should be easy to spot but if you don’t know this part will go wrong while mounting the spokes.
Step 3
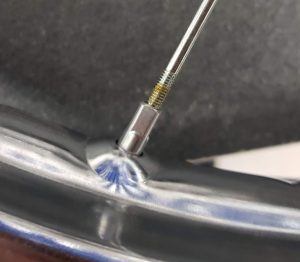
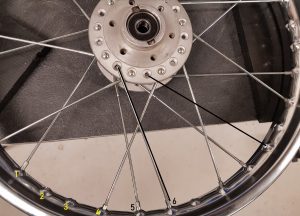
Always start with the inner side of the hub and find a the right corresponding hole in the rim. Correct angle and direction ( left or right ) explained in step 2. Repeat the same for the next spoke counting 4 holes as shown in the picture. Fasten the spoke by mounting the nipple at the end, only some few turns. You can also apply some grease.
Complete the mounting all 9 spokes on this side. Turn the wheel and do the next 9 spokes on the other side of the wheel and still at the inner side of the hub.
Watch the first picture with all 36 spokes mounted before you start with the 9 inner side spokes at the next side of the wheel. Check the position in the hub carefully against the picture and find the right corresponding hole in the rim.
If you mount all 18 spokes on one side first ( inner and outer) you will not be able to fit the spokes at the other side.
Step 4
Mounting the spokes at the outer side of the hub
If you count in the same way as in step 3, the no 6 will be the right hole in the rim. See the black line in the picture and continue in the same way for every 4th hole.
If you are in doubt, have a close look at the first picture again.
Do both sides of the wheel and you are done 🙂
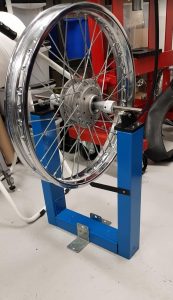
The next step, the adjustments will be uploaded in another post.
