Gauges
The outer housing for the gauges was a disaster. Previous owner had cut off a big piece to get space for an unoriginal ignition switch. Was lucky and got a new housing in a good condition.
The face of the speedometer looks nice. The tacho face has dents and is quite worn.
The needle is also different on the clocks. The 72 model should have chrome in the middle, not white as on the tachometer. The speedometer is all OK.
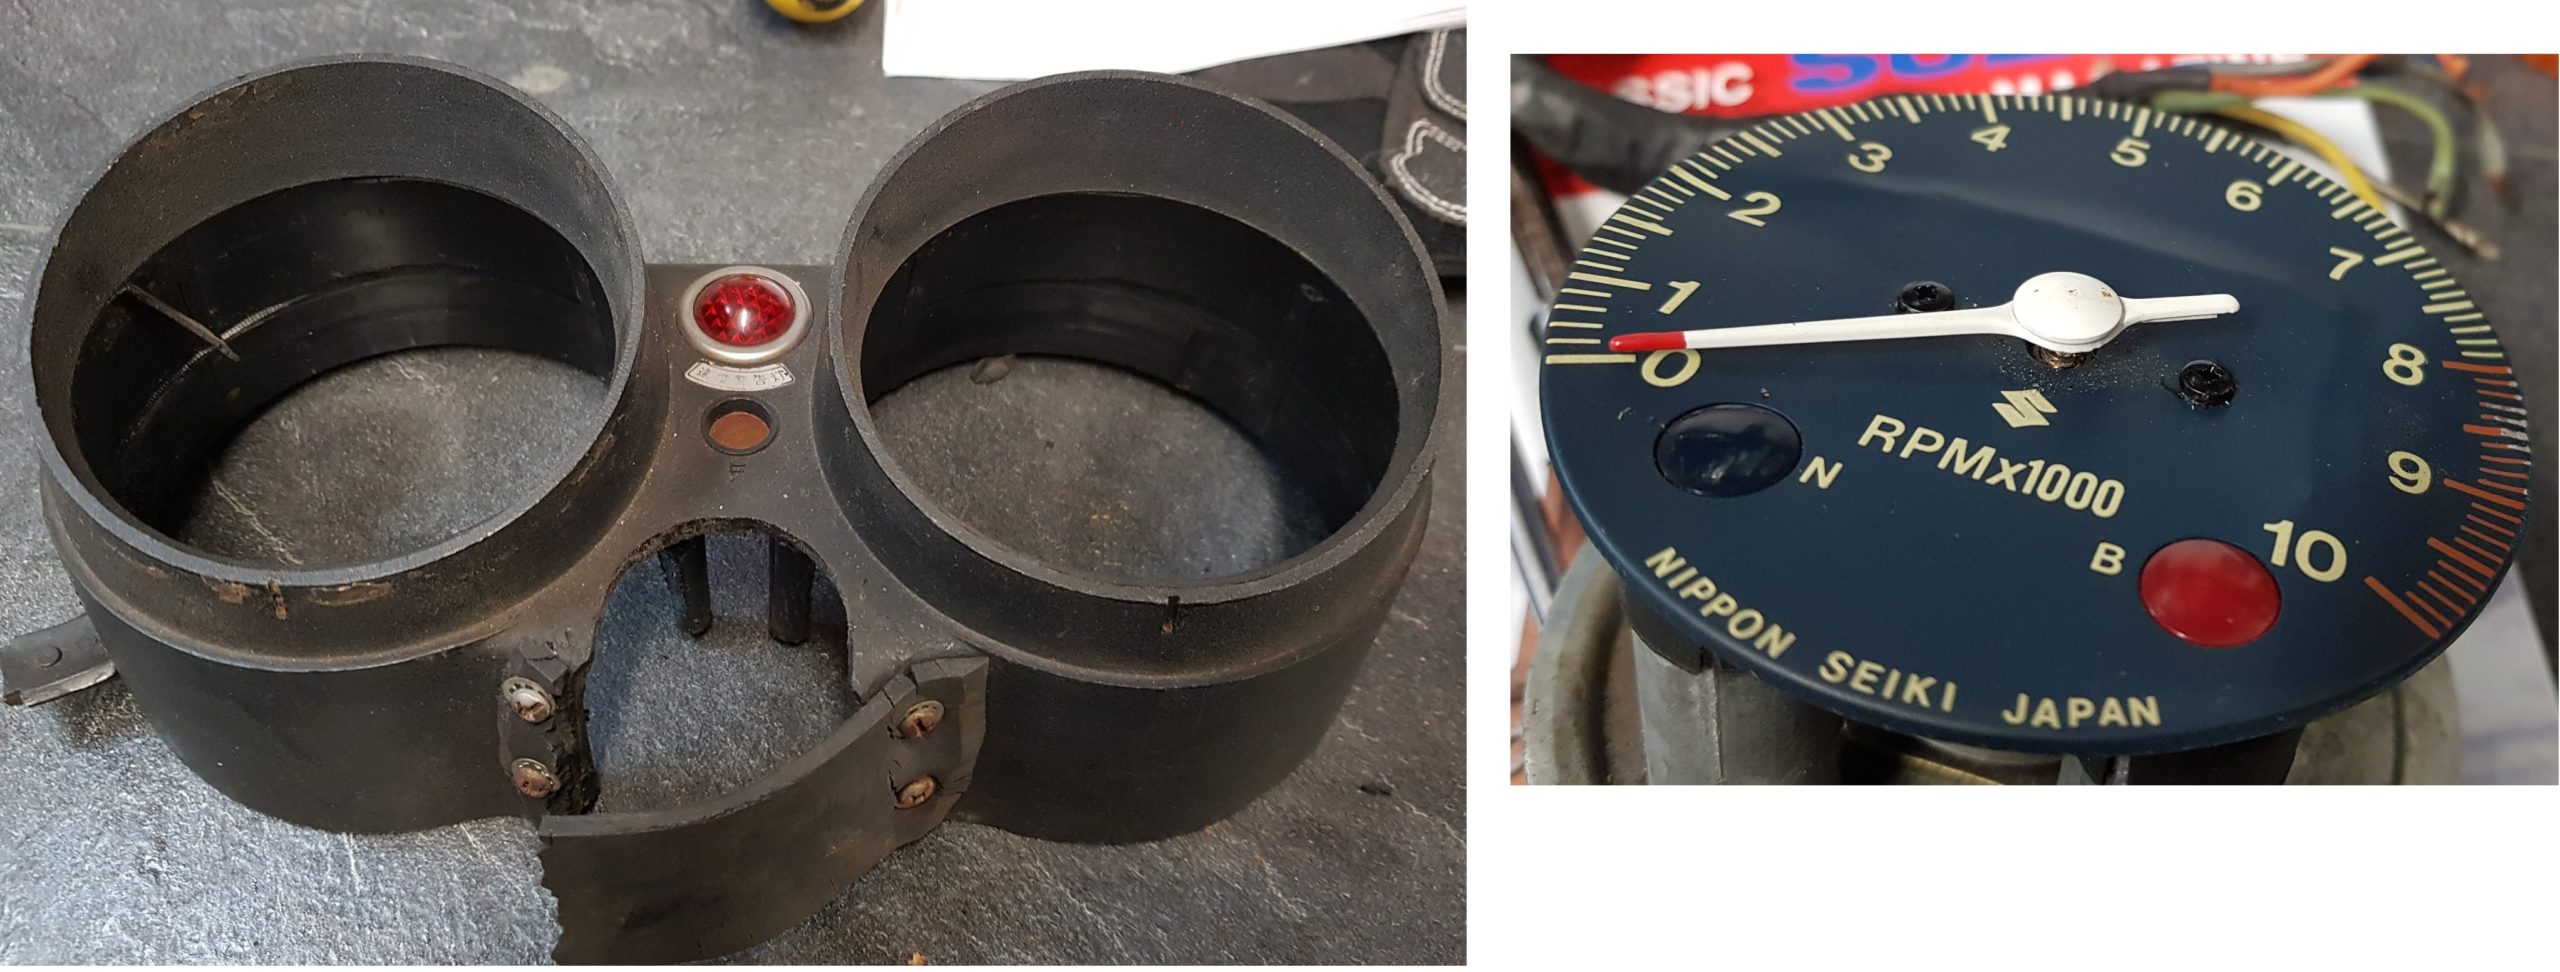
In addition, both inner housings are in bad shape. Cracks and missing parts.
Can replace it all, but not easy to get 48 years old gauges in a good condition. I also want keep it as original as possible when it comes to the look of it. Therefore I will not mount later models. And I have always wanted to restore gauges and this is the perfect time to do it.
New tachometer face:
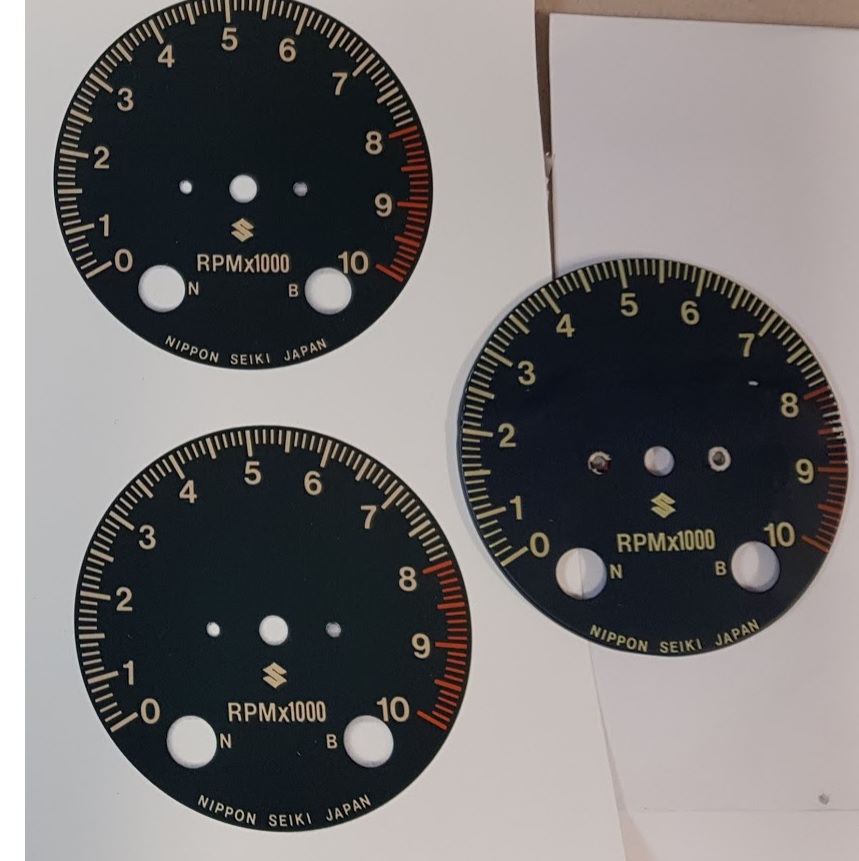
The one to right is the damaged one. I scanned the tachometer face and got it edited in SW on my PC. Handed the file over to a printing service and got six new prints as stickers. I’m very pleased with the results and the colour looks to be spot on.
Will make a new aluminium disk without dents.
Inner housing:
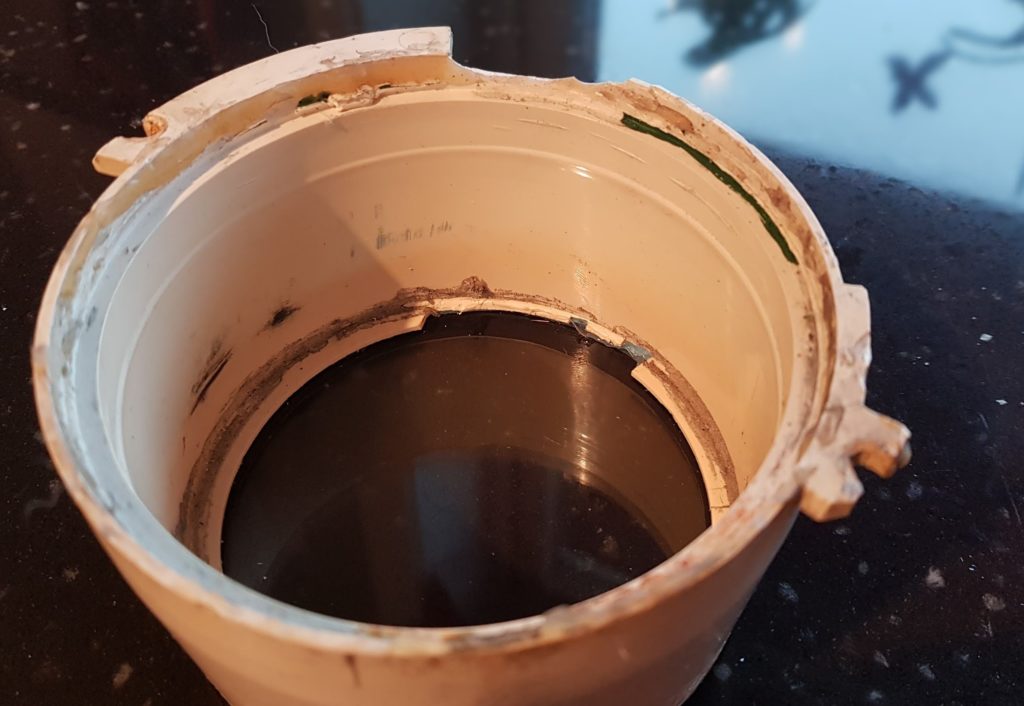
The image above is for the tachometer and the one for the speedometer is just as bad. What to do? Hmm, lets give it a try. I can draw new ones and get them 3D printed.
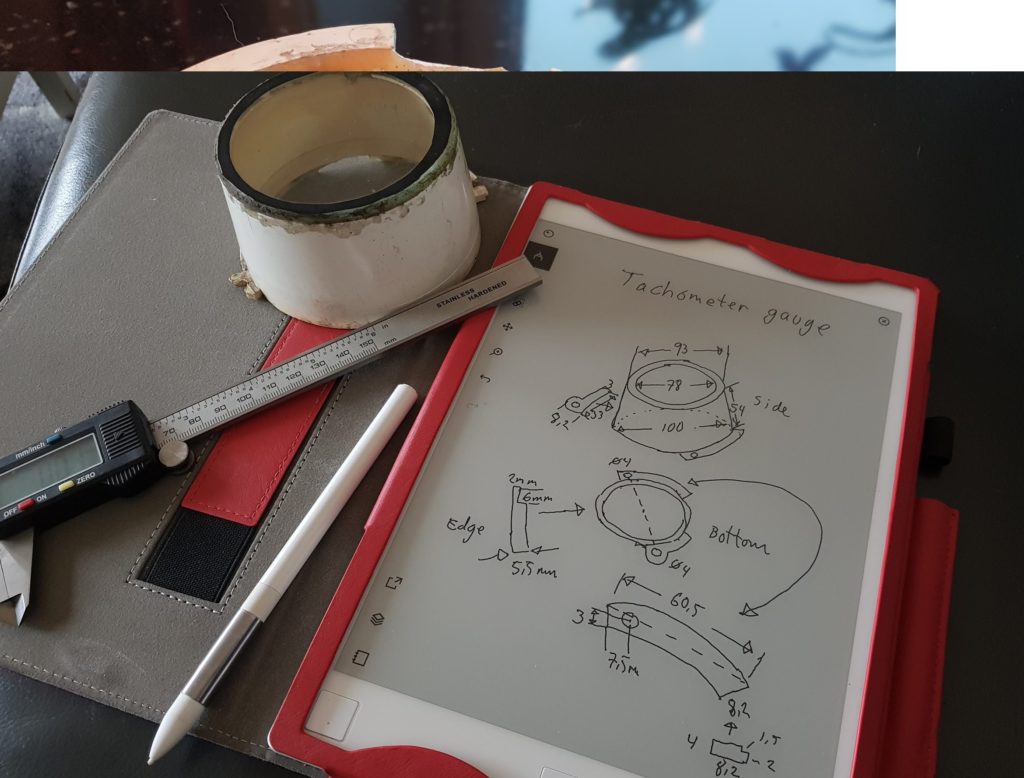
Sketching up the measurements on my sketching pad and will try to do the design in Autodesk Fusion 360.
But first I have to learn how to use the SW, Fusion 360 is all new to me.
A simple trial design:
This was fun. Pretty sure I will get it done, and it will be good as new. The image above is not correct, only a test piece. I will post the final files on my blog if anyone wants to download and print their own.
Not sure when, but it will for sure be done if I get this right. The face of the tachometer will also be uploaded.
Next day:
The learning curve of Fusion 360 was not steep, quite easy after few hours of watching YouTube and I did some trial design.
A bit more tricky to figure out the correct measurements from the worn clock housings I have. The drawing from the K parts manual can’t be correct, will never fit.
After studying Ebay and watched carefully on photos from J/K types, this must be the correct one. Fits well comparing against my broken parts.
Image from Ebay:

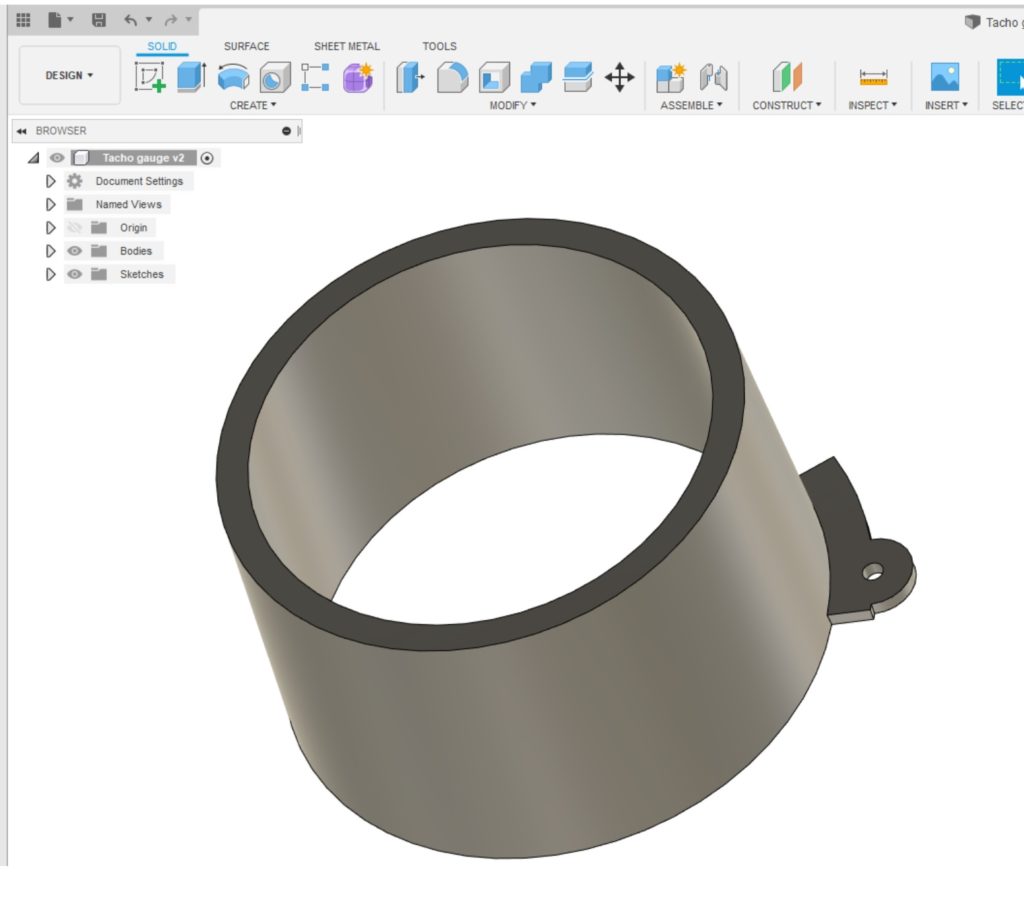
Think I got it, the first design of the Tachometer house is done. I left out some of the profiles since I don’t see any need for them.
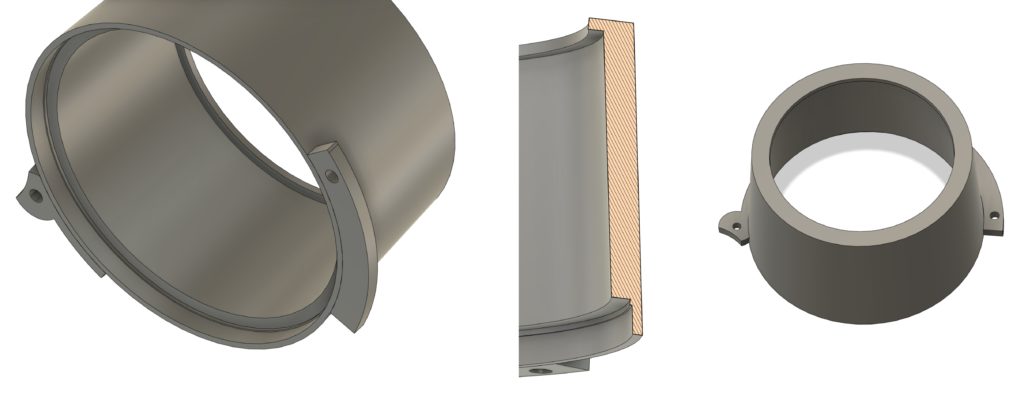
Hope to get the first trial print at work in about two weeks time. Not sure about the quality, but later on I will have access to a much better printer and can use white filament as well. The first one has to be painted white. I’m so exited to see the result 🙂 One week of vacation now before I continue with any 3D printing.