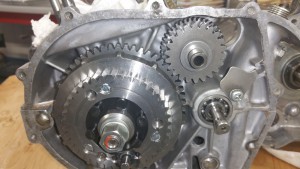
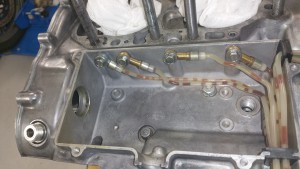
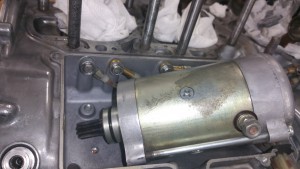
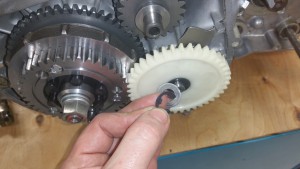
Browse Author: tore@grenasberg.no

Verifying the thermostat

Step 1. Remove the thermostat housing

Not an easy task, all of three screws were stuck. Applied some anti rust solvent and went ahead with the job the next day.

The housing were heated up by using a butane torch and in addition I used an impact screwdriver to get the screws loose.

20160531_214643

20160601_190130 

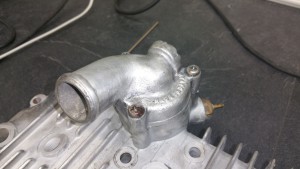
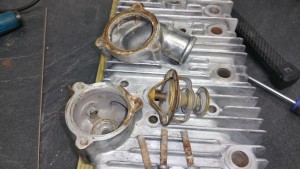
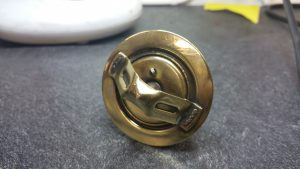
Finally I had the parts separated


20160601_194641

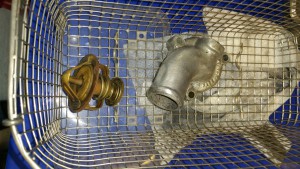
Cleaning of the parts using the ultrasonic washer


Step 2, verify the function of the thermostat:

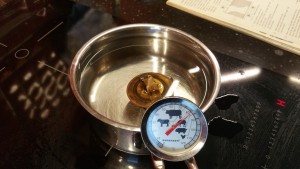
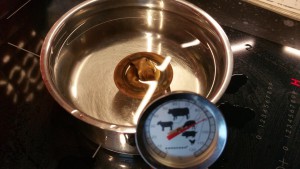
According to the service manual the vale opening temperature is 82 deg C and wide open (8mm)  at 95 deg C.

20160601_205722

82 deg C and closed


20160601_205612

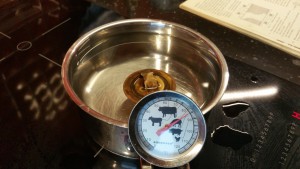
85 deg C and half opened

20160601_205426

90 deg C and almost fully opened

Good to go, the thermostat is functioning as specified.


Thermostat response time:

See how it’s closing only seconds after it is out of the boiling water.


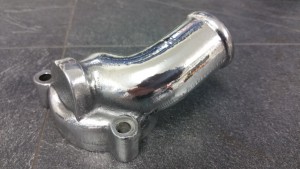
Step 3, polishing the thermostat housing:

20160601_212711

Nice and shiny 🙂

20160602_194827

Installing pistons

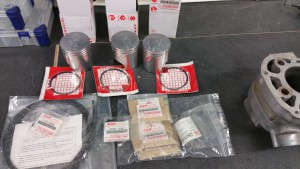
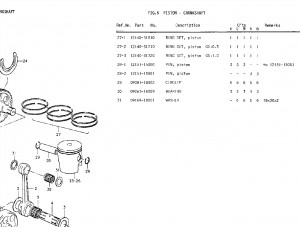
New parts to be mounted

20160516_210703

Part no


Step 1: Circlip

Circlip

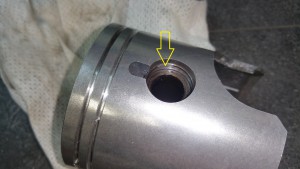
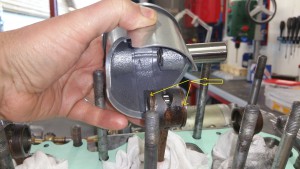
Mount one circlip in all three pistons. Move the end position away from the cutout. Be gentle and don’t bend the circlip too much. Use a screw driver as a tool to flip it into the position in the groove. Always new circlips, never reuse old one.


Step 2: Piston rings

Piston rings

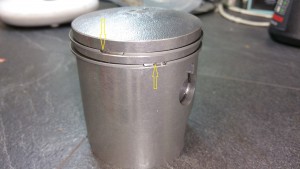
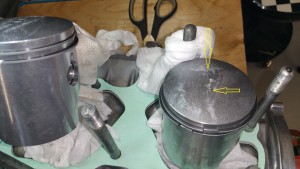
Mount the piston ring as shown on the photo. Be aware of the pin locking the ring, see the arrows. You don’t need any special tools for mounting the piston rings. They are quite expensive an if you are afraid of braking any of them, drink a beer before you start 🙂

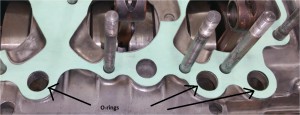
Step 3: Gasket and O-rings

20160517_202804

O-rings

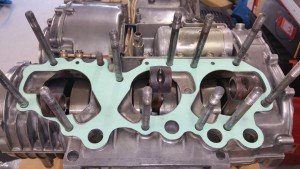
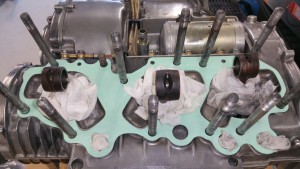
Mount the gasket, don’t forget to mount three O-rings underneath the gasket.


20160517_202919

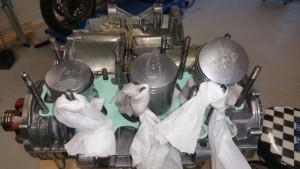
Before you continue, cover all holes so you don’t drop any parts inside the engine. Can be difficult to retrieve.


Step 4: Pistons

20160517_203258

20160517_210337

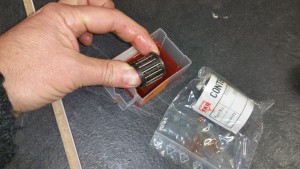
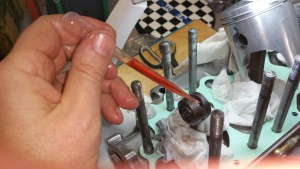
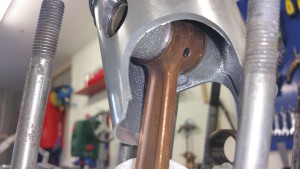
Oil the bearing before and after it’s installed in the rod.

Piston mounting

Remeber the washers (31)


20160517_204022

Push in the piston pin and mount the last circlip at the end.

20160517_211249


Pistons

Make sure the right piston (label R) is on the right hand side and the arrow is pointing forwards. The left and center piston are identical and are both labeled L

Generator and front sprocket

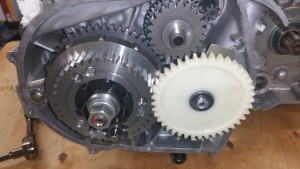
Mounted the rotor part of the generator yesterday + the o-ring and the cover behind the front sprocket

20160410_174331

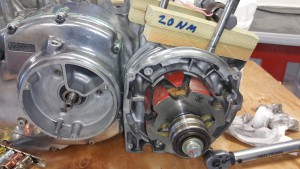
Use some pieces of wood to lock the crank.


20160410_175256

Mount the rotor part of the generator and torque to about 20 Nm


20160410_180649

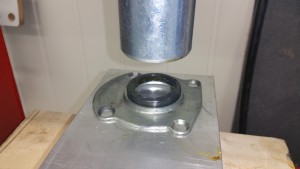
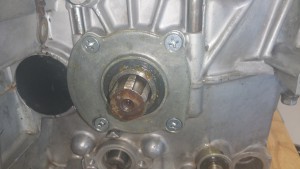
Mounting a new oil seal in the cover behind the front procket.

20160410_181422

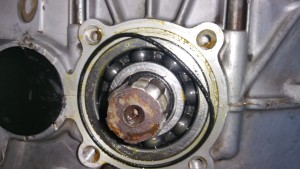
Mounting a new O-ring, use some grease to keep it in place

20160410_181918

Mounting the cover

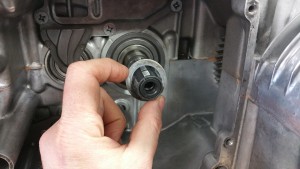
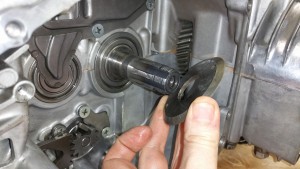
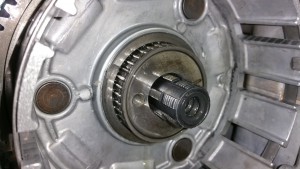
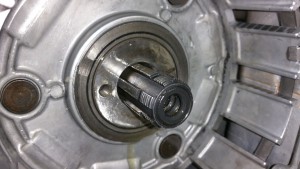
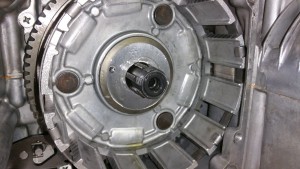
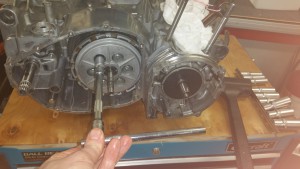
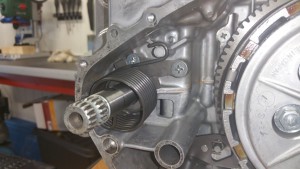
Assembling the clutch and the kick starter

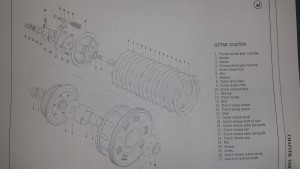
The photo below shows how I did the assembly of the clutch and the kick starter.


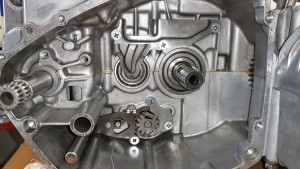
Step 1: Fit the oil guide plate. Drive all three screws well home. If you are to use thread locker or not depends on your religion. Do you believe in it or not. Someone says ” don’t use it, you will never get them loose”. Others say….And I’m not gonna tell you what I did .
20160401_152316


20160401_213525


Step 2:

20160401_175959

Mount the shim ( no.16)


Step 3:

20160401_180437

Mount the spacer, chamfer side goes in back.


Step 4:
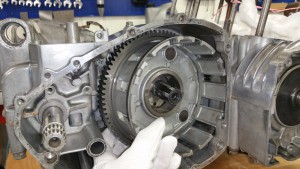
20160401_181224

Mount the clutch


Step 5: 

20160401_181938

Mount the bearing assembly

20160401_181955


Step 6:

20160401_182819

Mount the spacer, chamfer side at the front.


Step 7:
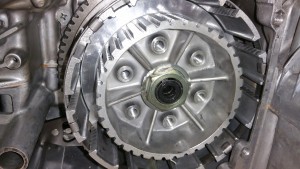
20160401_183235

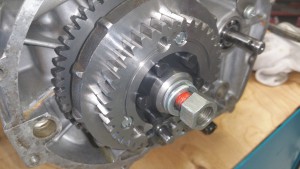
Mount the clutch sleeve hub (5),  locking washer (7) and center nut (6)

Always use a new locking washer, not the old one like I did on the photo.Why did I use the old one ? I didn’t know I had a new one until I had completed the assembly process. Can save the washer for the next time.


Step 8:

Torque setting for the center nut is about 50 Nm.

Before torquing up the center nut you need to some how lock the sleeve hub (5) Never use a screwdriver on the edges. You can make a special tool using old steel plates from a clutch. I had no such tool but did it in this way:
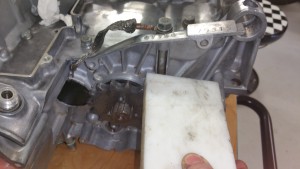
20160401_184551

Lock into one of the gears and do something clever to lock the front sprocket, like I did on the photo above.
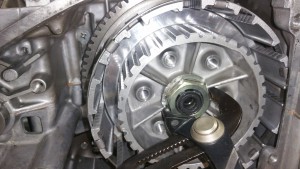
20160401_191002

Don’t forget to bend the “new” lock washer. One of the edges is enough.


Step 9:

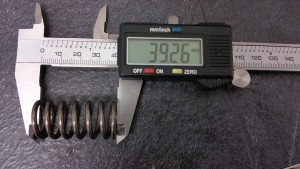
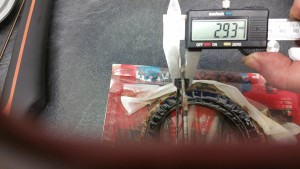
Before mounting the clutch check the specifications of the cork plates and the springs
20160401_173043

STD lenght: 40,4mm. Spring setting limit :1,4mm
    20160401_173409

STD thickness: 2,9-3,1mm. Wear limit: 0,2mm
 

20160401_152337

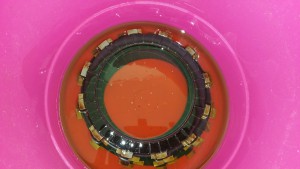
Let the cork plates be quite oily before you mount them


20160401_153522

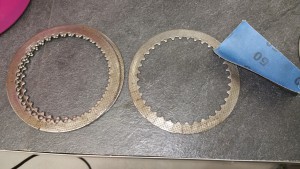
Grind off any layers from the steel plates.
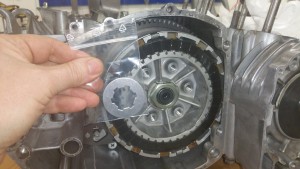


20160401_213012

Start with the cork plate, then the steel plate. The last plate should be a cork plate. The steel plate has a little radius on one side and a flat side on the other side. The flat side at the bottom and the radius facing  against the front.

8 cork plates and 7 steel plates.

And as you can see, I found the new lock washer after I had completed the assembly.


Step 10:

Mounting the clutch pressure disk.
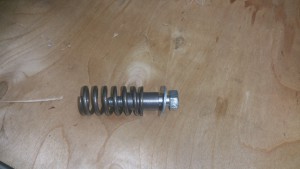
20160401_213741

20160401_214348

Remeber the mount the clutch release shaft (17)

Mount the bolts in a pattern for an even distribution of the force. When all bolts are driven home you just give it a tap . No torque settings


Step 11

Kick starter
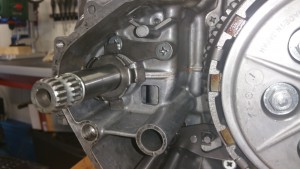
20160402_114322

Mount the spring holder (and the plate behind if not already mounted)
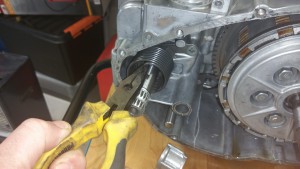
 

20160402_114717

Mount the spring

20160402_114537

Competed !


Step 12

Mounting oil seals, gasket and side cover
20160402_181930

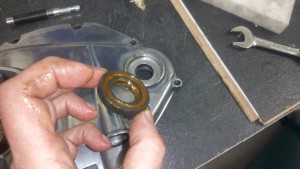
There are two oil seals in the cover, both should / can ( depends on age) be replaced. Add grease on the seal side.
 

20160402_182823

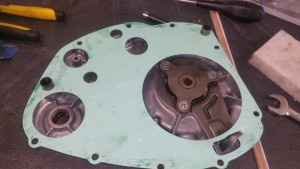
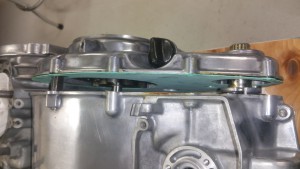
I found both mounting studs quite stuck in the cover, not at the case side. Therefore I put the gasket at the cover side.
 

20160402_182953

20160402_183139

Done !
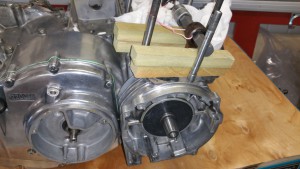
 

Case closed

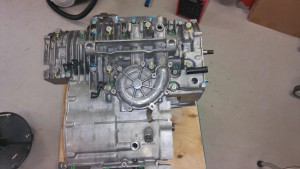
Phuu, the crankcase is finally sealed and closed.

Please see the summary of how I did it: ( And this is not the time to say I did it wrong, not in a mood to undo, please let me stay happy )

Step1:

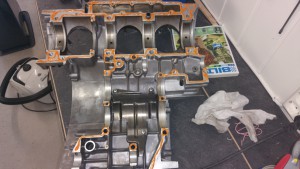
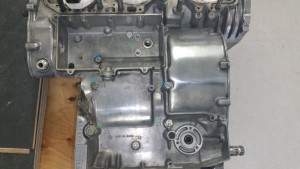
Cleaning the surface and do a test assembly to verify it’s all good.

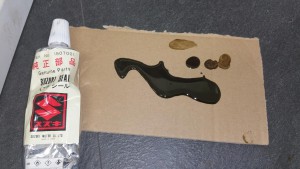
I had a tube of the genuine Suzuki seal but I was afraid to use it. The first impression was a thin soup, looking more like an old oil leakage from 1976 🙂 Therefore I bought something more modern from Loctite.

Loctite 574Suzuki seal

After some evaluation and testing of the Suzuki seal I think it’s might be good after all. After few minutes in air it changes to a more sticky paste. Totally different from the Loctite 574. The Loctite is curing after it is pressed against the alu surfaces, not in air. Then, what to use ? Since I had bought the modern stuff from Loctite and it’s made for this purpose I took the Loctite and applied the glue according to the instructions in the data sheet. It’s recommended to apply in one string and on only one surface. On the bottom case I only took some glue around the o-ring connecting the water pump. Remember to add  some silicone seal around the black plastic cover at the end of the gear shaft.

20160325_102315


Step 2

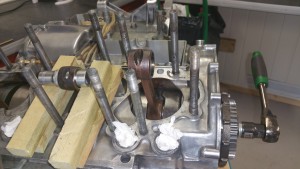
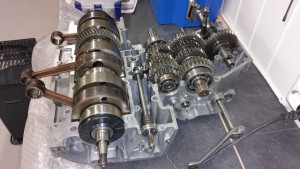
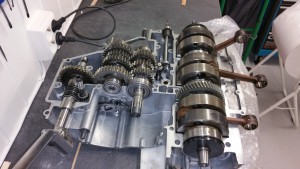
Mount the top case and install all the bolts on the top side. Secure the bolts but don’t use the maximum torque at this stage.  Check to see the crankshaft is still movable.

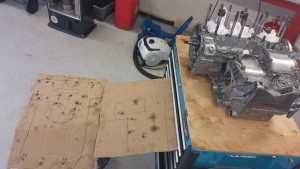
Turn around the engine to the bottom side and mount all the bolts according to the correct torque settings. And now is the pay off time for using a carton to keep track of the placements.

20160325_114438

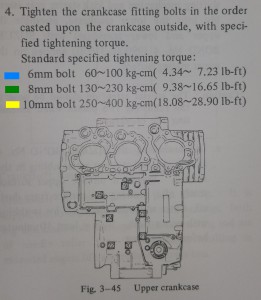
Please see the placement order and torque settings below. I have labeled 6mm bolts blue, 8mm green and 10mm yellow.

Click on the images for detailed information

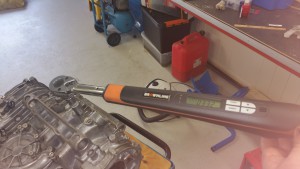
Since I live in Norway I use Nm as tourque settings.
10mm bolts 32Nm
8mm bolts 15 Nm
6mm bolts 8 Nm

Torque20160319_135520

20160325_105436

Bottom torque sequence

20160325_104630

Bolt no 13 need a copper or alu washer + some extra silicone sealing


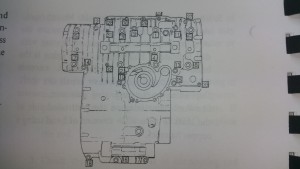
Top torque sequence


Step 3

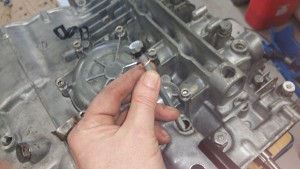
Installing the tachometer drive.

Mount a 6mm screw at the top to secure the inner part.

20160325_111757


20160325_112203

Tap the drive down to the position where you can see the mounting hole for the screw.

Step 4

Enjoy the work, dry off remains from the seal and do something clever to avoid parts falling into the engine.

20160325_112720

20160325_111033 20160325_111017


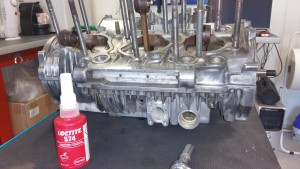
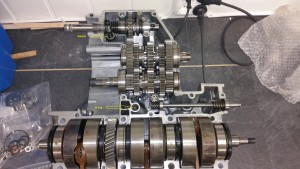
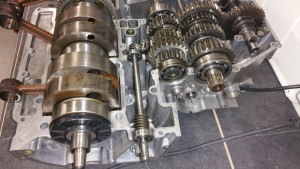
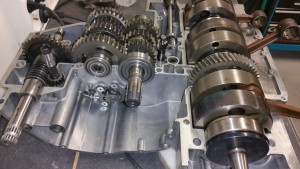
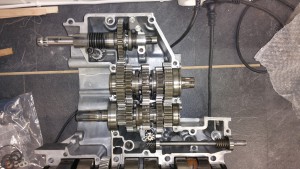
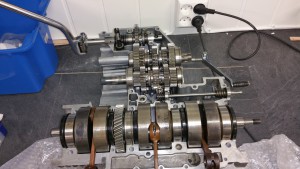
Am I ready ?

Hmm, what is missing before I glue and mount on the upper part of the crankcase…. Am I good to go ? I will double check up against instructions on the DVD. If anyone see something missing, PLEASE let me know.

20160308_214254

20160308_214322

20160308_214335

20160308_214301

Upper part of the crankcase

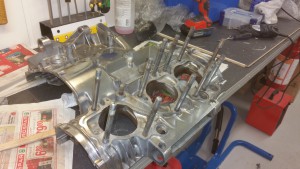
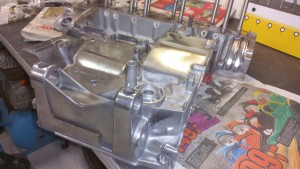
Started the day planning how to mask and paint the upper part of the crankcase. The lower part is left as naked raw aluminium as it came from the factory in 1976. I know it’s common to paint both parts as it will look better, at least in the beginning before the lower part of the crankcase is getting worn after some time on the road. Then I got a second thought, why not polish the parts. All side covers will be polished and if I polish the visible parts of the crankcase it might look good. And I don’t have to worry about any damage on the paint during the assembly process.

Here is the result:

20160306_185911

20160306_185940

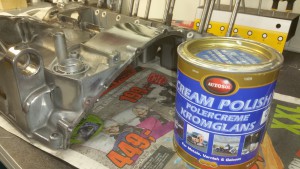
I think the result came out quite okay using AutoSol.

20160306_190038

Kick Starter Sequence

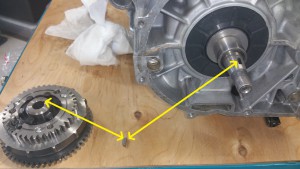
Here is the sequence of the kickstarter. I had to assemble without paying attention to the alignment marks, because one of them is not present. ( look at my privious post )

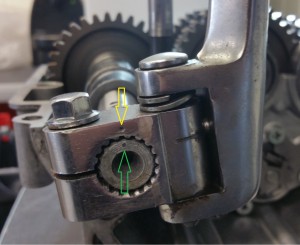
Both punch marks at the end of the axle and the kick starter are present and aligned.

Sequence 1B

See the punch marks at the yellow and green arrows.


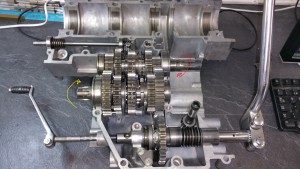
Sequence 1                       Klick on the images for details

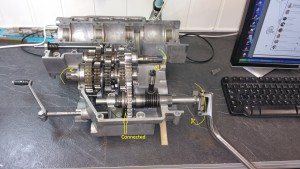
Sequence 1

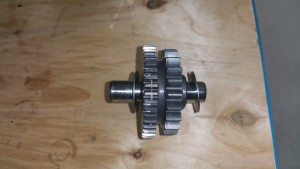
The front shaft is connected to the clutch and will rotate like the red arrow shows.

The rear shaft is connected to the front sprocket and will rotate like the yellow arrow shows.

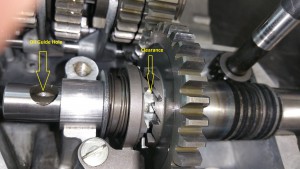
The little clutch on the kick starter shaft is in released position and is not in contact with the rotating gears.

Sequence 1A

The oil guide hole is also facing upwards. Everything should be okay.


Sequence 2

Sequence 2

The engine is stopped and we try to restart the engine by kicking down.

The little clutch will connect and the rotations on the shafts will be according to the yellow arrows. And of course, in the same direction as while the engine is running.

When the kick starter is released it all goes back to sequence 1