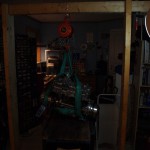
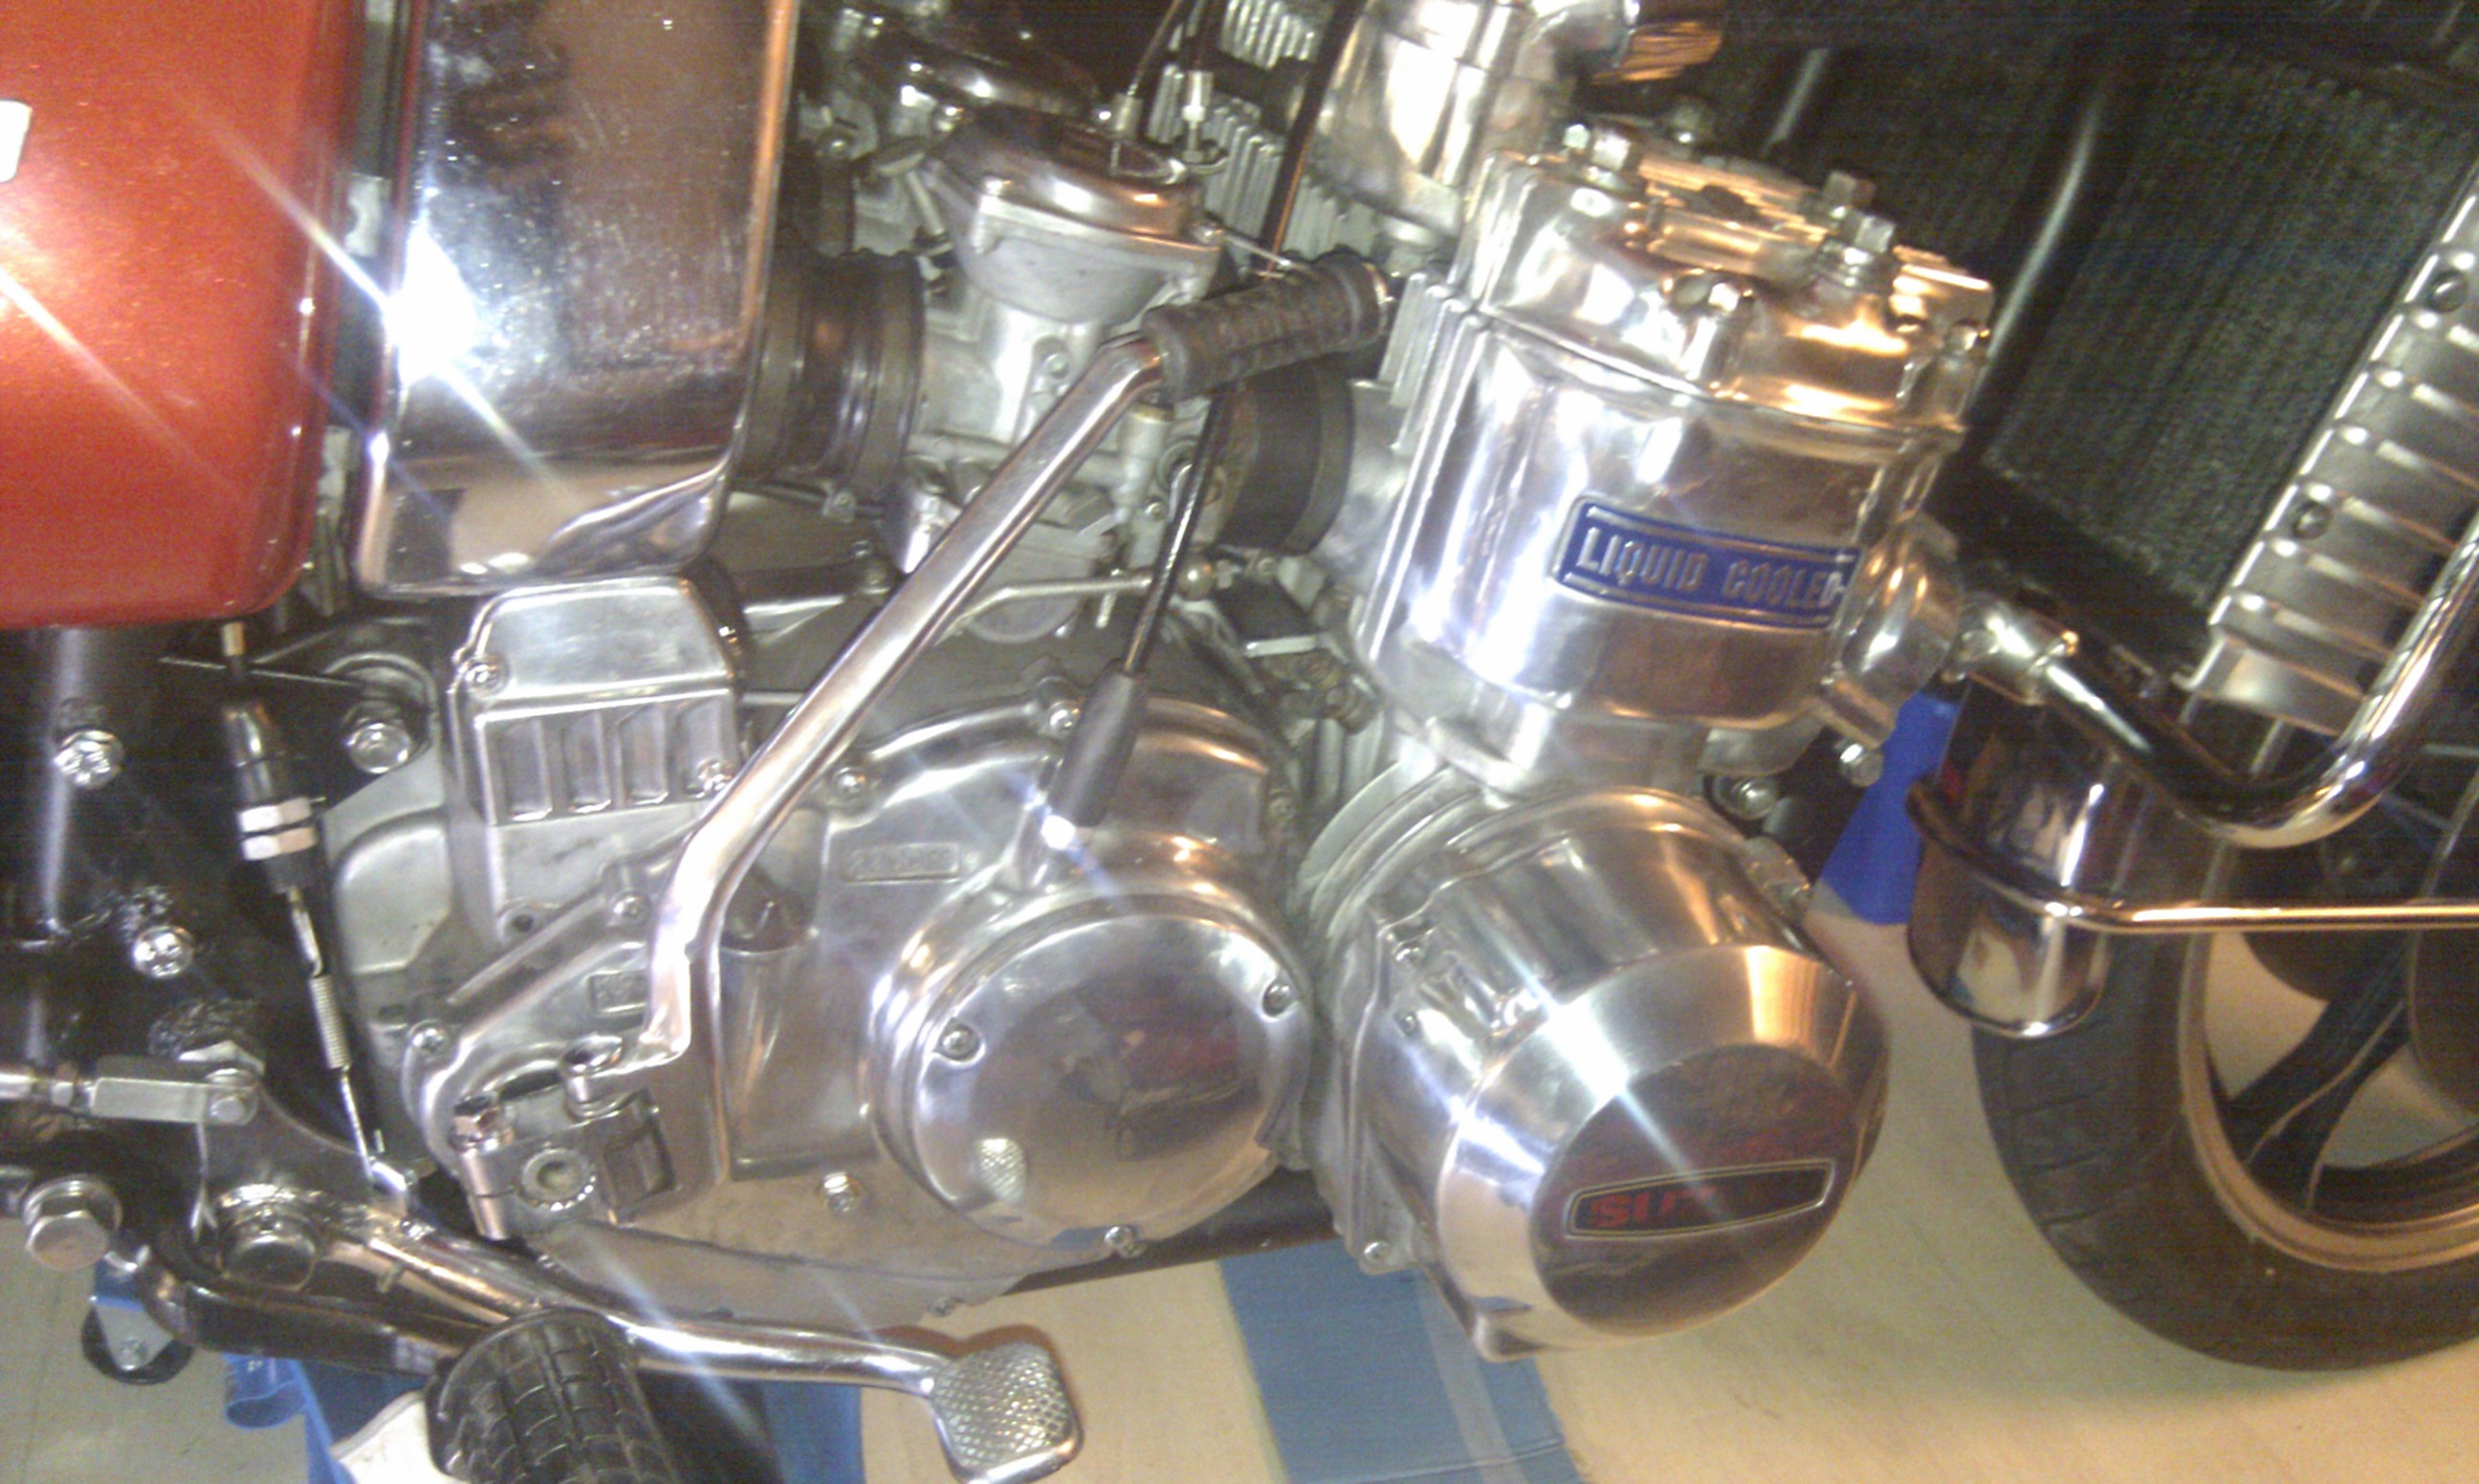
Engine removal

Engine removal :

A one man job if you do some preparation up front. Lift the engine and slide it easy out on the right hand side.

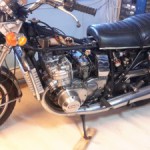
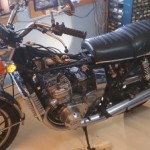
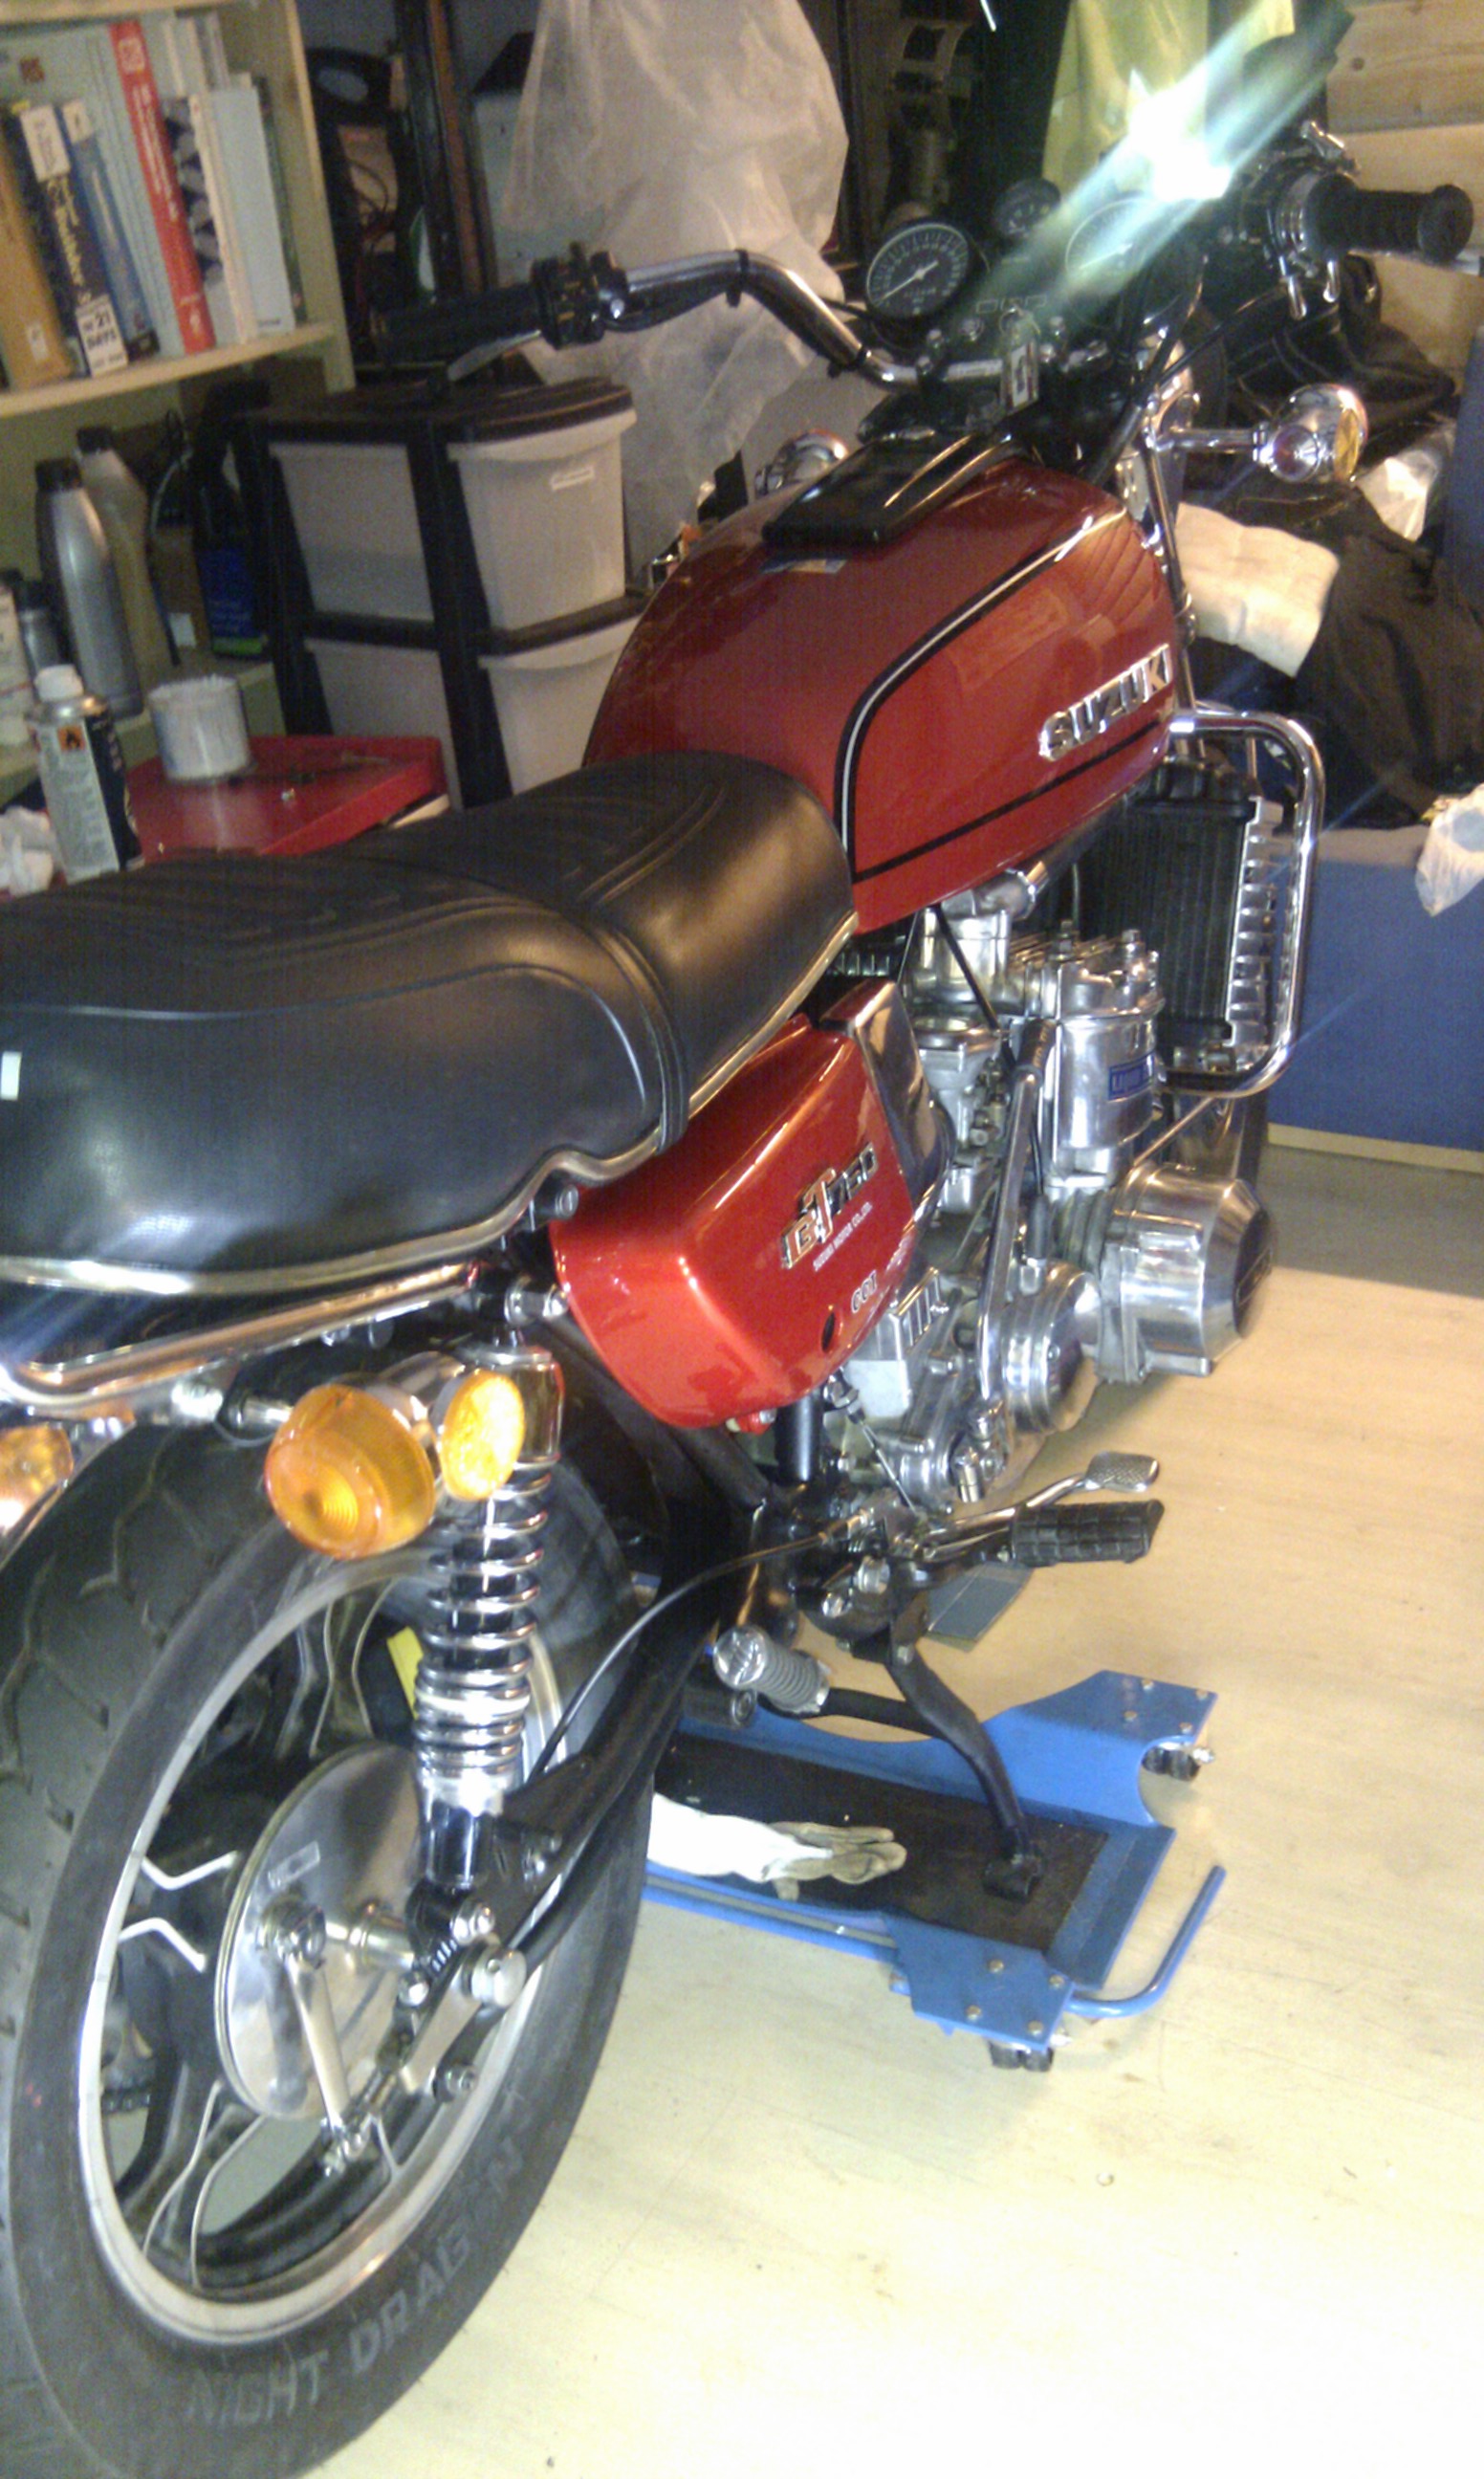
Engine on the table :

A chain block and some pieces of wood, the engine is ready for surgery. My back is still in a good shape due to some thinking before lifting. Much better to do the work indoors. Winter will soon come in Norway. Now I can spend quality time in a warm and cosy basement working on my GT

Preparing for engine removal

Today I have done the following

Disconnected wires from

1. Gear indicator

2. Timing points

3. Generator

4. Disconnected tubes from the radiator.

5. Disconnected tube from the 2-stroke oil reservoir

6. Mounted a frame of wood to support the engine.

7. Remove right footrest

8. Removed left side stand
9. Removed the brake pedal

Engine overhaul

Time for engine overhaul. Two years after I restored my A model I have to get new crankshaft sealings. Last time I had focus on the frame and paint work and didn’t know about the bad shape of the crank. The time frame doesn’t matter. I look upon this work as a therapy. I assume I will learn a lot of this project and it will keep me happy through a cold winter in Norway. Hopefully the kettle will be on the road next spring / summer.

Engine

It is time to start working on the engine. Last season there was some oil leakage from the engine. It was difficult to spot exact where the leakage was, but one place was for sure, the gear indicator switch was loose and the oil came out. I don’t know the history of this engine from 1976, I will therefore change all oil seals and O-rings in the area where I had the oil leakage, no 1, 2 and 3. Please see the photos.

I was lucky and got some help from my friends on facebook , advice about how to remove the oil seals.