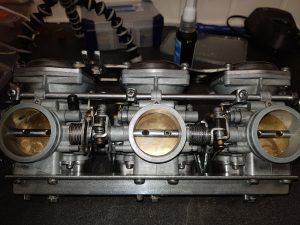
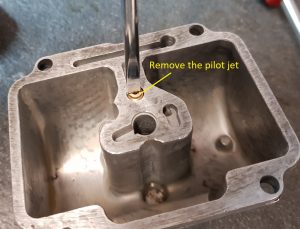
Float chamber
Click on the images for detailed view.
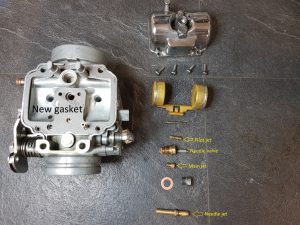
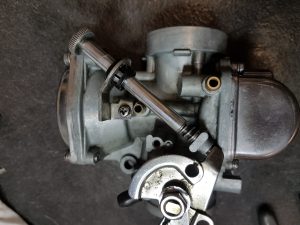
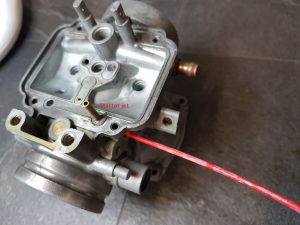
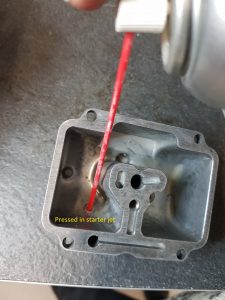
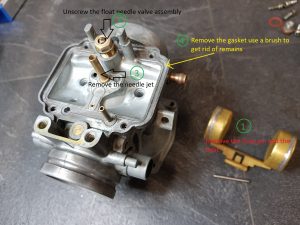
The picture above shows all the part in the float chamber
Step 1
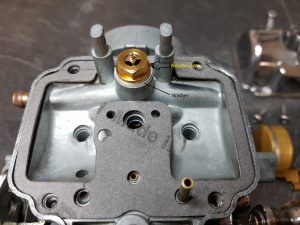
Install a new gasket. Some of the aftermarket kit might require some trimming of the gasket. If the original gasket is an a good shape, keep it and don’t replace it.
Install the needle valve. Don’t forget the washer.
Step 2
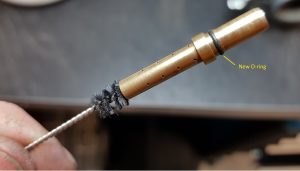
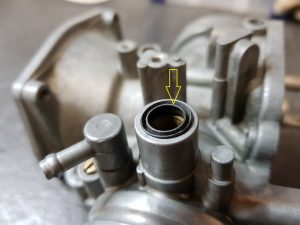
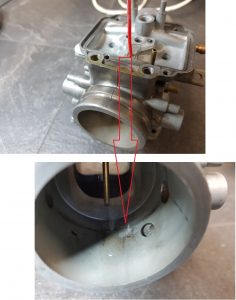
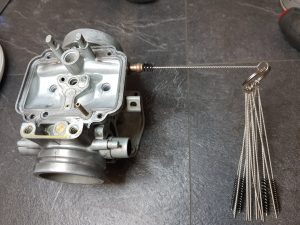
Clean the needle jet before mounting using brush, carb cleaner and compressed air.
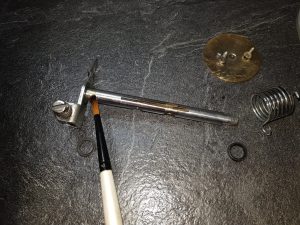
Replace the O-ring.
Step 3
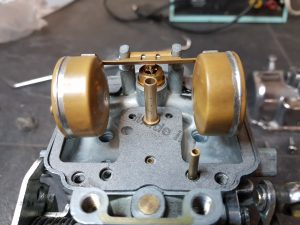
Mount the needle jet and the float.
You can easily check the function of the valve by blowing air from you lungs into the fuel inlet and hold one finger on the outlet on the other side. By lifting the float up and down you will sense if the flow turn on and off when the valve is activated.
Step 4
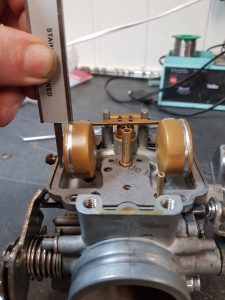
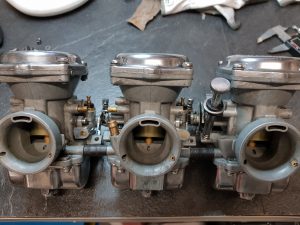
Adjust the height of the float by measuring from top of the float and down to the chamber attaching face. Not down to the gasket as it’s done on the photo. Open the Suzuki carburetors service manual for more information. Yes, you find it on my blog.
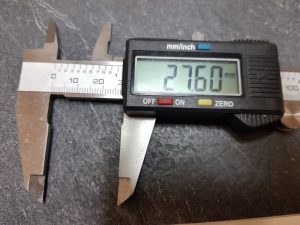
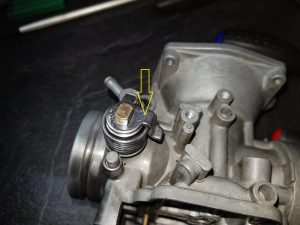
If the original needle valve is used the height should be 27,6 mm .Some of the aftermarket needle valve should be adjustet to 26mm due to a bit different design. Do the adjustment by bending the tab touching the needle valve.
Tilt the carb about 15-20 degrees to avoid the gravity to influence on the float and the needle while you do the measurement.
Step 5
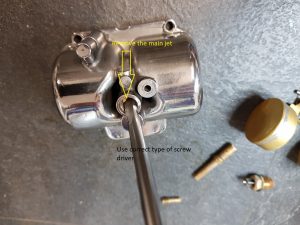
Installing the main jet.
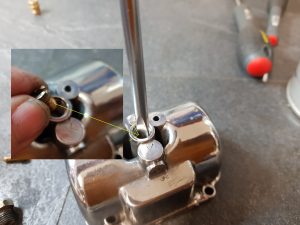
The correct size is 110 for the right and left carb. 107,5 for the center carb.
Step 6
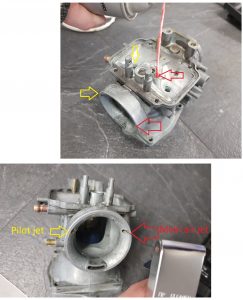
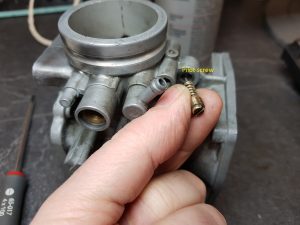
Installing the pilot jet
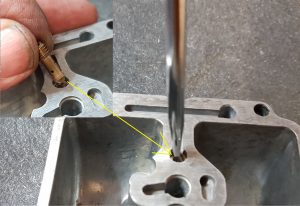
Screw in the pilot jet. Firm, but do not over tighten.
Standard jet size is 47,5. The jet in the picture above is 45 and is probably installed because the bike has been importet from US. Emission laws in CA were more strict compared to Europe and they used diffrent jets. I fitted the one from the aftermarket kit with the correct 47,5 size
Step 7
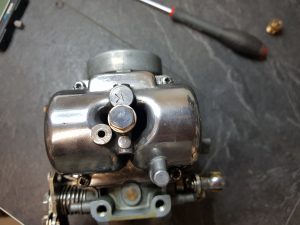
Install the drain plug ( and the washer )
Fit the float chamber with the four screws.

