Gear assembly
After repairing the crankcase :
I mounted all the gears before I spotted the damages caused by the lock pins. See my previous post explaining the issue.
http://mc.grenasberg.no/2019/12/30/lock-pin-repair/
I therefore had to remove it all and assemble the gears once more after repairing the crankcase.
Step 1, see the previous post, GT380 Gear shifting.
http://mc.grenasberg.no/2019/08/05/gt380-gear-shifting/
For a detailed view on how to mount the gear shifting mechanism, see how it’s done for the GT750. It’s very much the same:
http://mc.grenasberg.no/2016/02/21/gear-shifting/
One difference is of course the number of gears. Five on GT750 and six on GT380. In addition, the CAM stopper is not mounted from the bottom side of the crankcase as it’s done on the GT750.
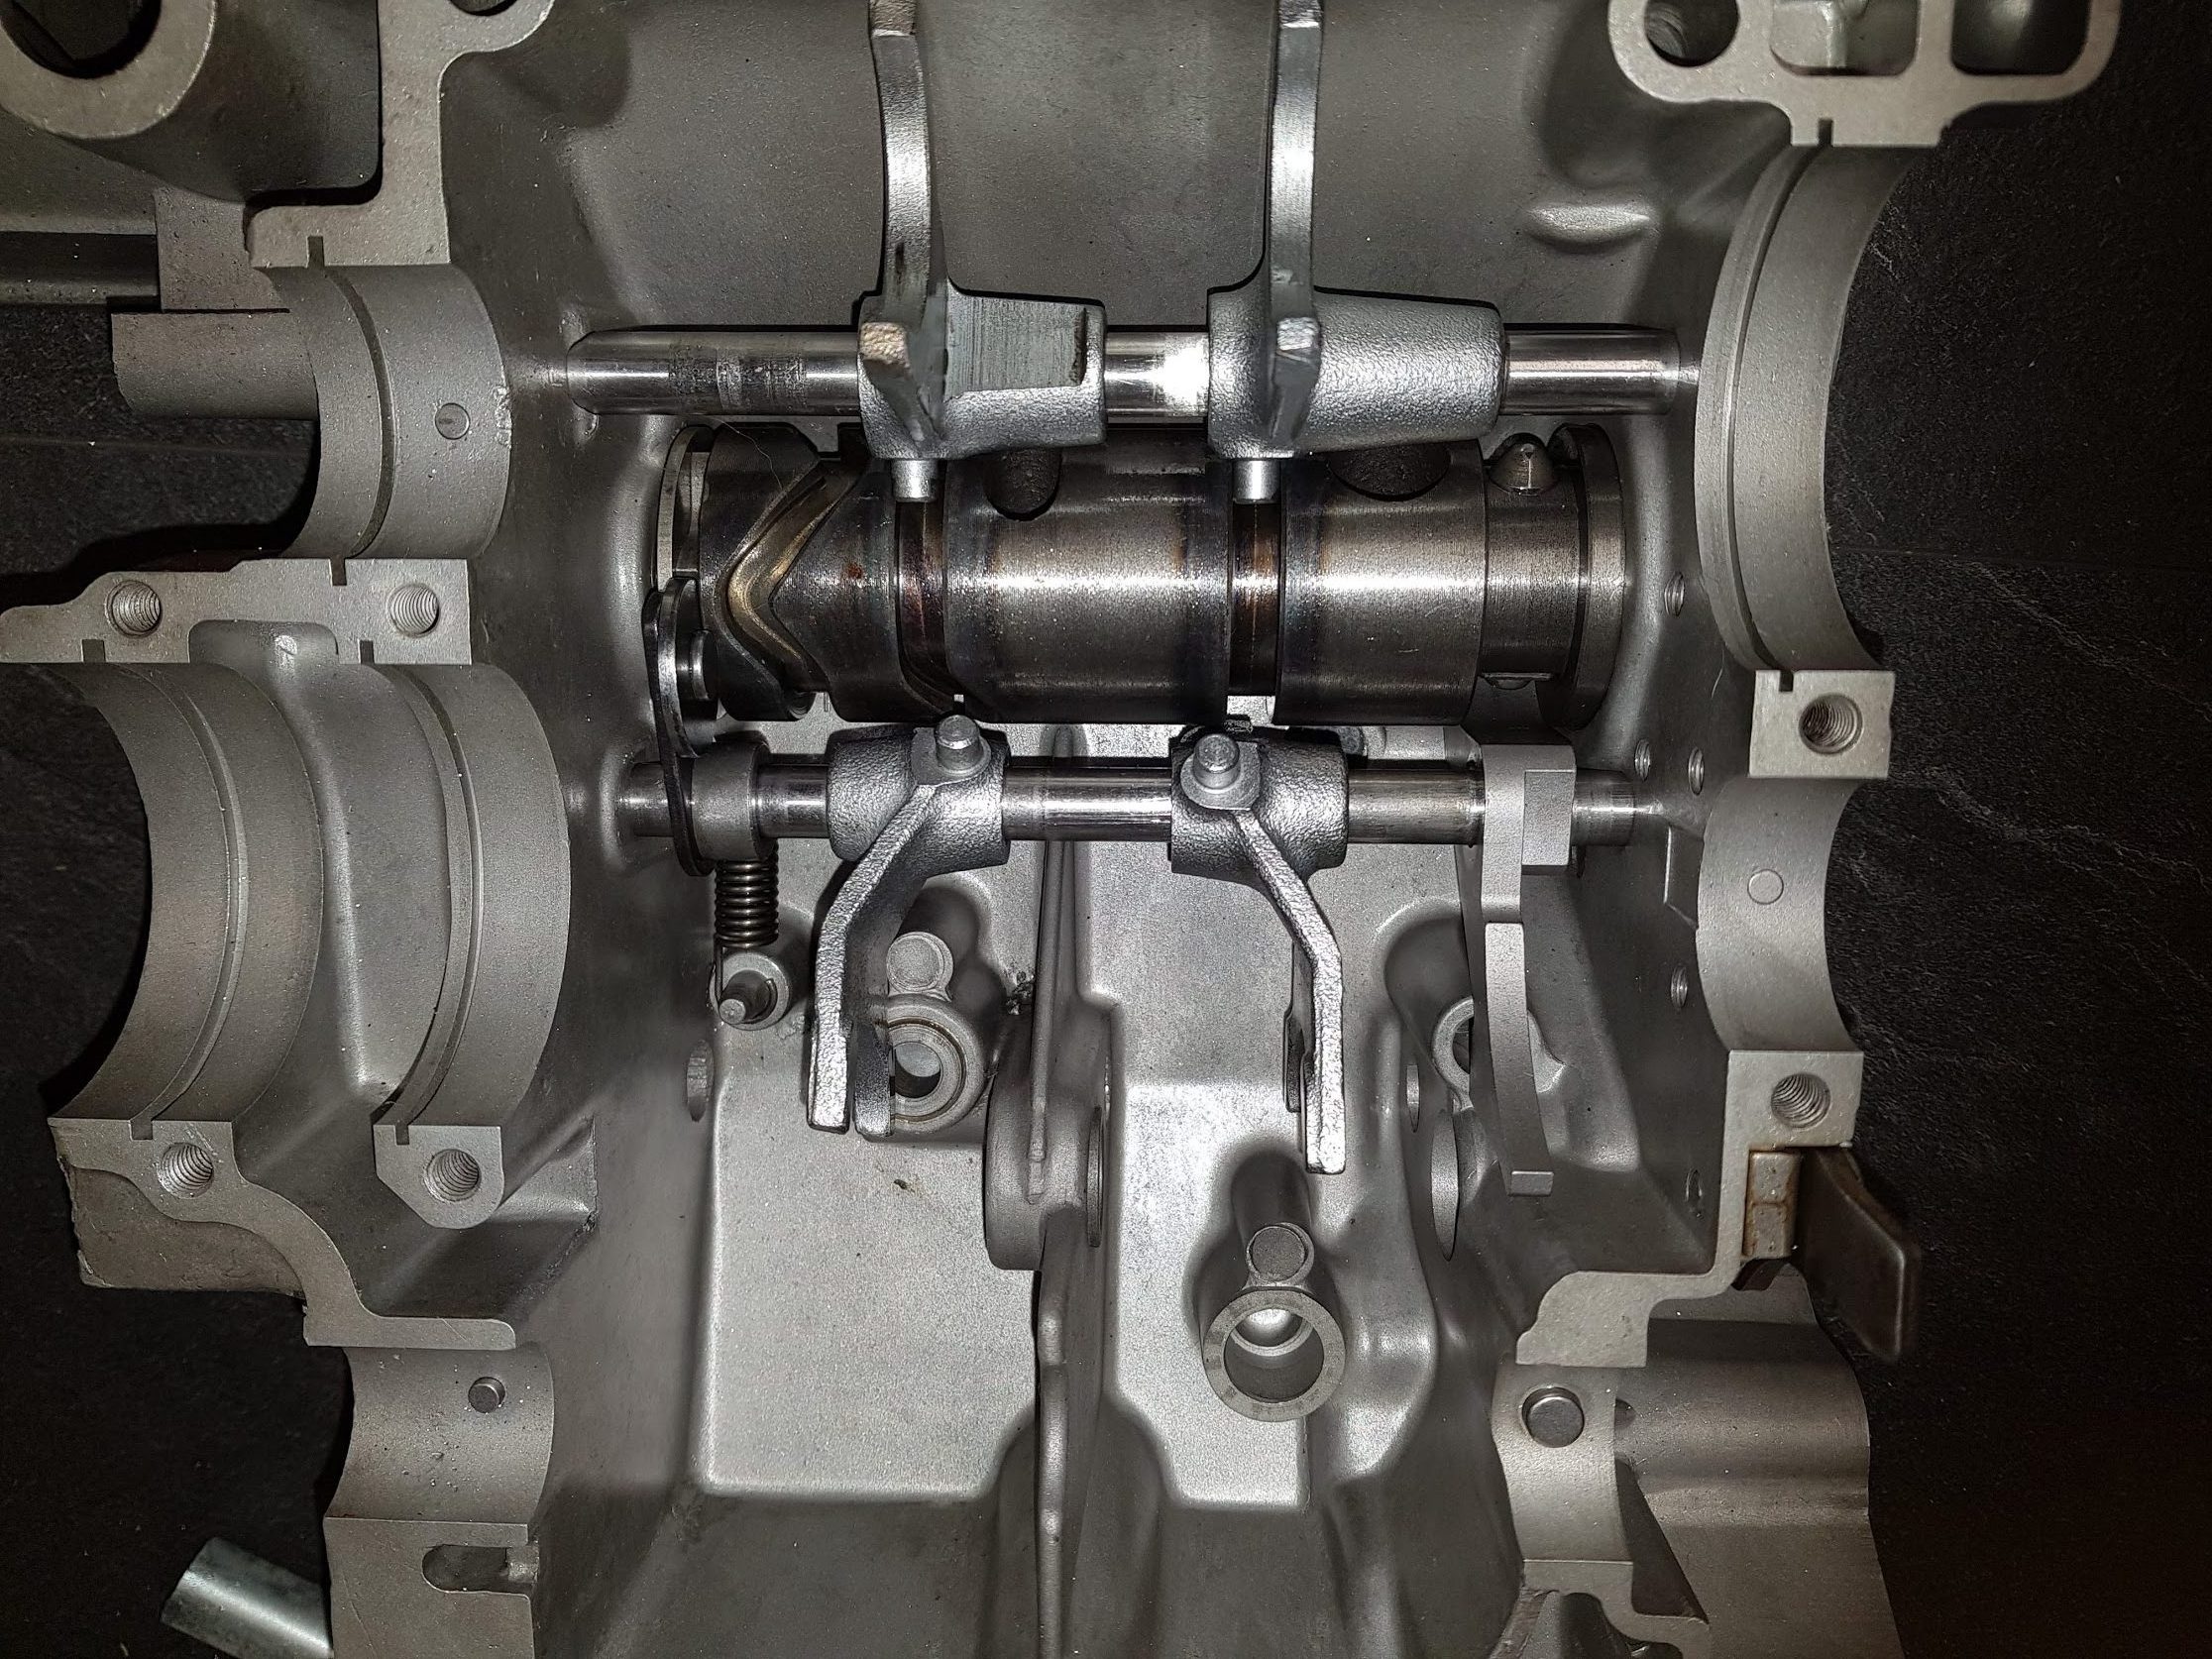
Step 2:
Mount the pin and spring:
![]()
Step 3:
Mounting the forks:
As always on my blog, click on the images for a more detailed view.
Step 4:

Don’t use thread lock on the screws at this point. Wait until you have checked all the functions of the gears.
Step 5, gears.
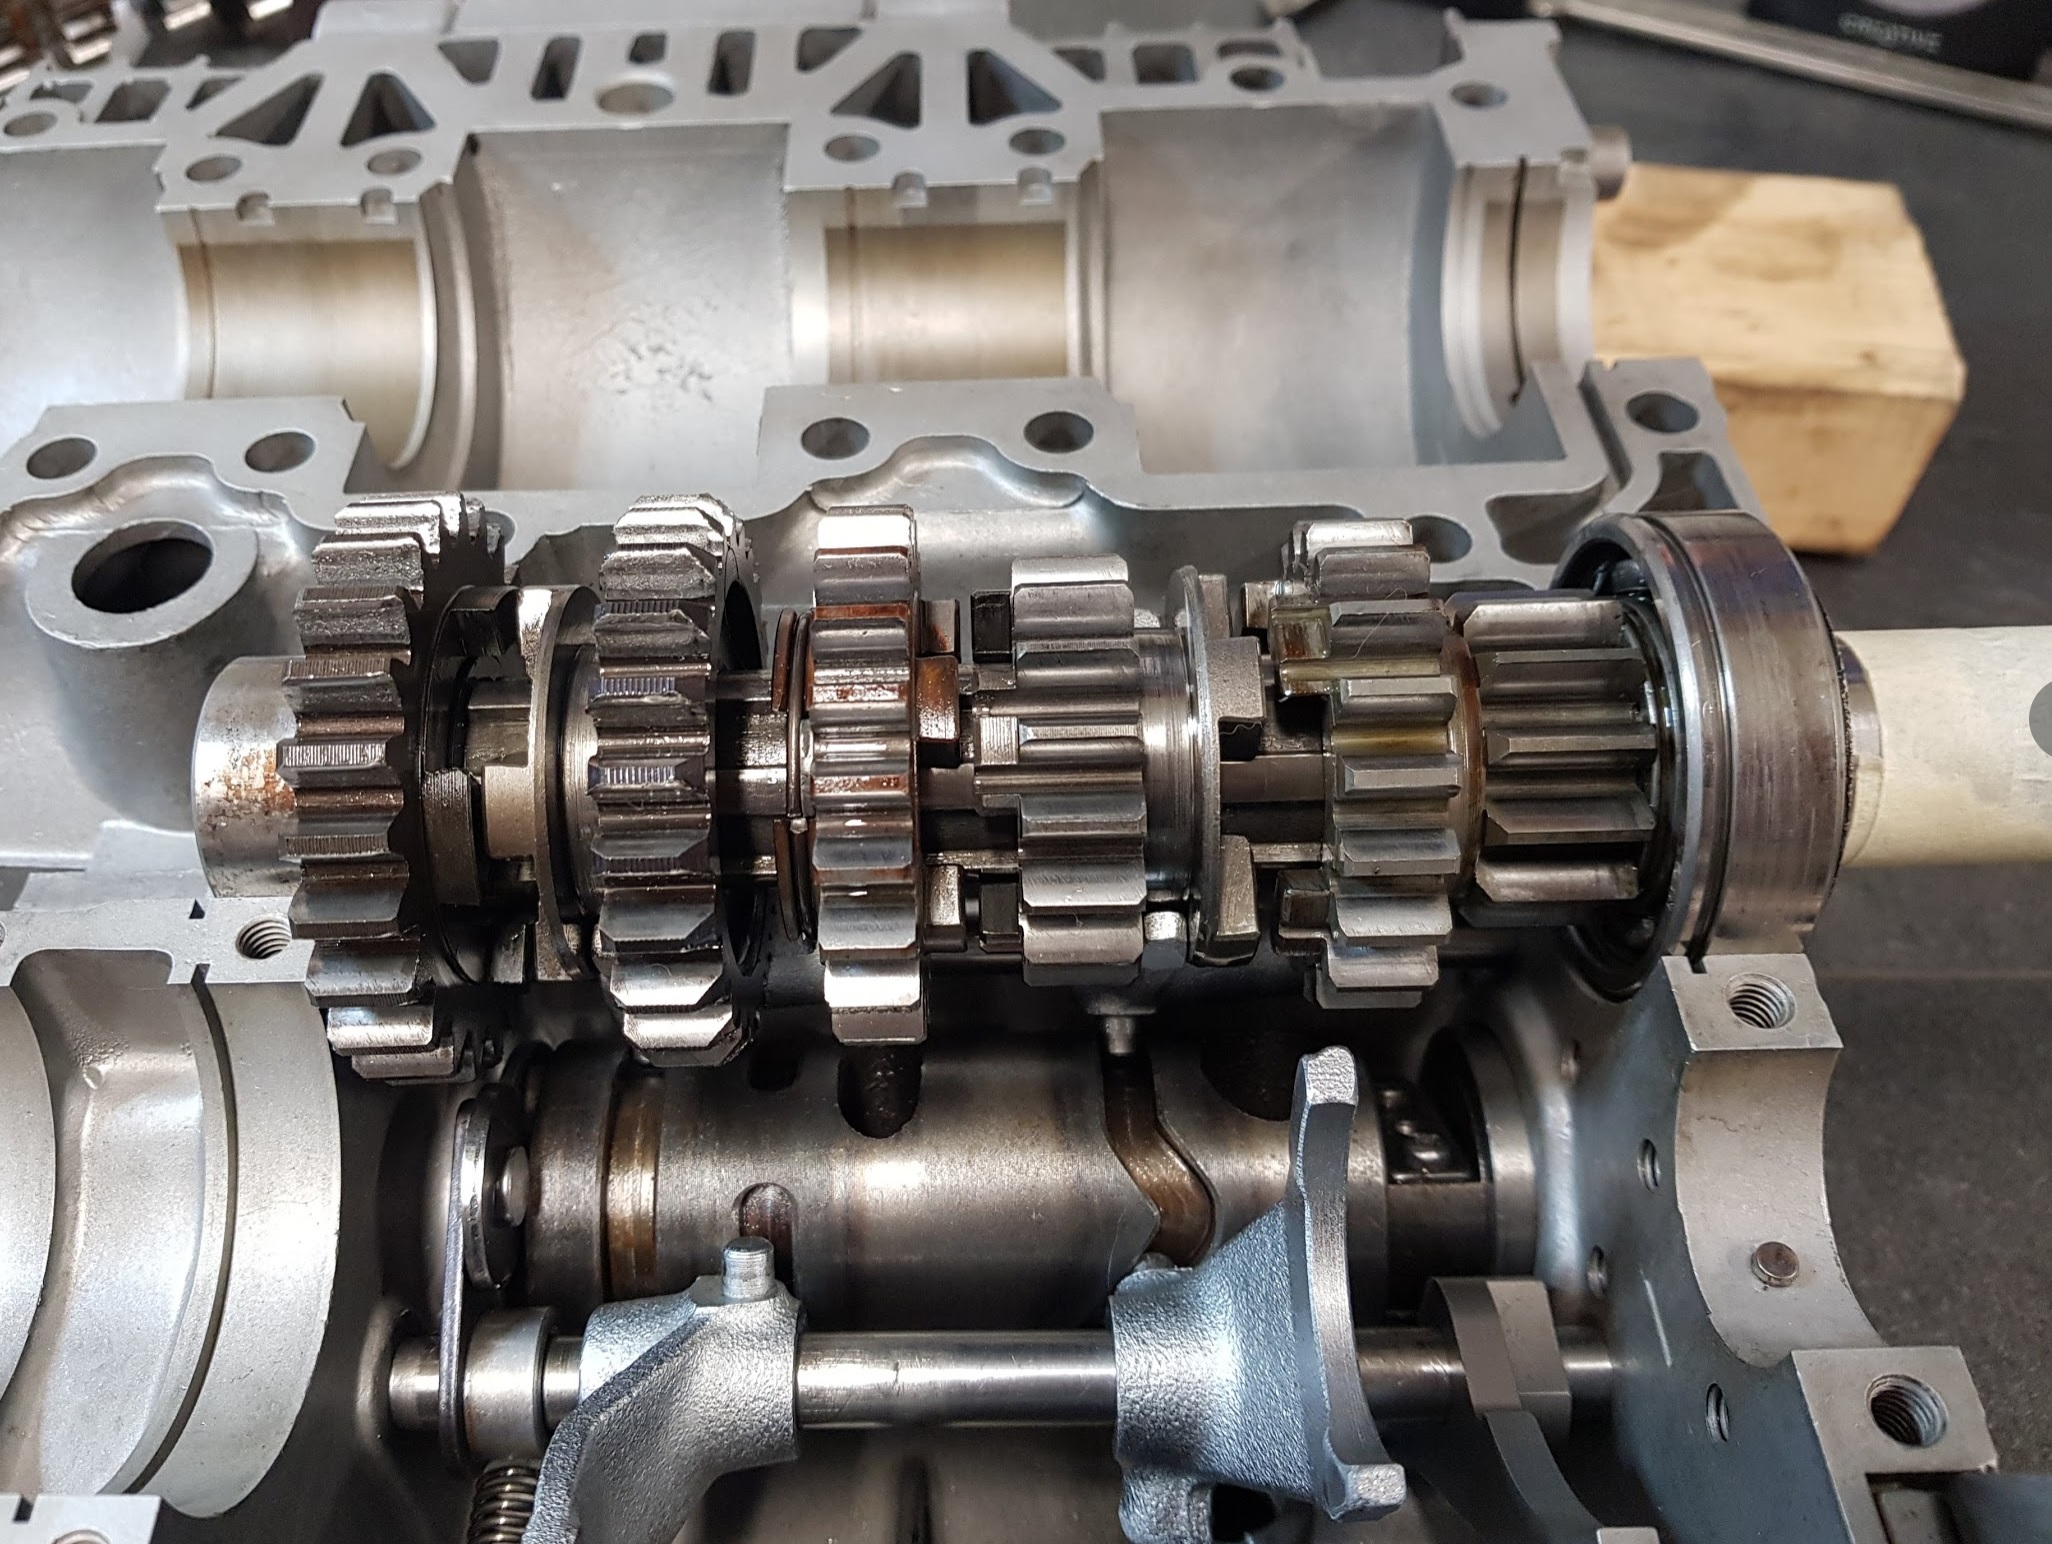
Front axle
Running smooth and nice.
Rear axle:

Checking the shifting of all six gears:

Added labels on both axles to easy count the ratio of the gear shifting. It all looks good 🙂
No issues as I can see while shifting the gears up and down. The no 1 gear runs a bit tight compare to the rest. Don’t think i will cause any problems. I will open up the spare engine and check to verify its condition and compare the gear shifting against this one, but not today.
The outer C-ring is missing on the rear gear axle. Will borrow one from the spare engine later on.